
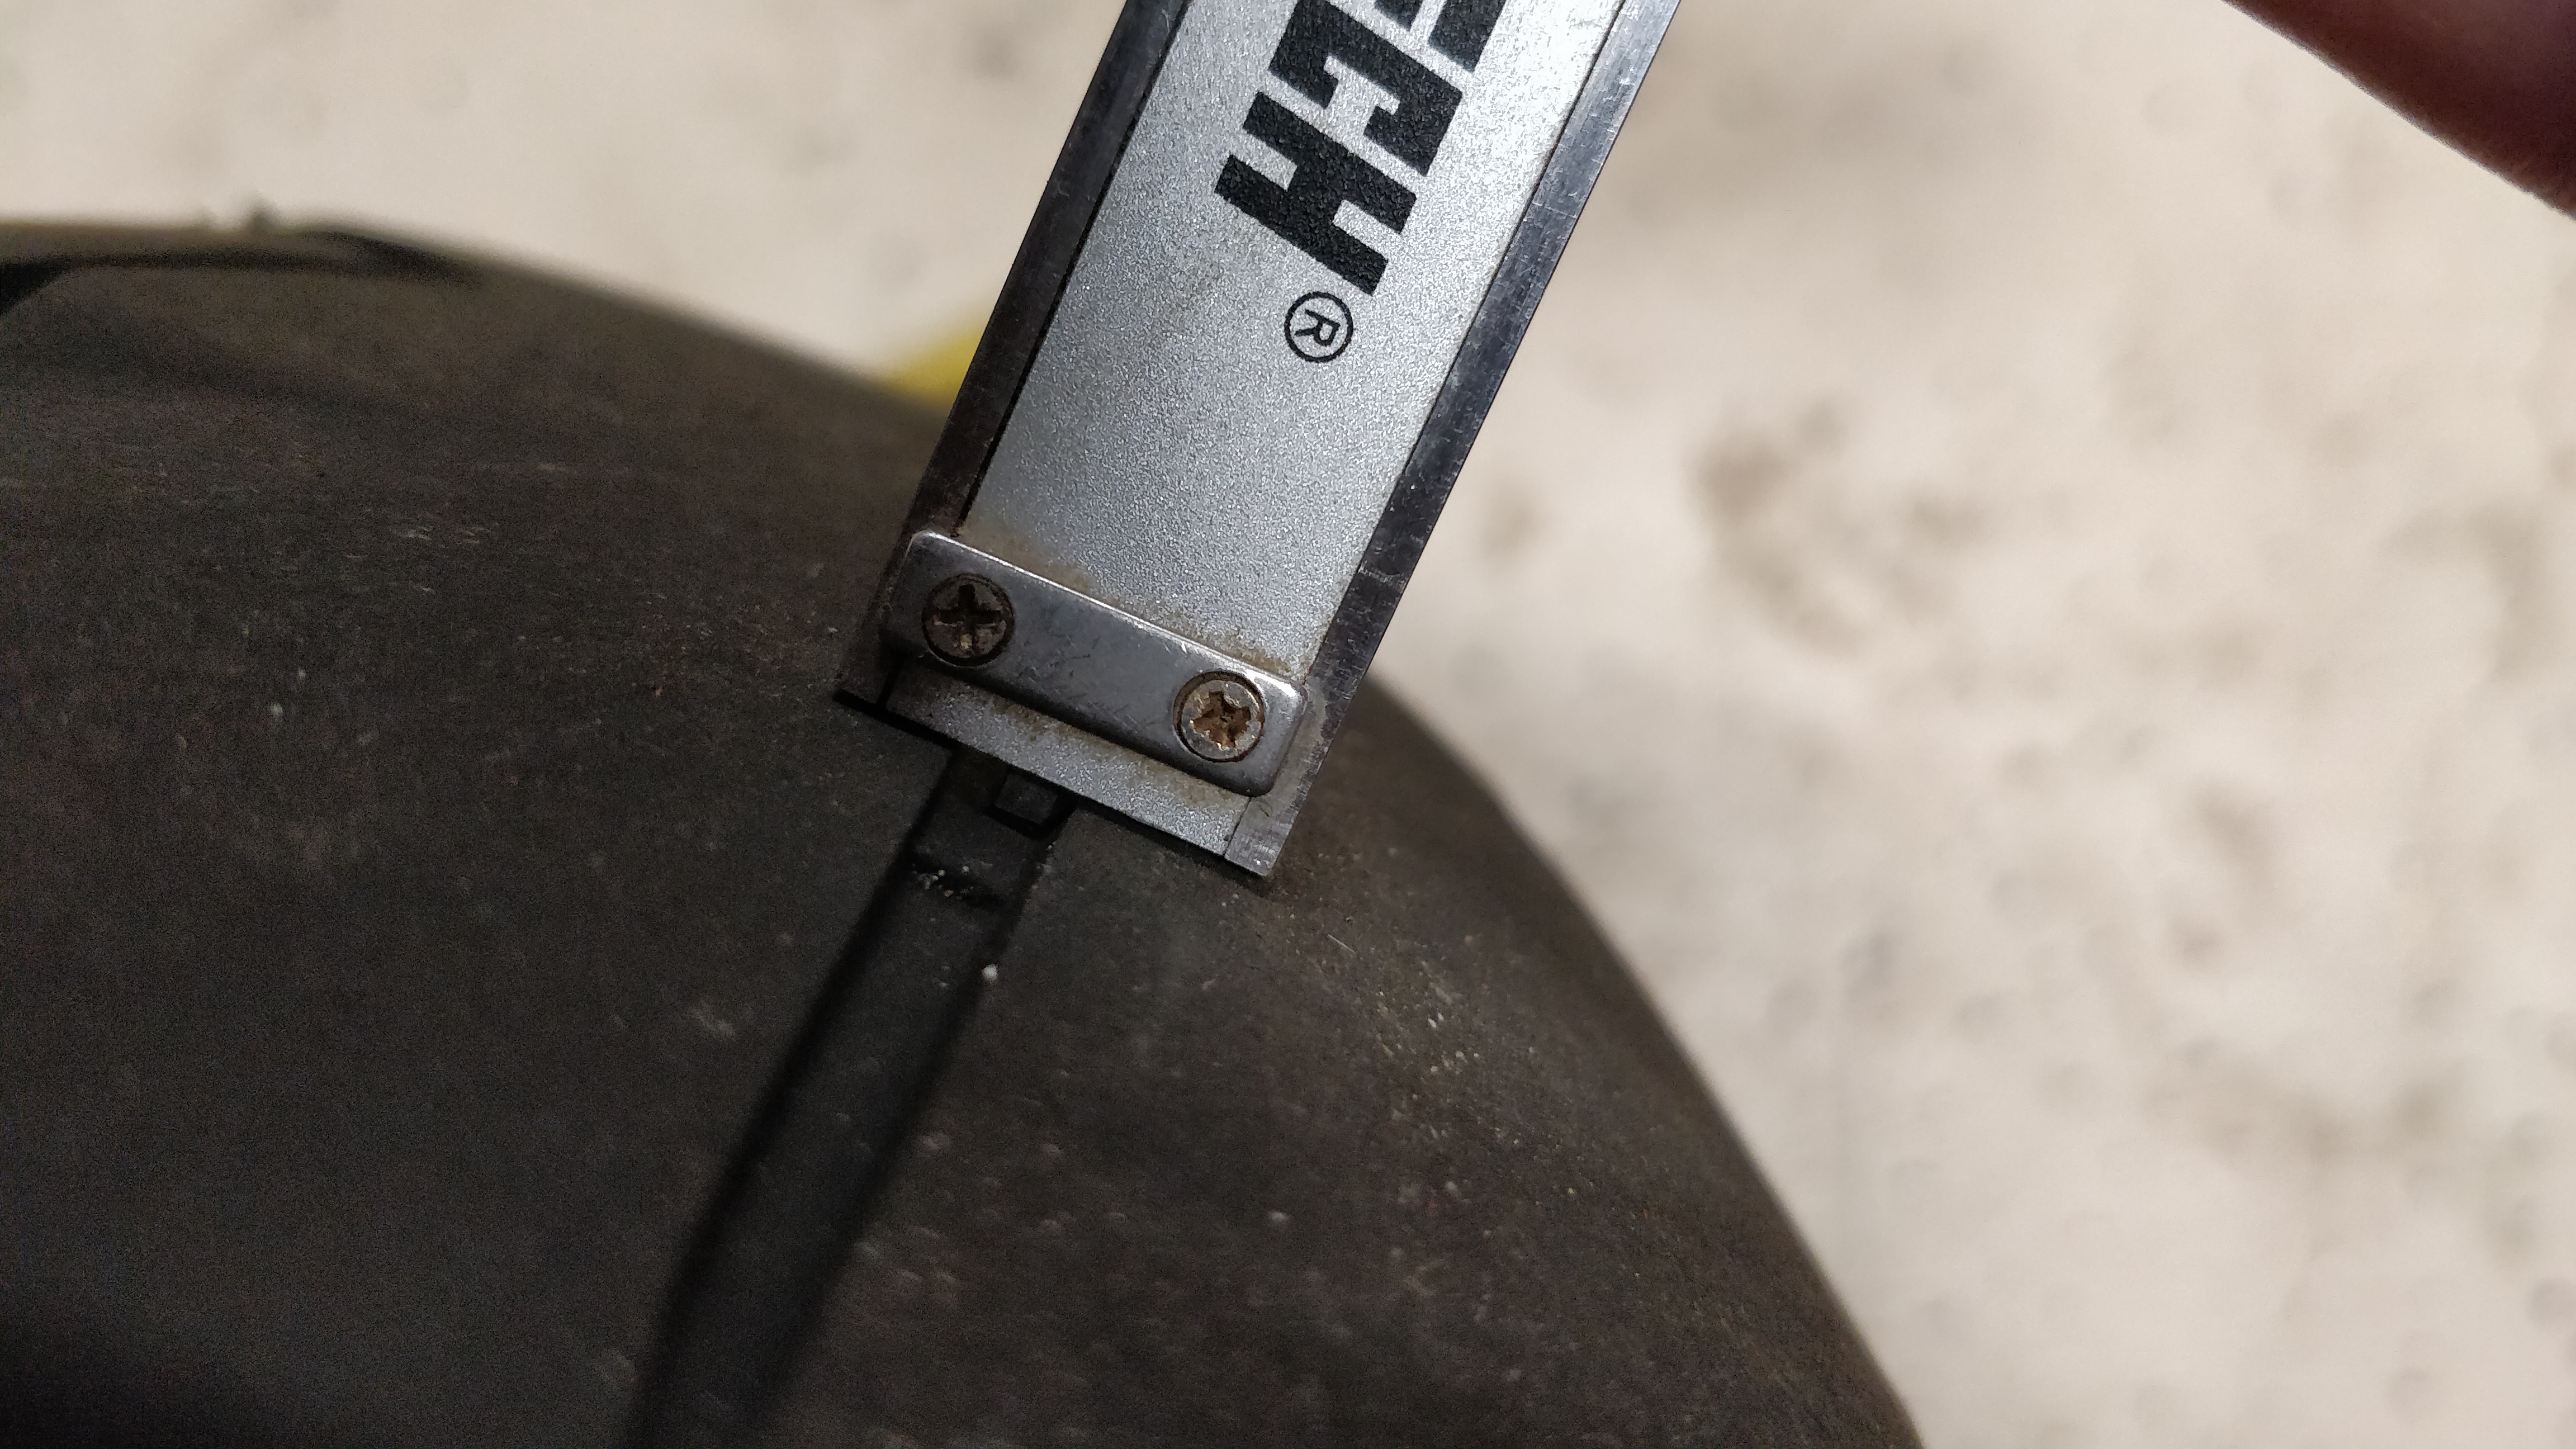
So with 6108 miles on my rear tire and only 2mm of tread left with 1 plug and a slow leak I decided it was time to replace it. The manual says at 2mm its time to replace the tire.
 This page of the manual
 With the plug and the slow leak its all done.
Now I had decided that i was going to mount and balance my own tire. Part of my reasoning behind this is the fact that i have never done it and i use to do car tires all the time.
my other reason is that the place i have taken my tires to in the past requires me to take the wheels off the motorcycle myself anyway plus if you do not buy tires from them they charge an extra $25 on top of the normal $25 to do the mount and balance. I was able to find a replacement tire for 150 on amazon but from them they wanted 175 so if i used them it was going to be 200 either way.
So lets get to removing the wheel.
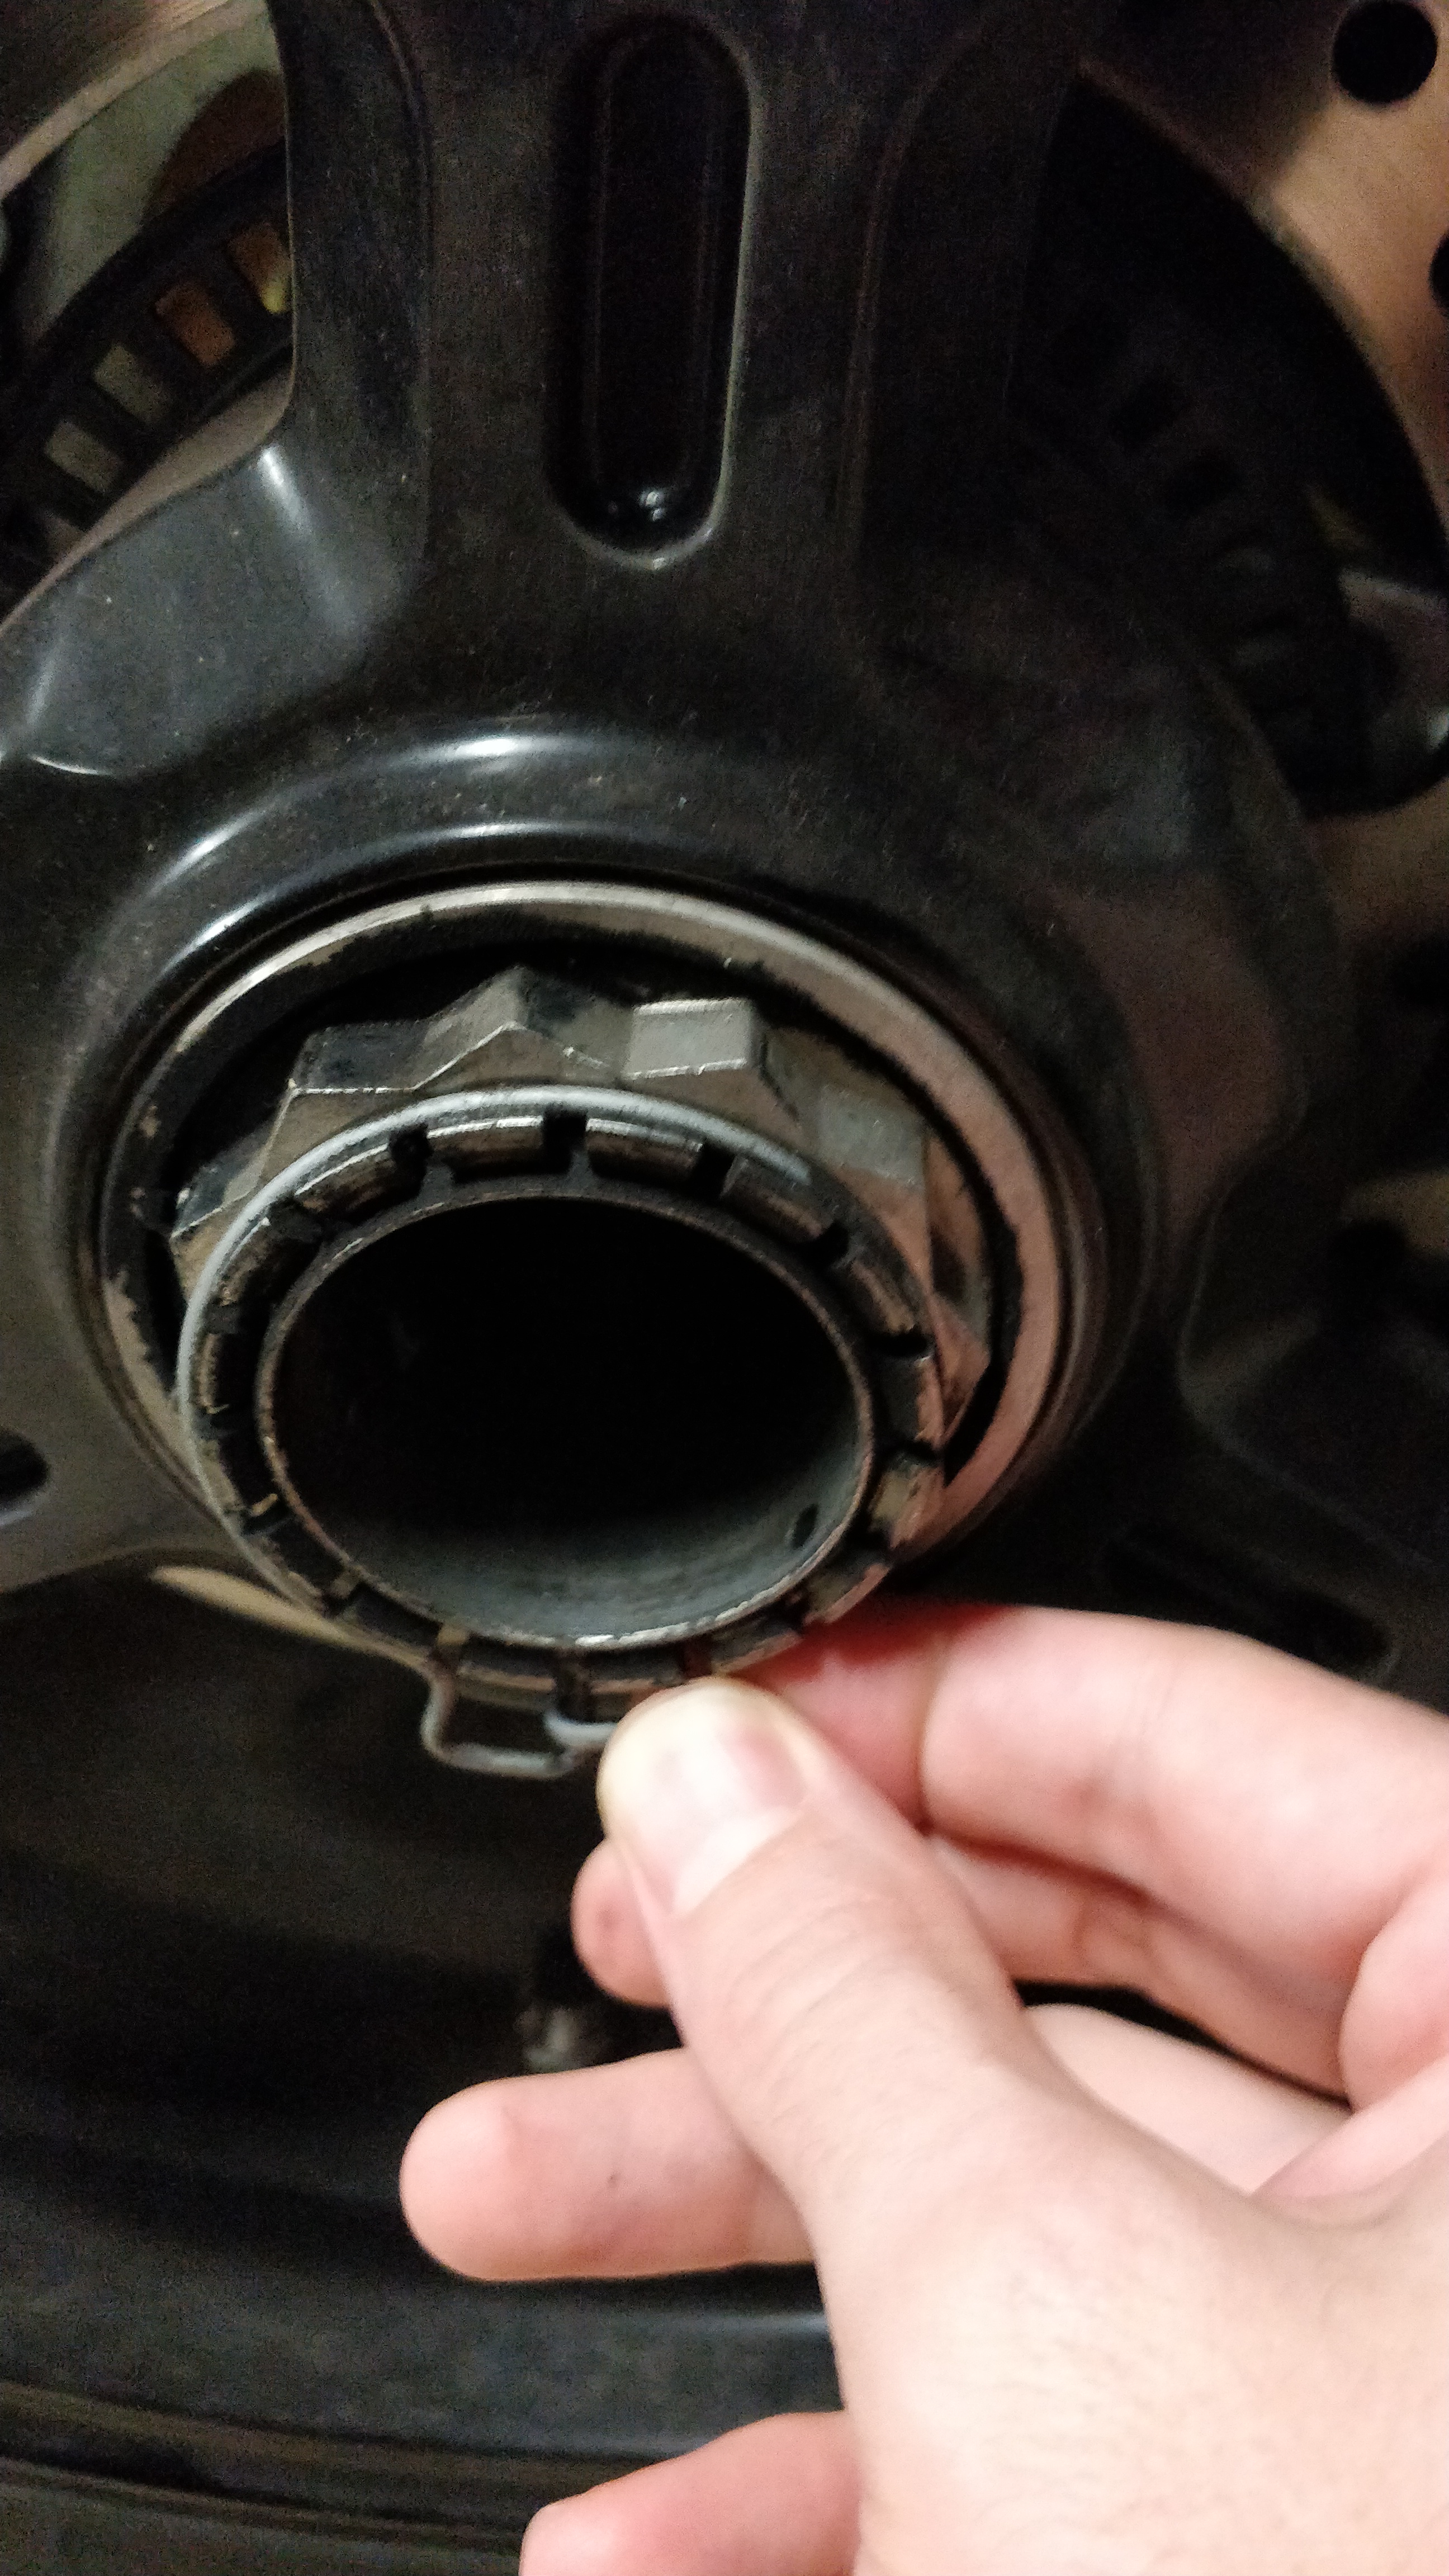
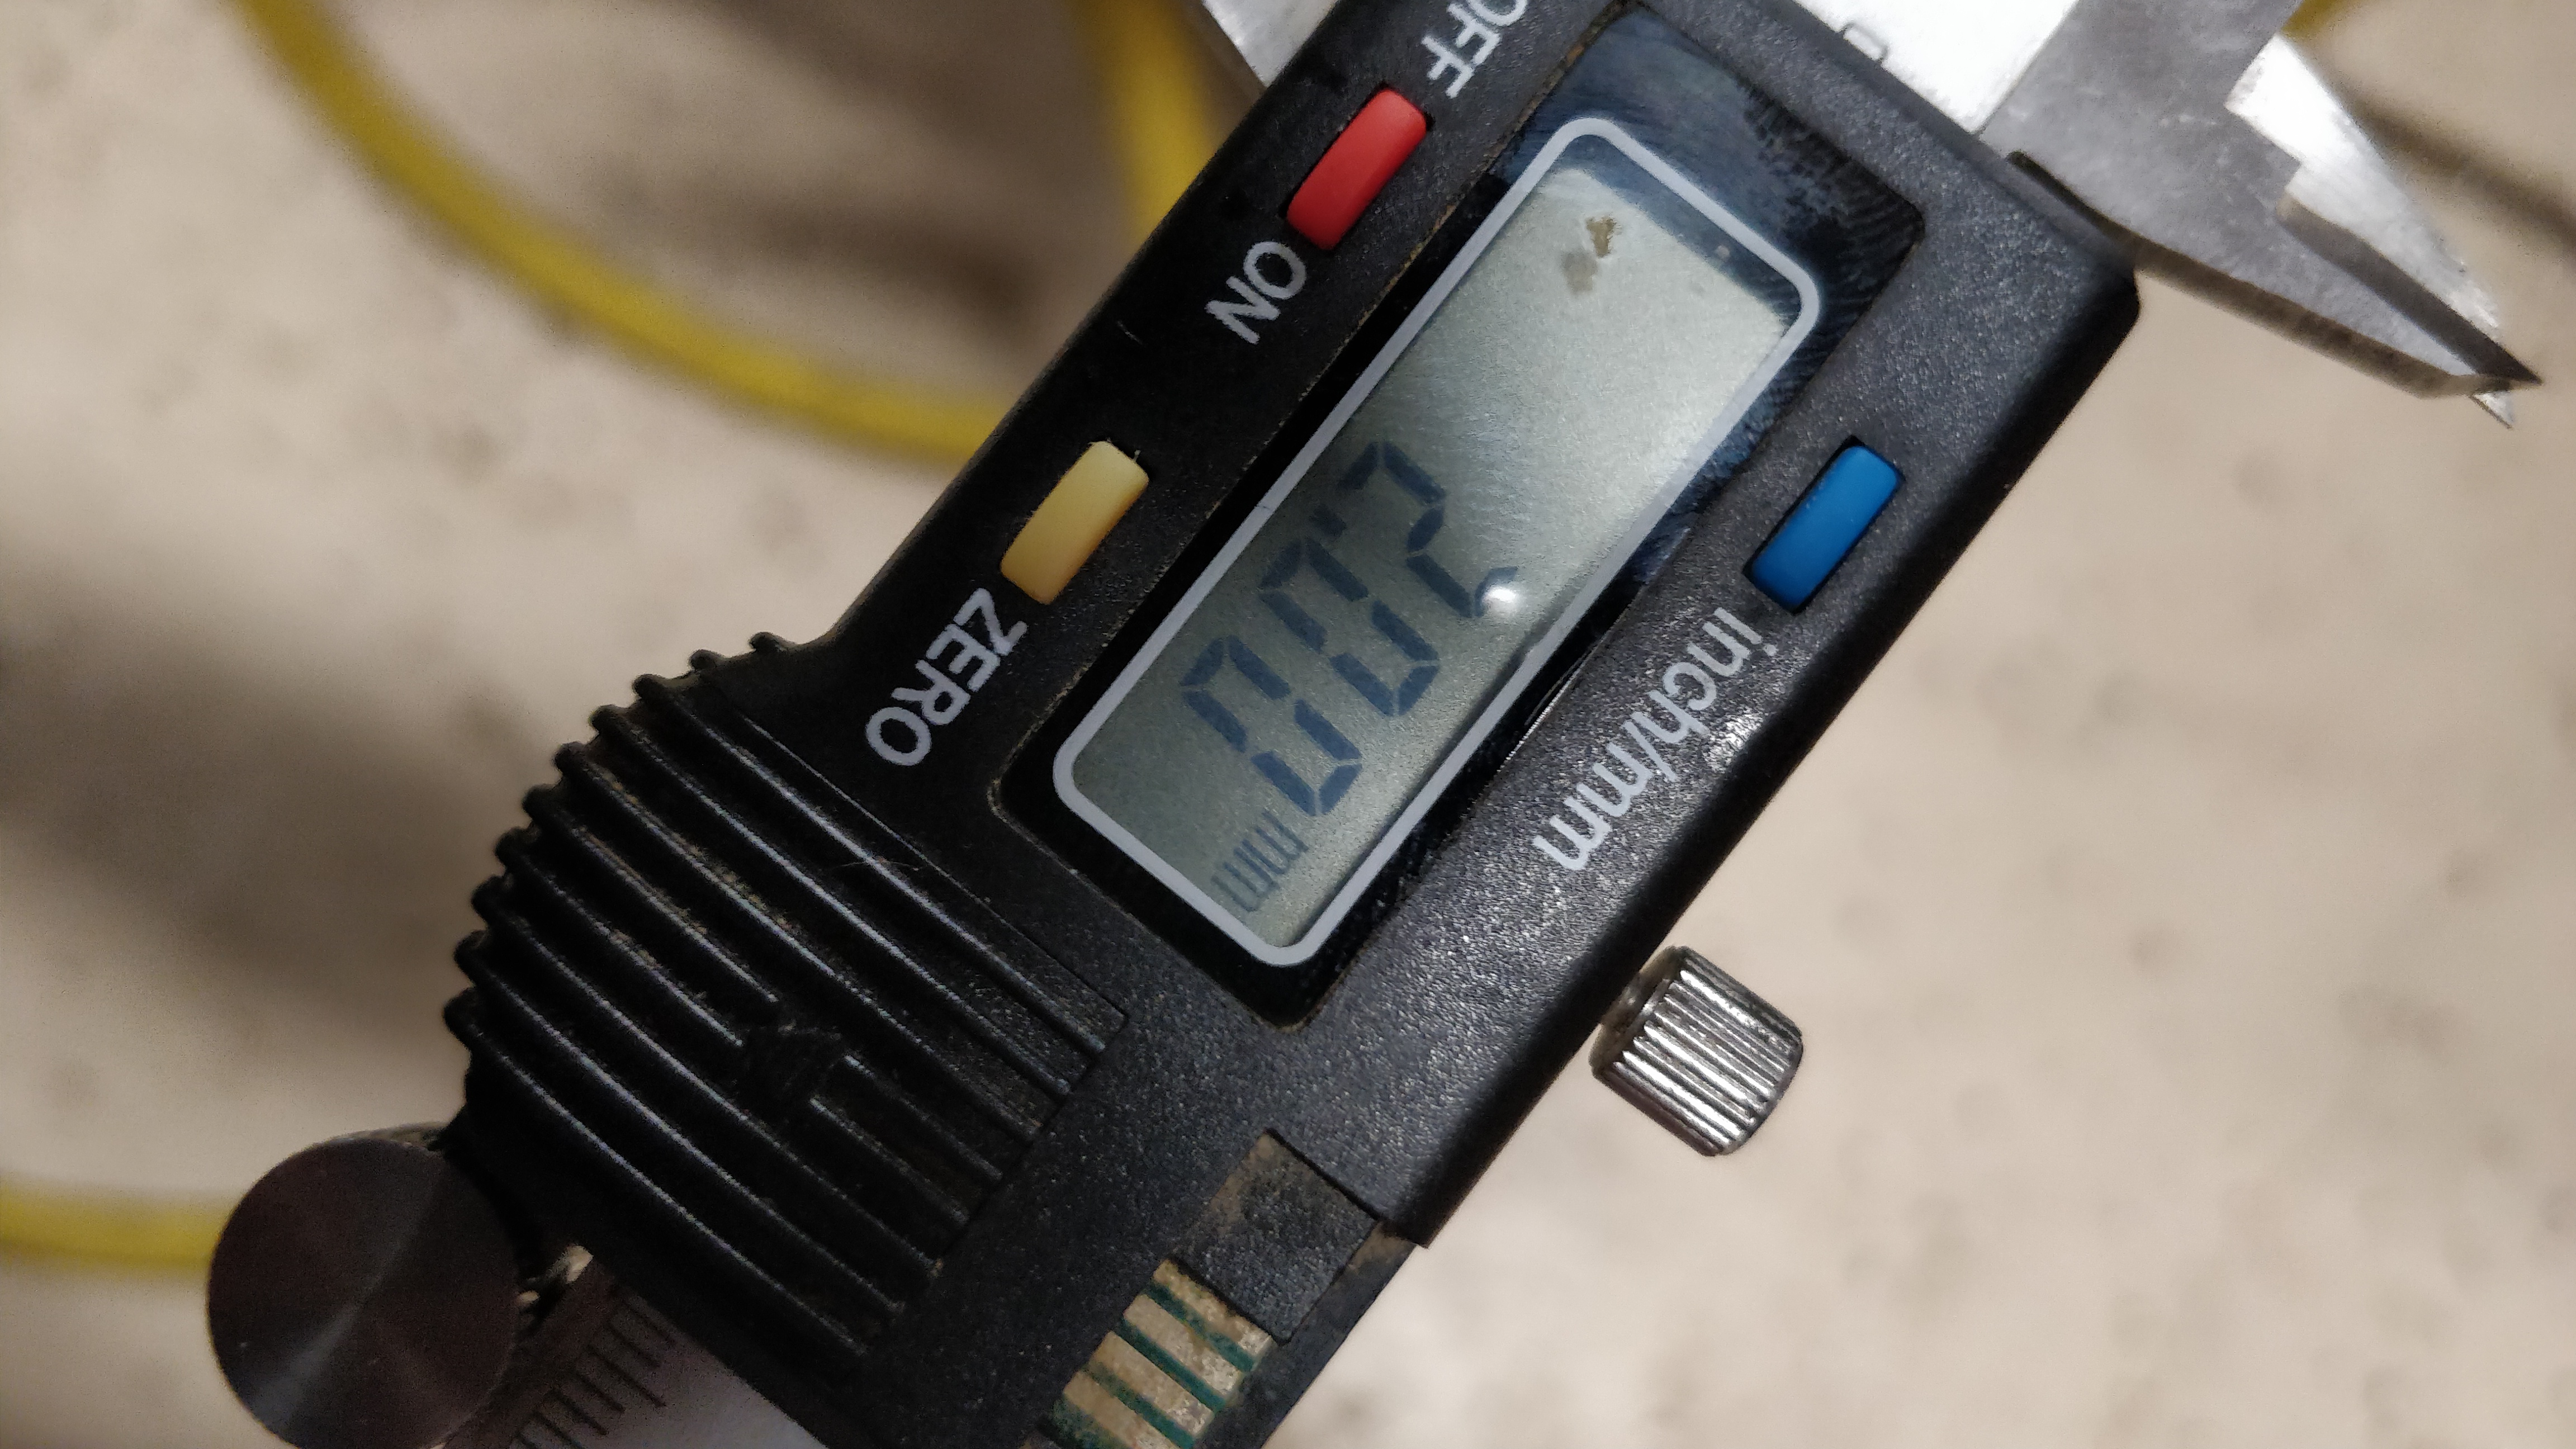
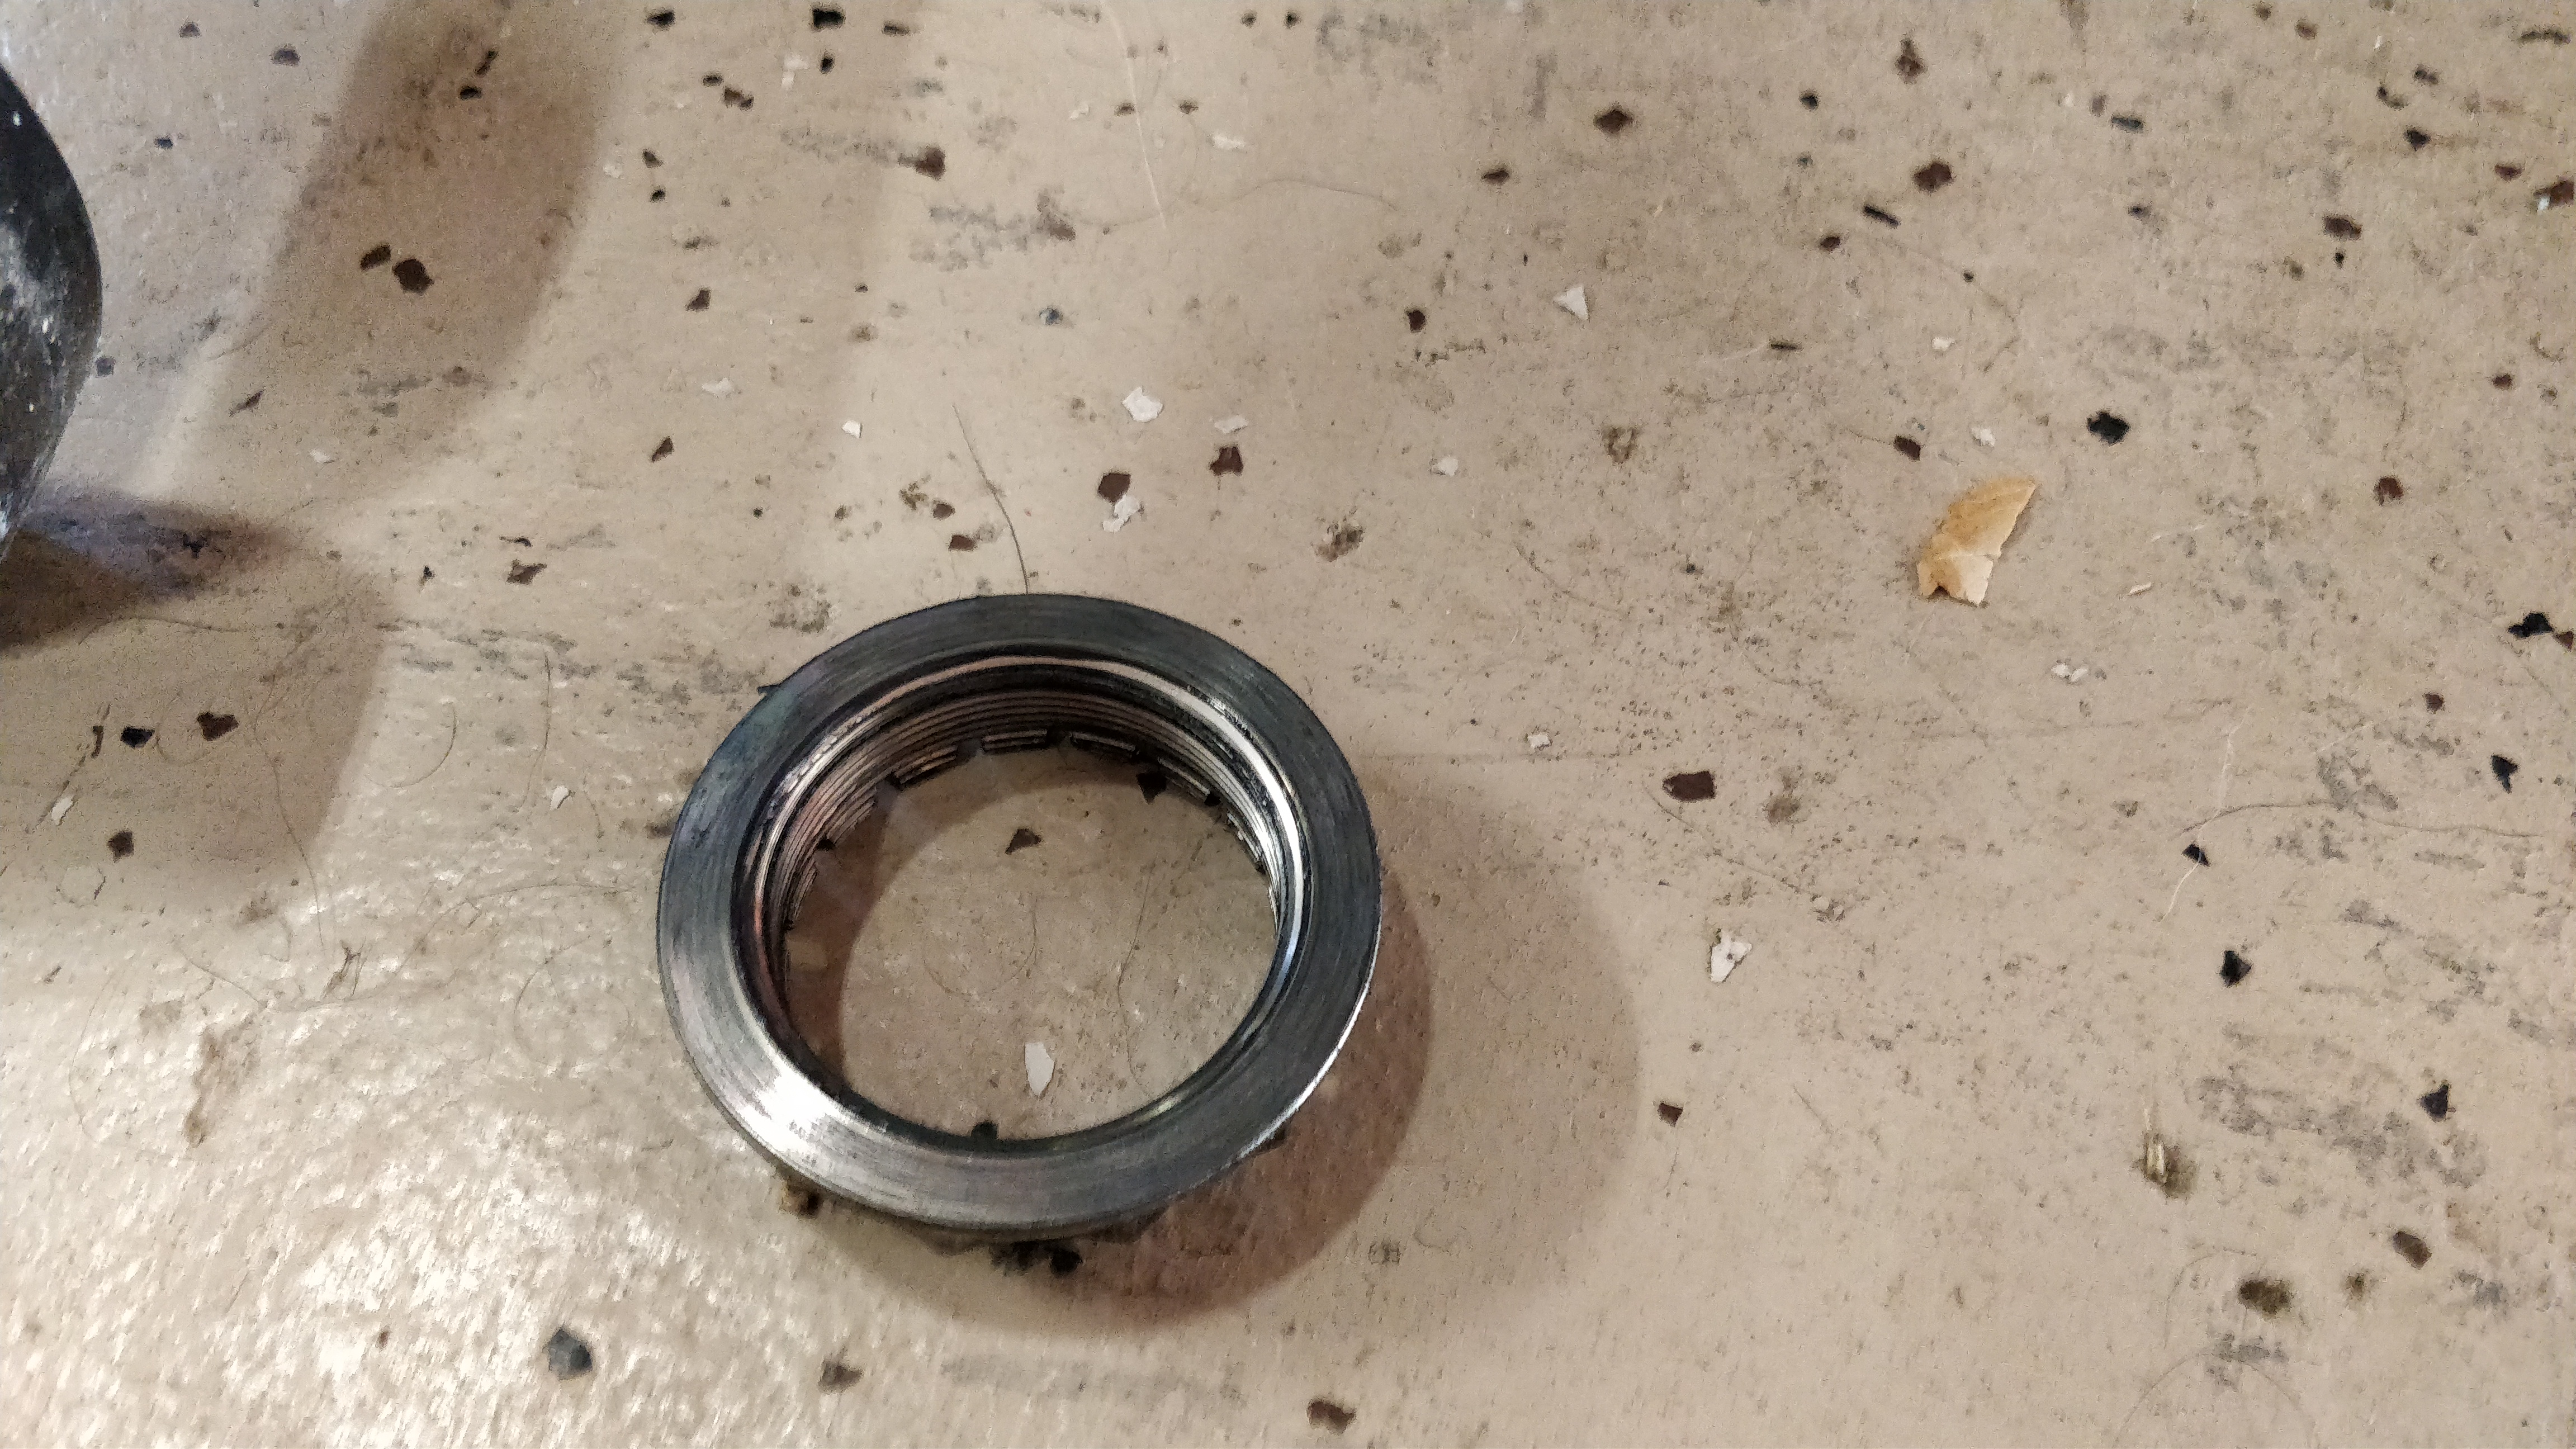
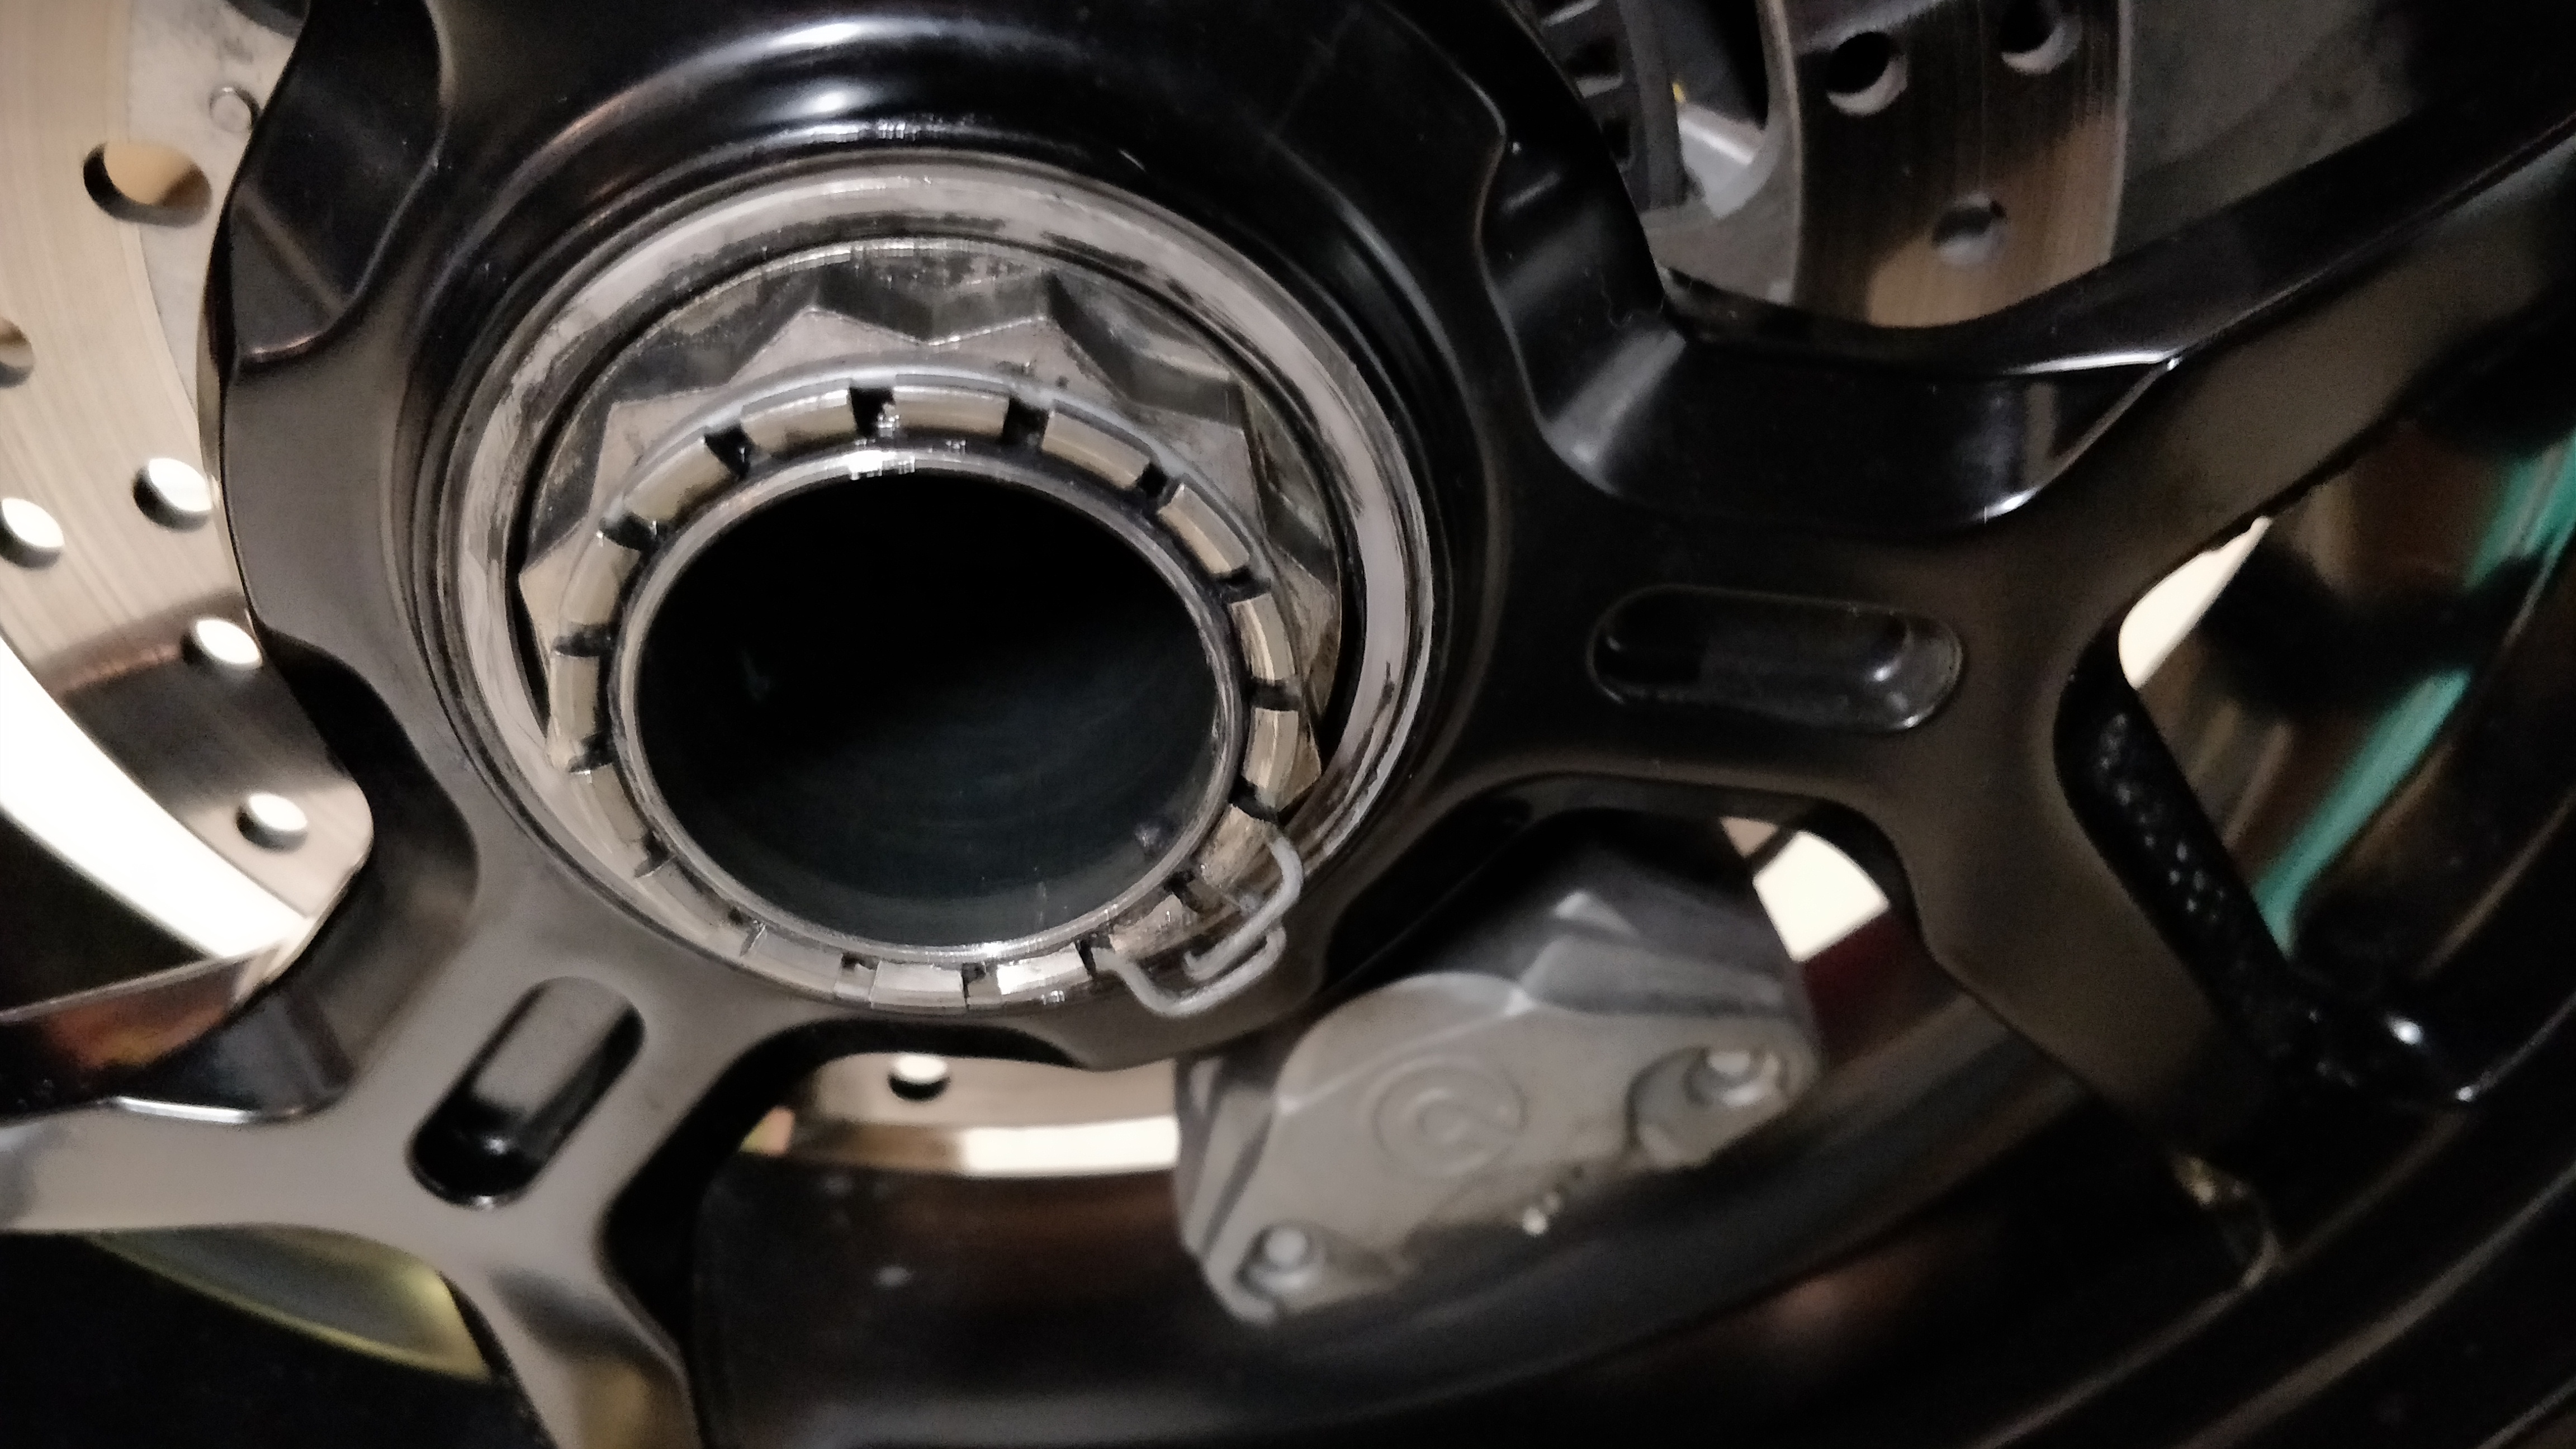
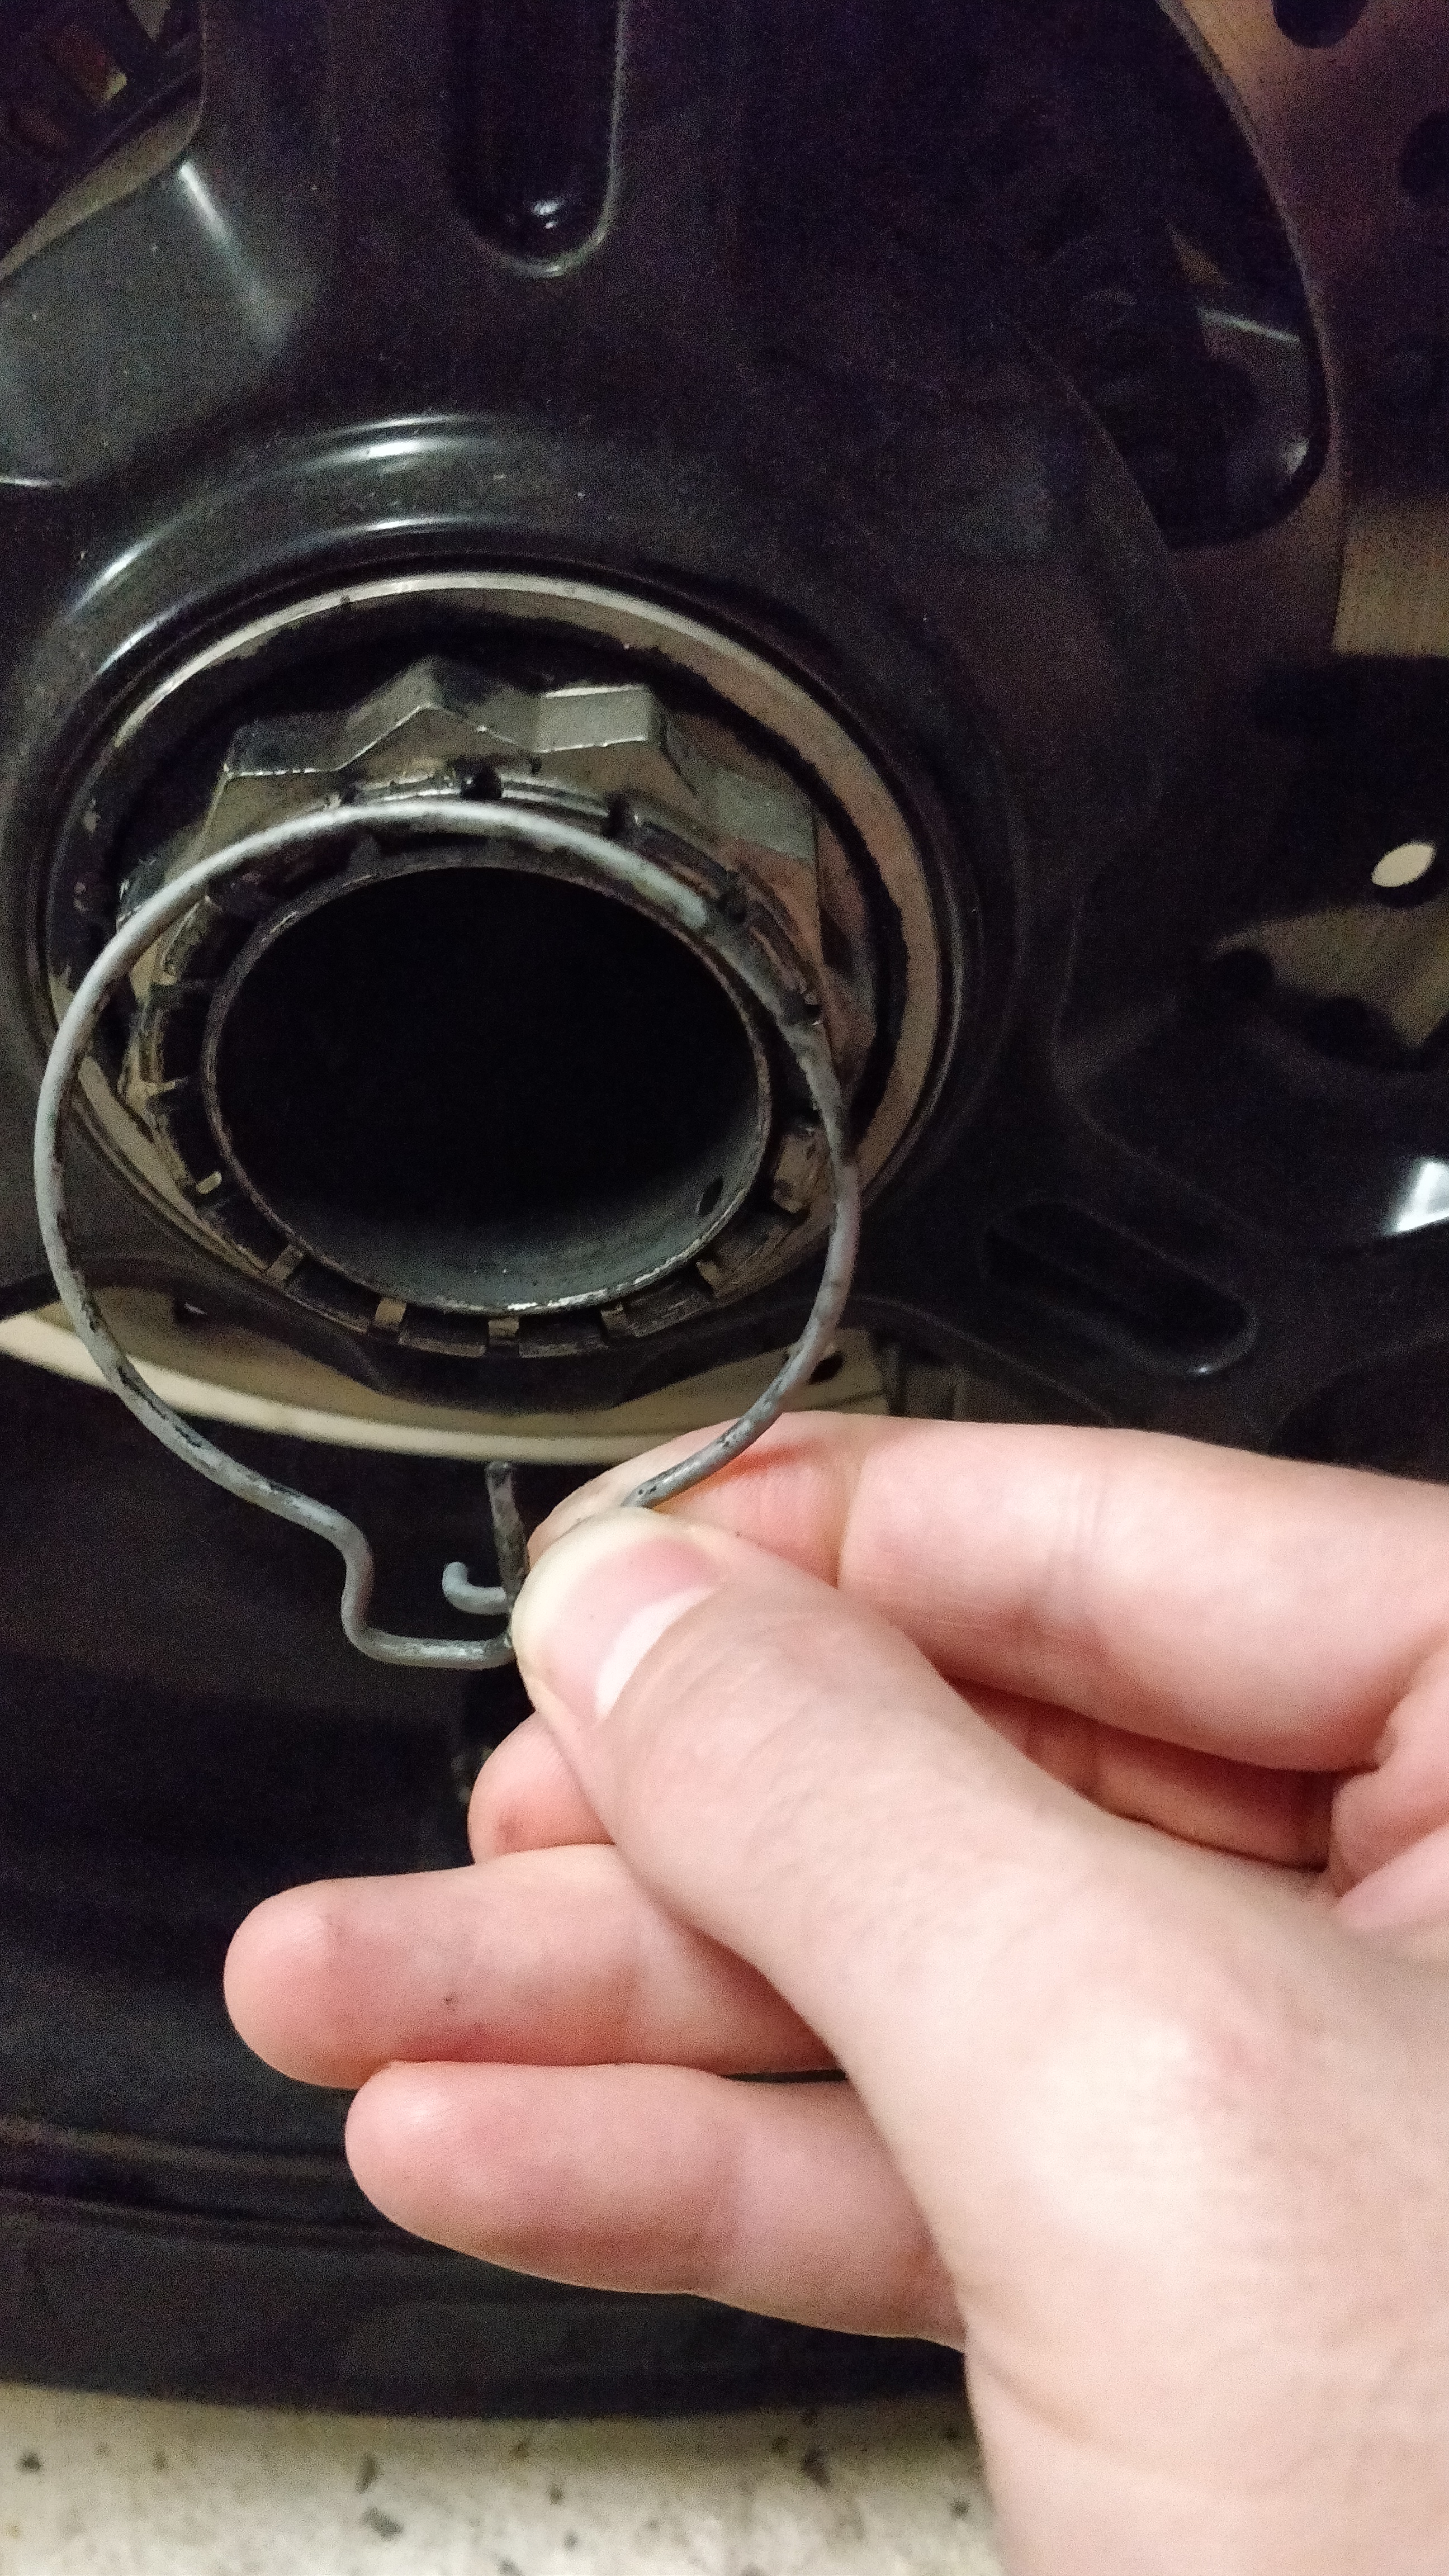 First i pop off the lock ring.
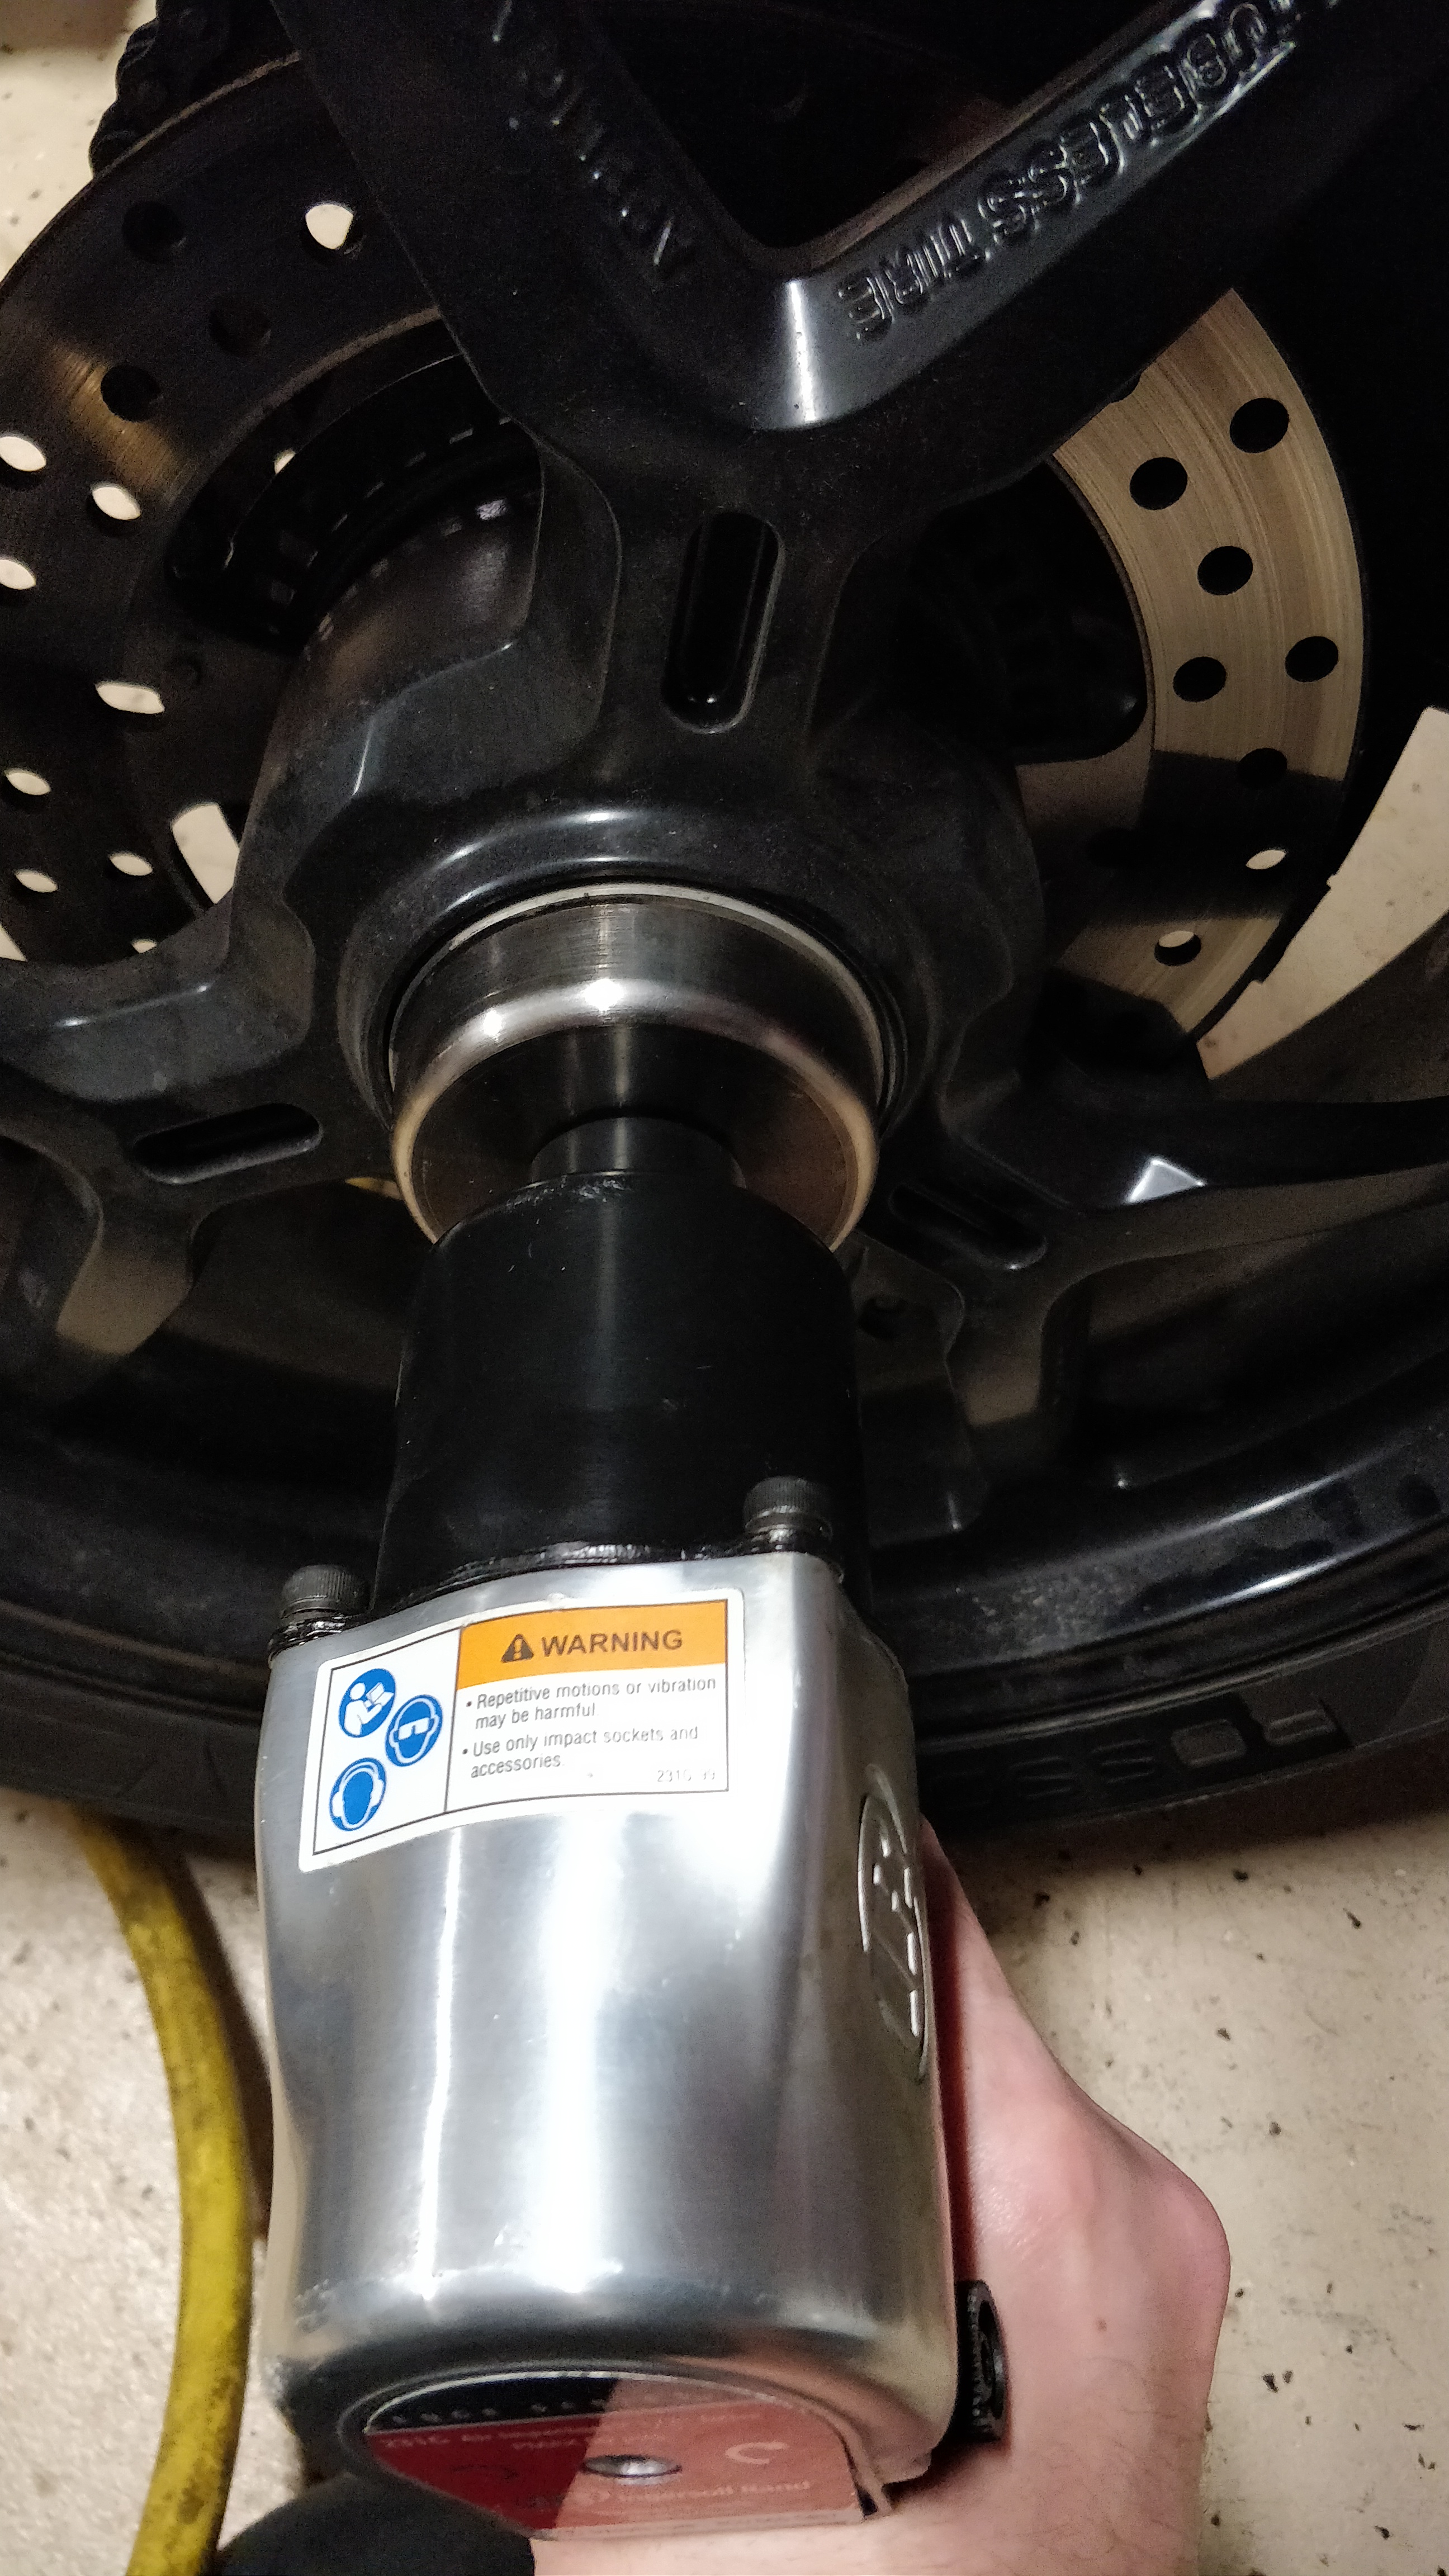
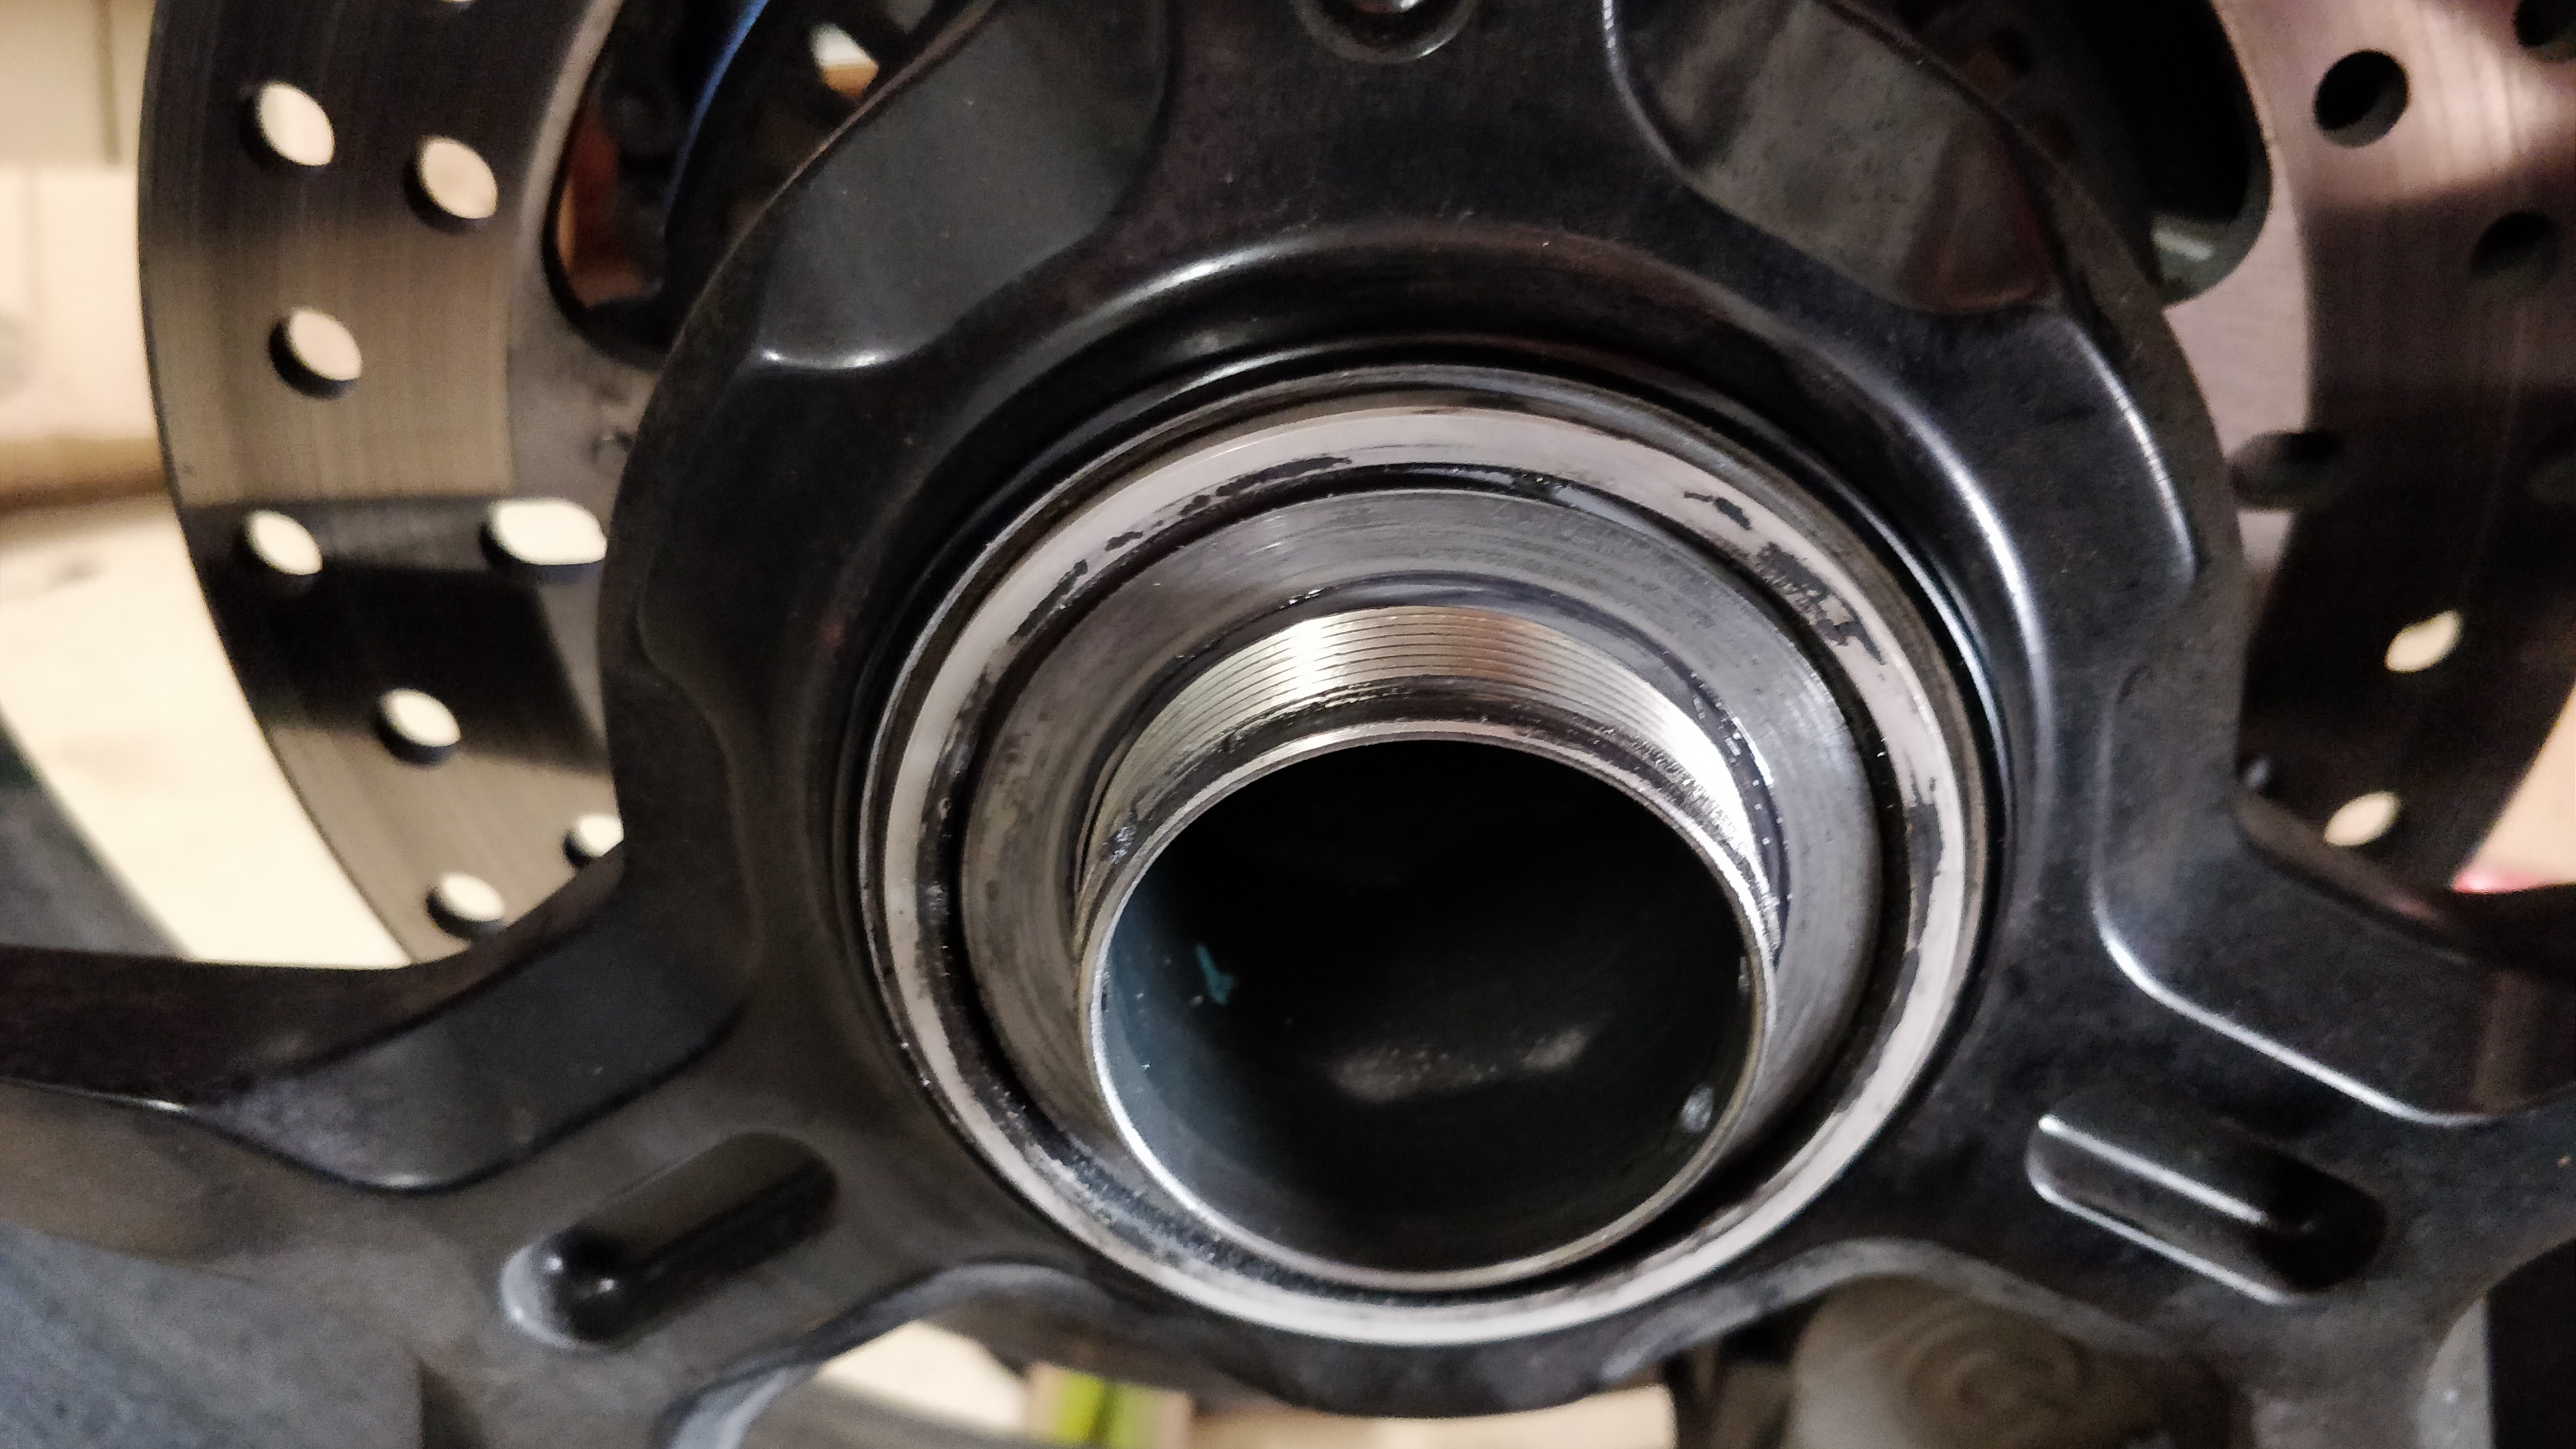
Now i set to work breaking loose the rear nut. People complain about this all the time. I was not too worried because i have an impact and a large breaker bar. However i work on this before doing the work of pulling the exhaust just in case.
 I Start working on it with the impact but its not moving. So i pull out my breaker bar. I stand on it and jump up and down until finally i sink to the floor.
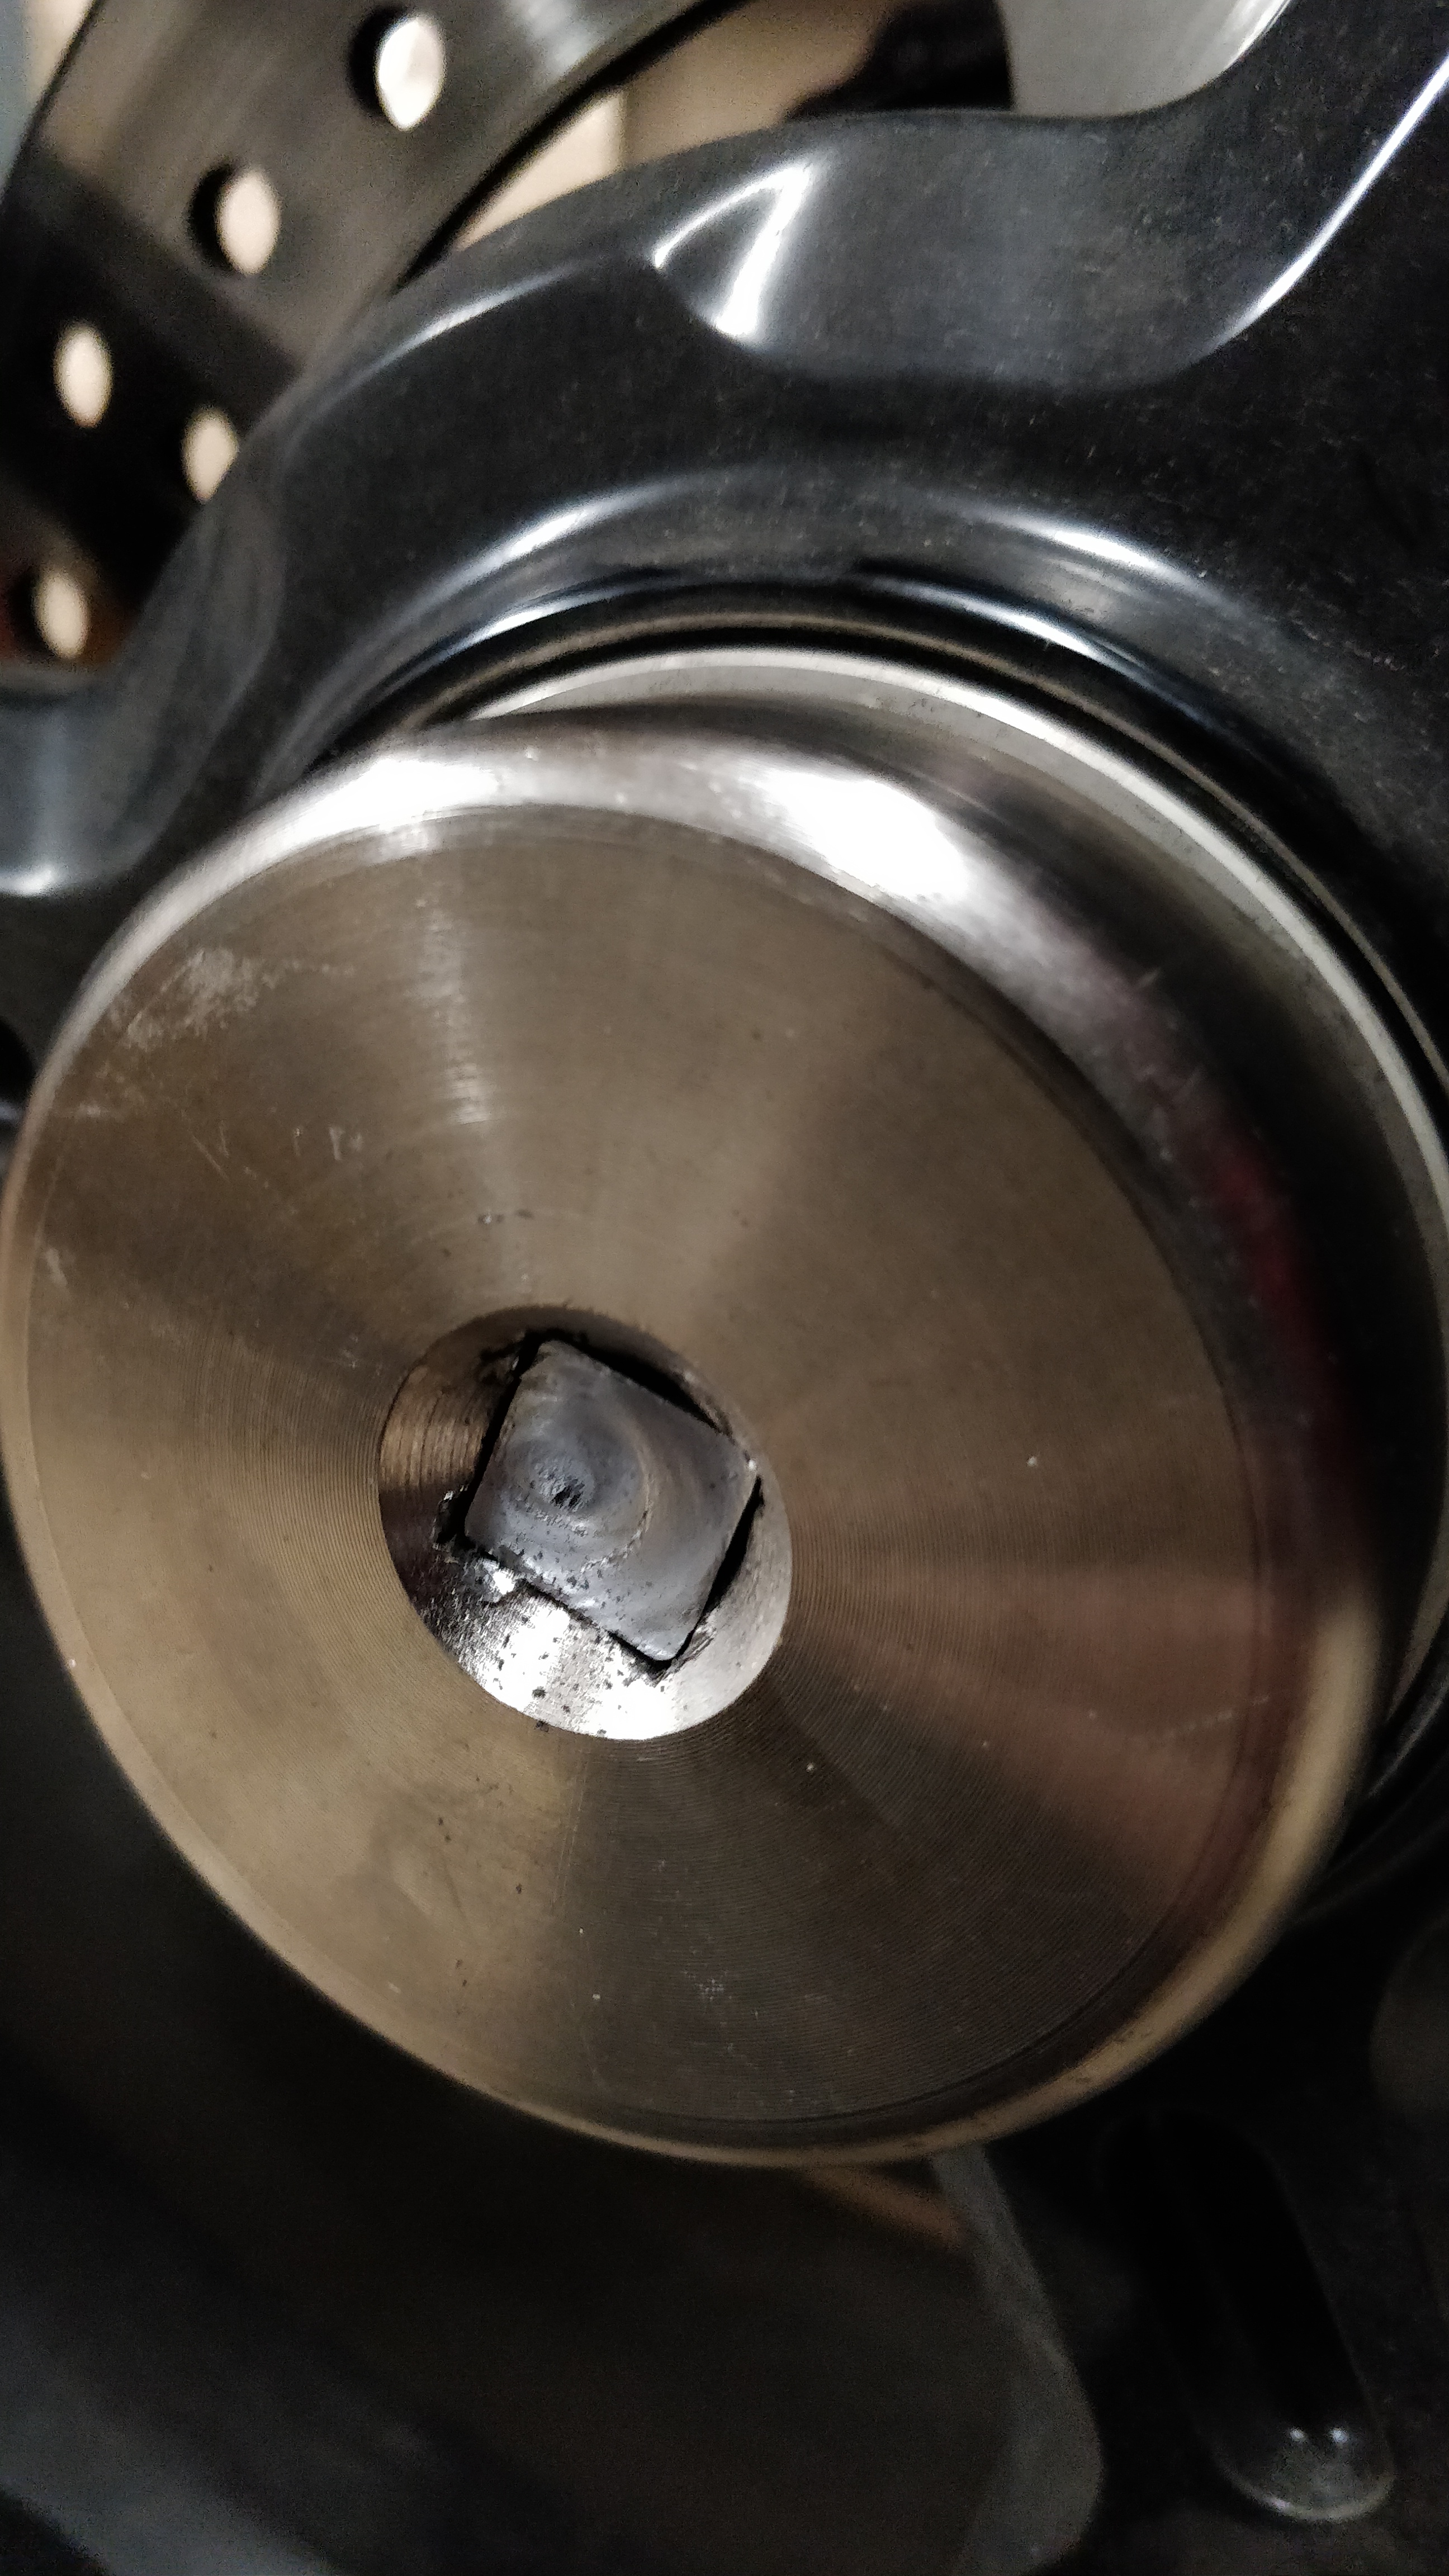
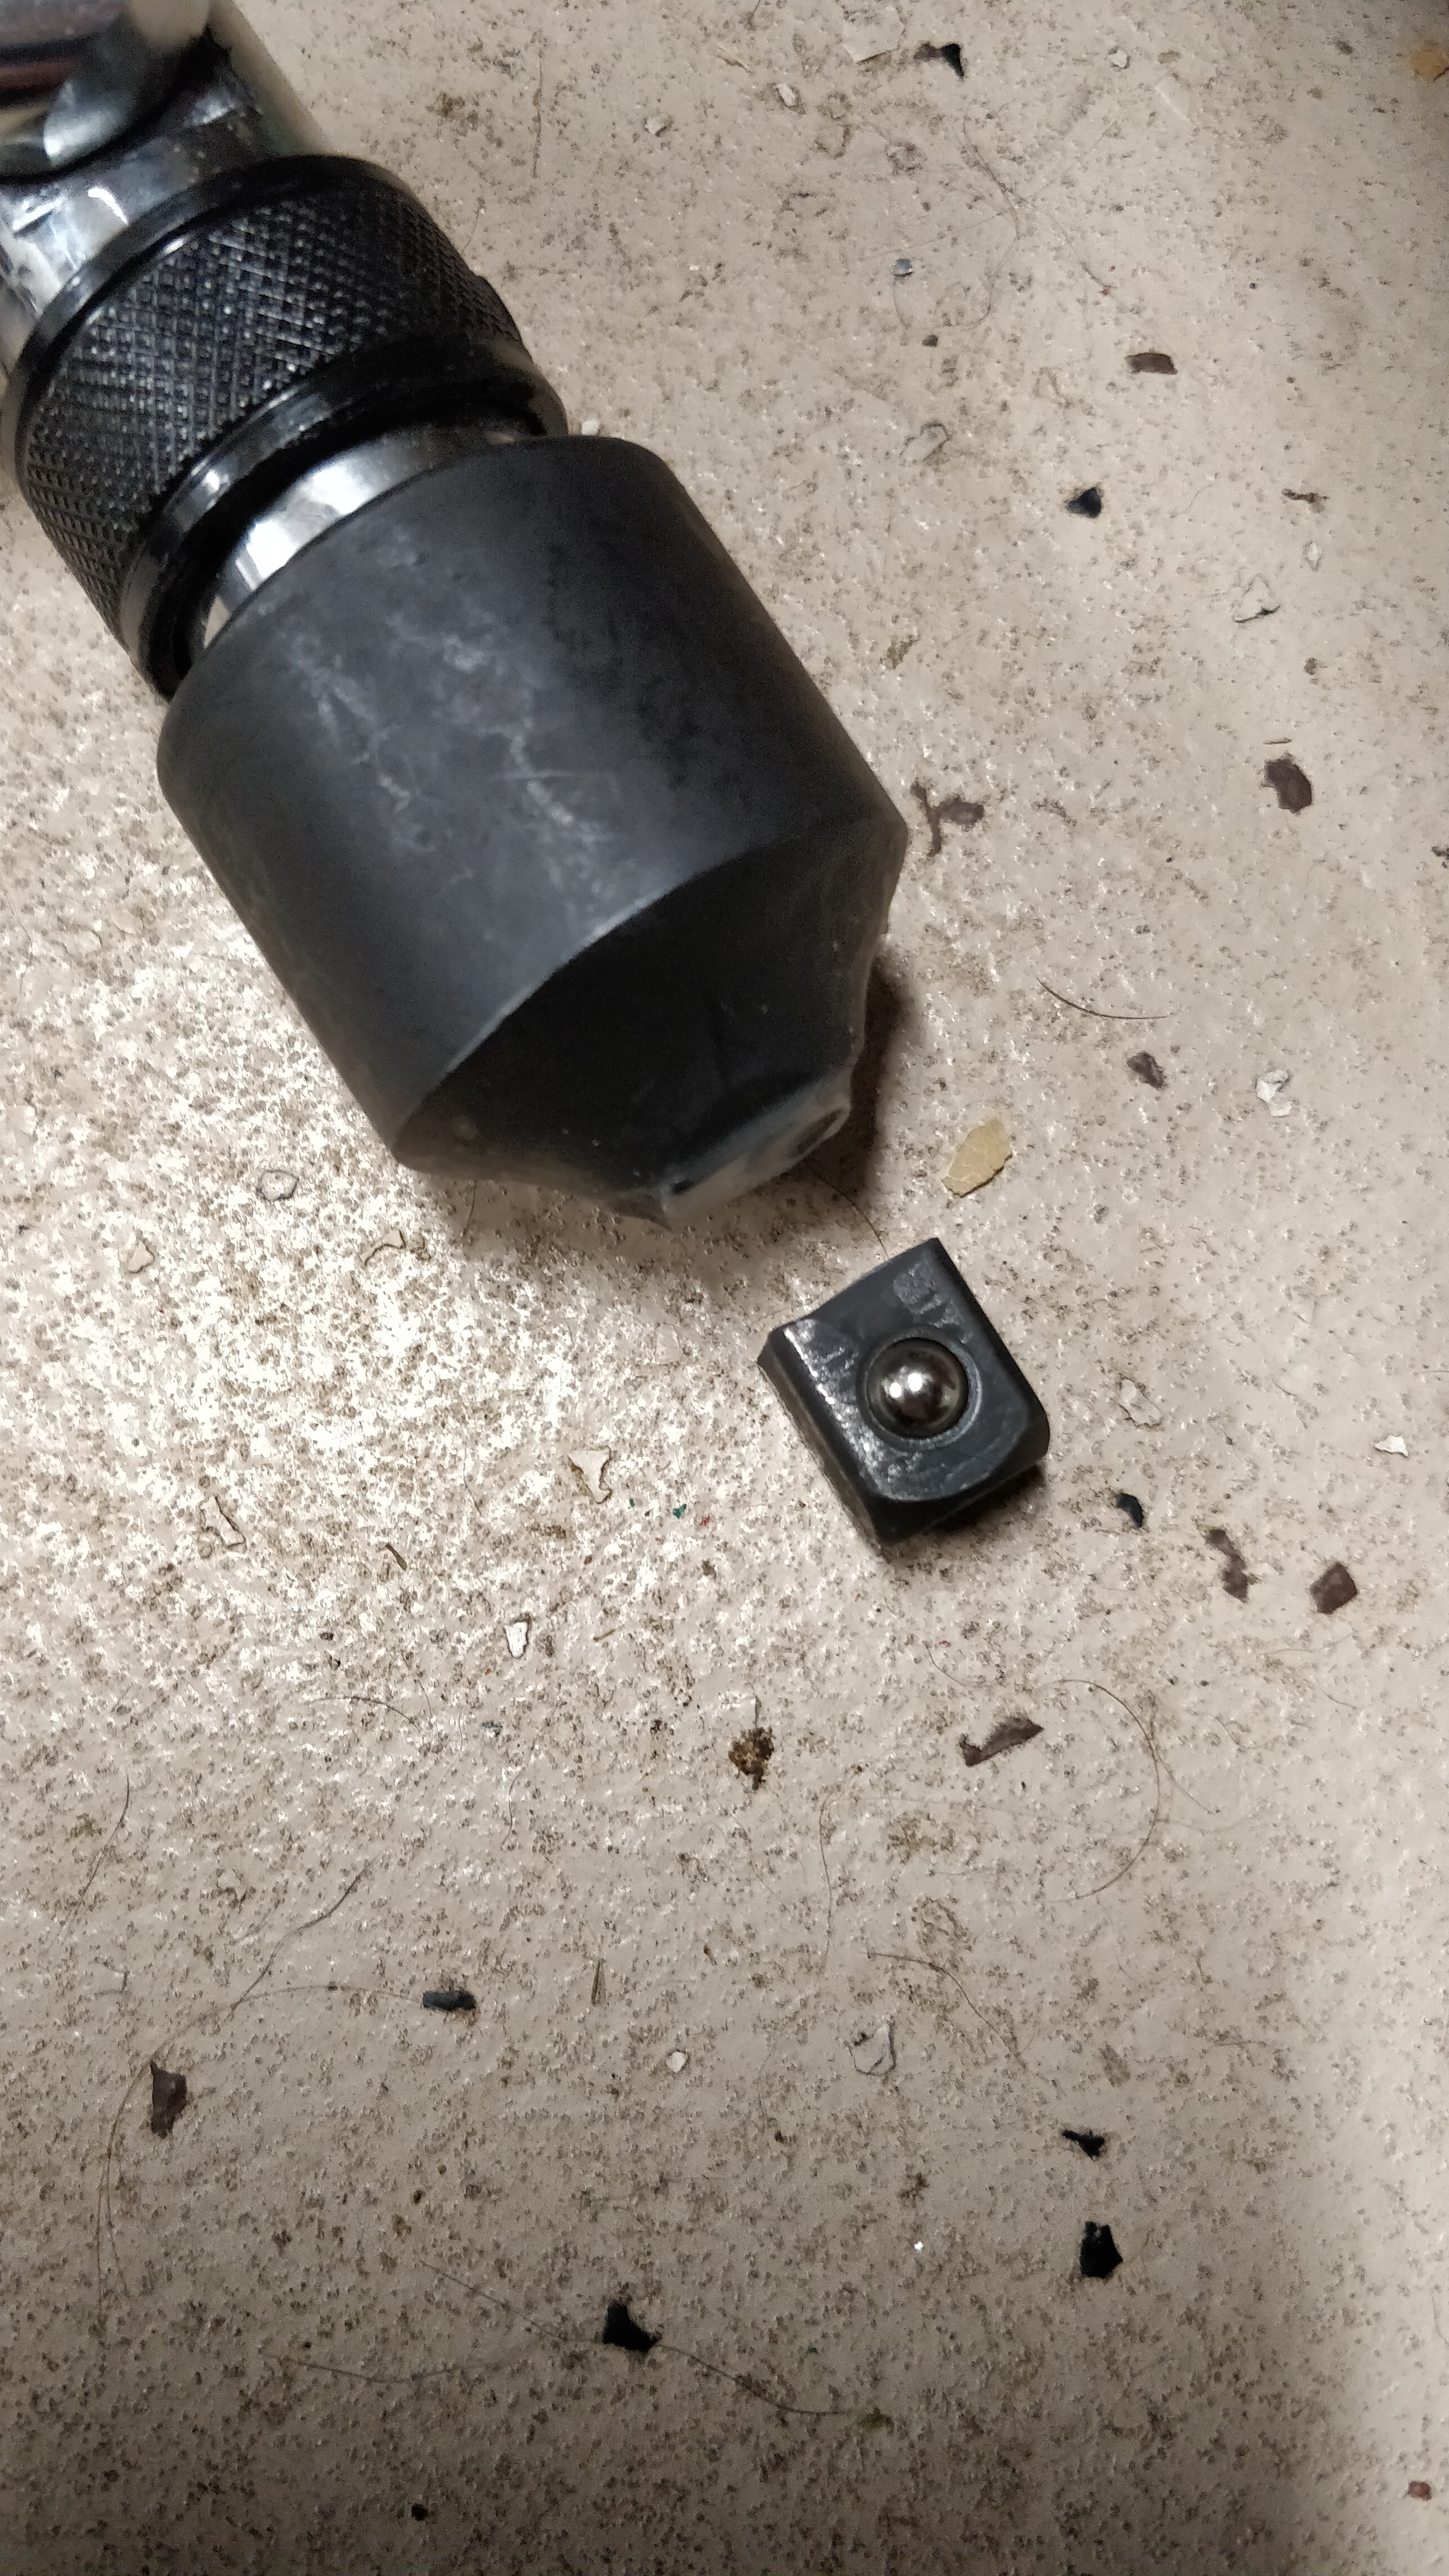 unfortunately the breaker bar rolls off as i hit the floor and i notice i broke my 1/2" adapter.
So after all the jumping and such the bike shifted backwards in the garage and now that i dont have a breaker bar i decide i will try the impact again for a bit longer. I shift the bike forward to put it on the putbull stand.
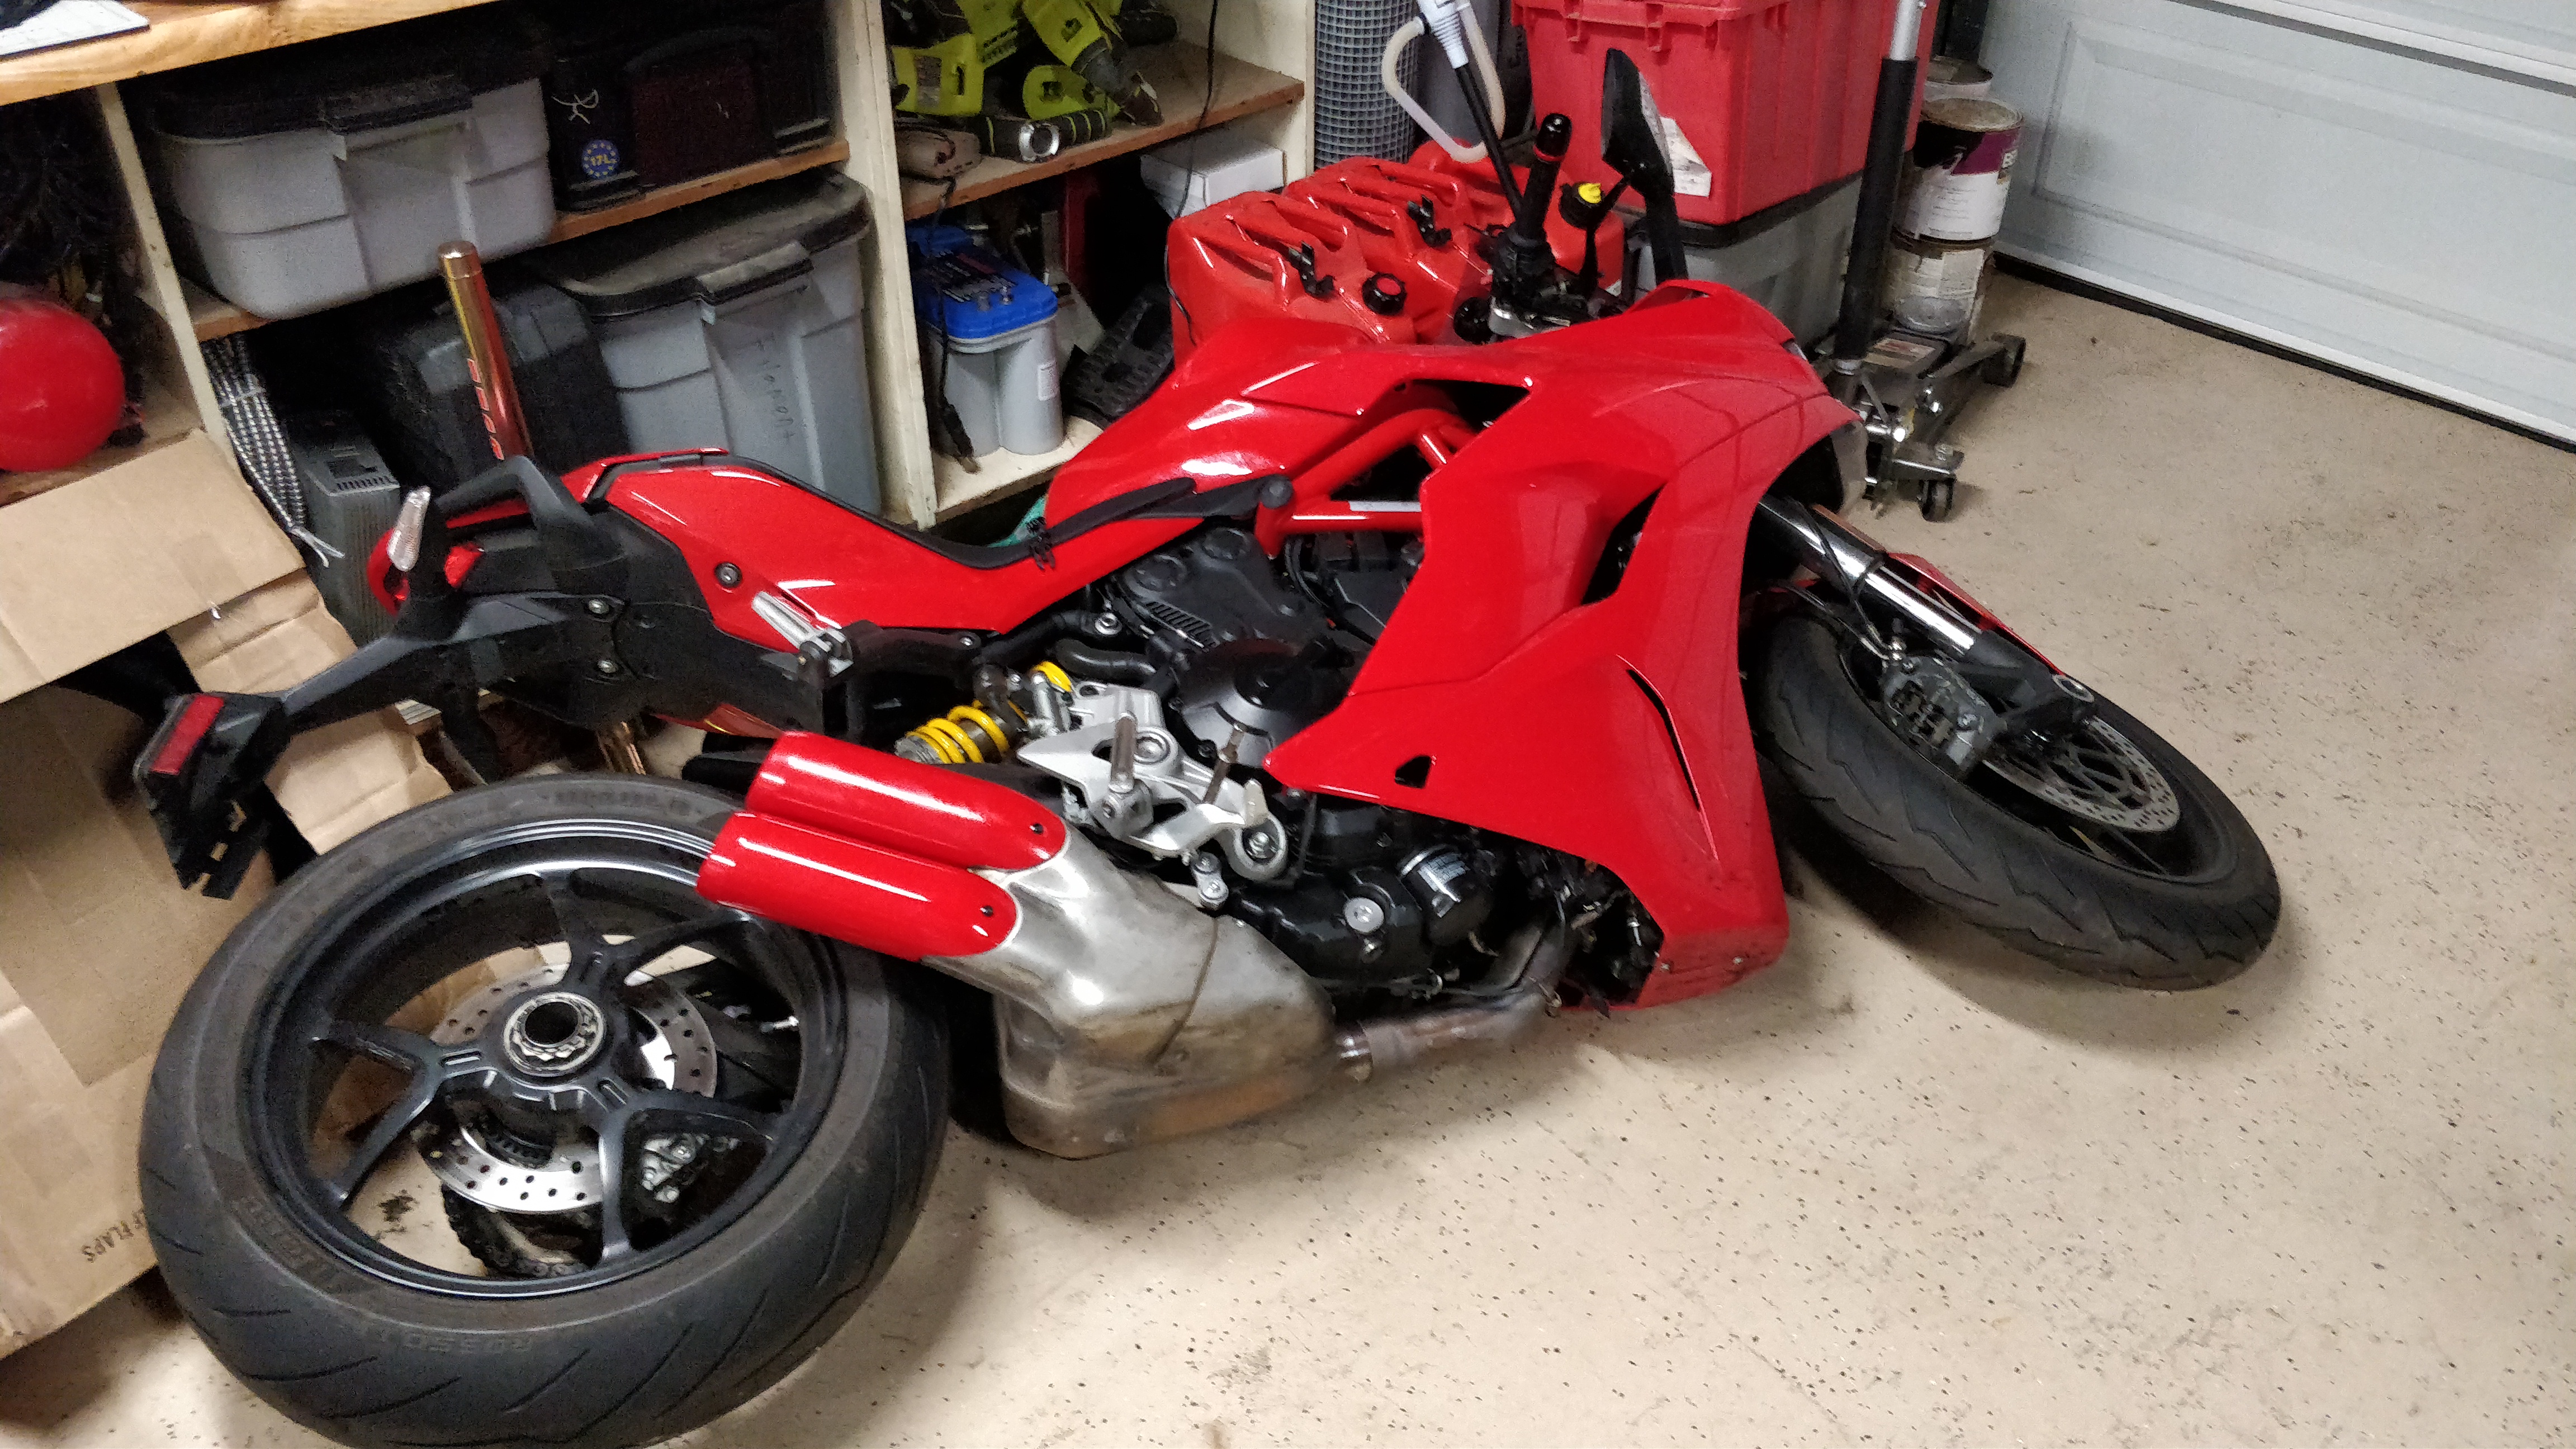 DISASTER. Pulling it forward the kickstand popped up on me and down it went.
 After hammering on it with the impact SUCCESS!
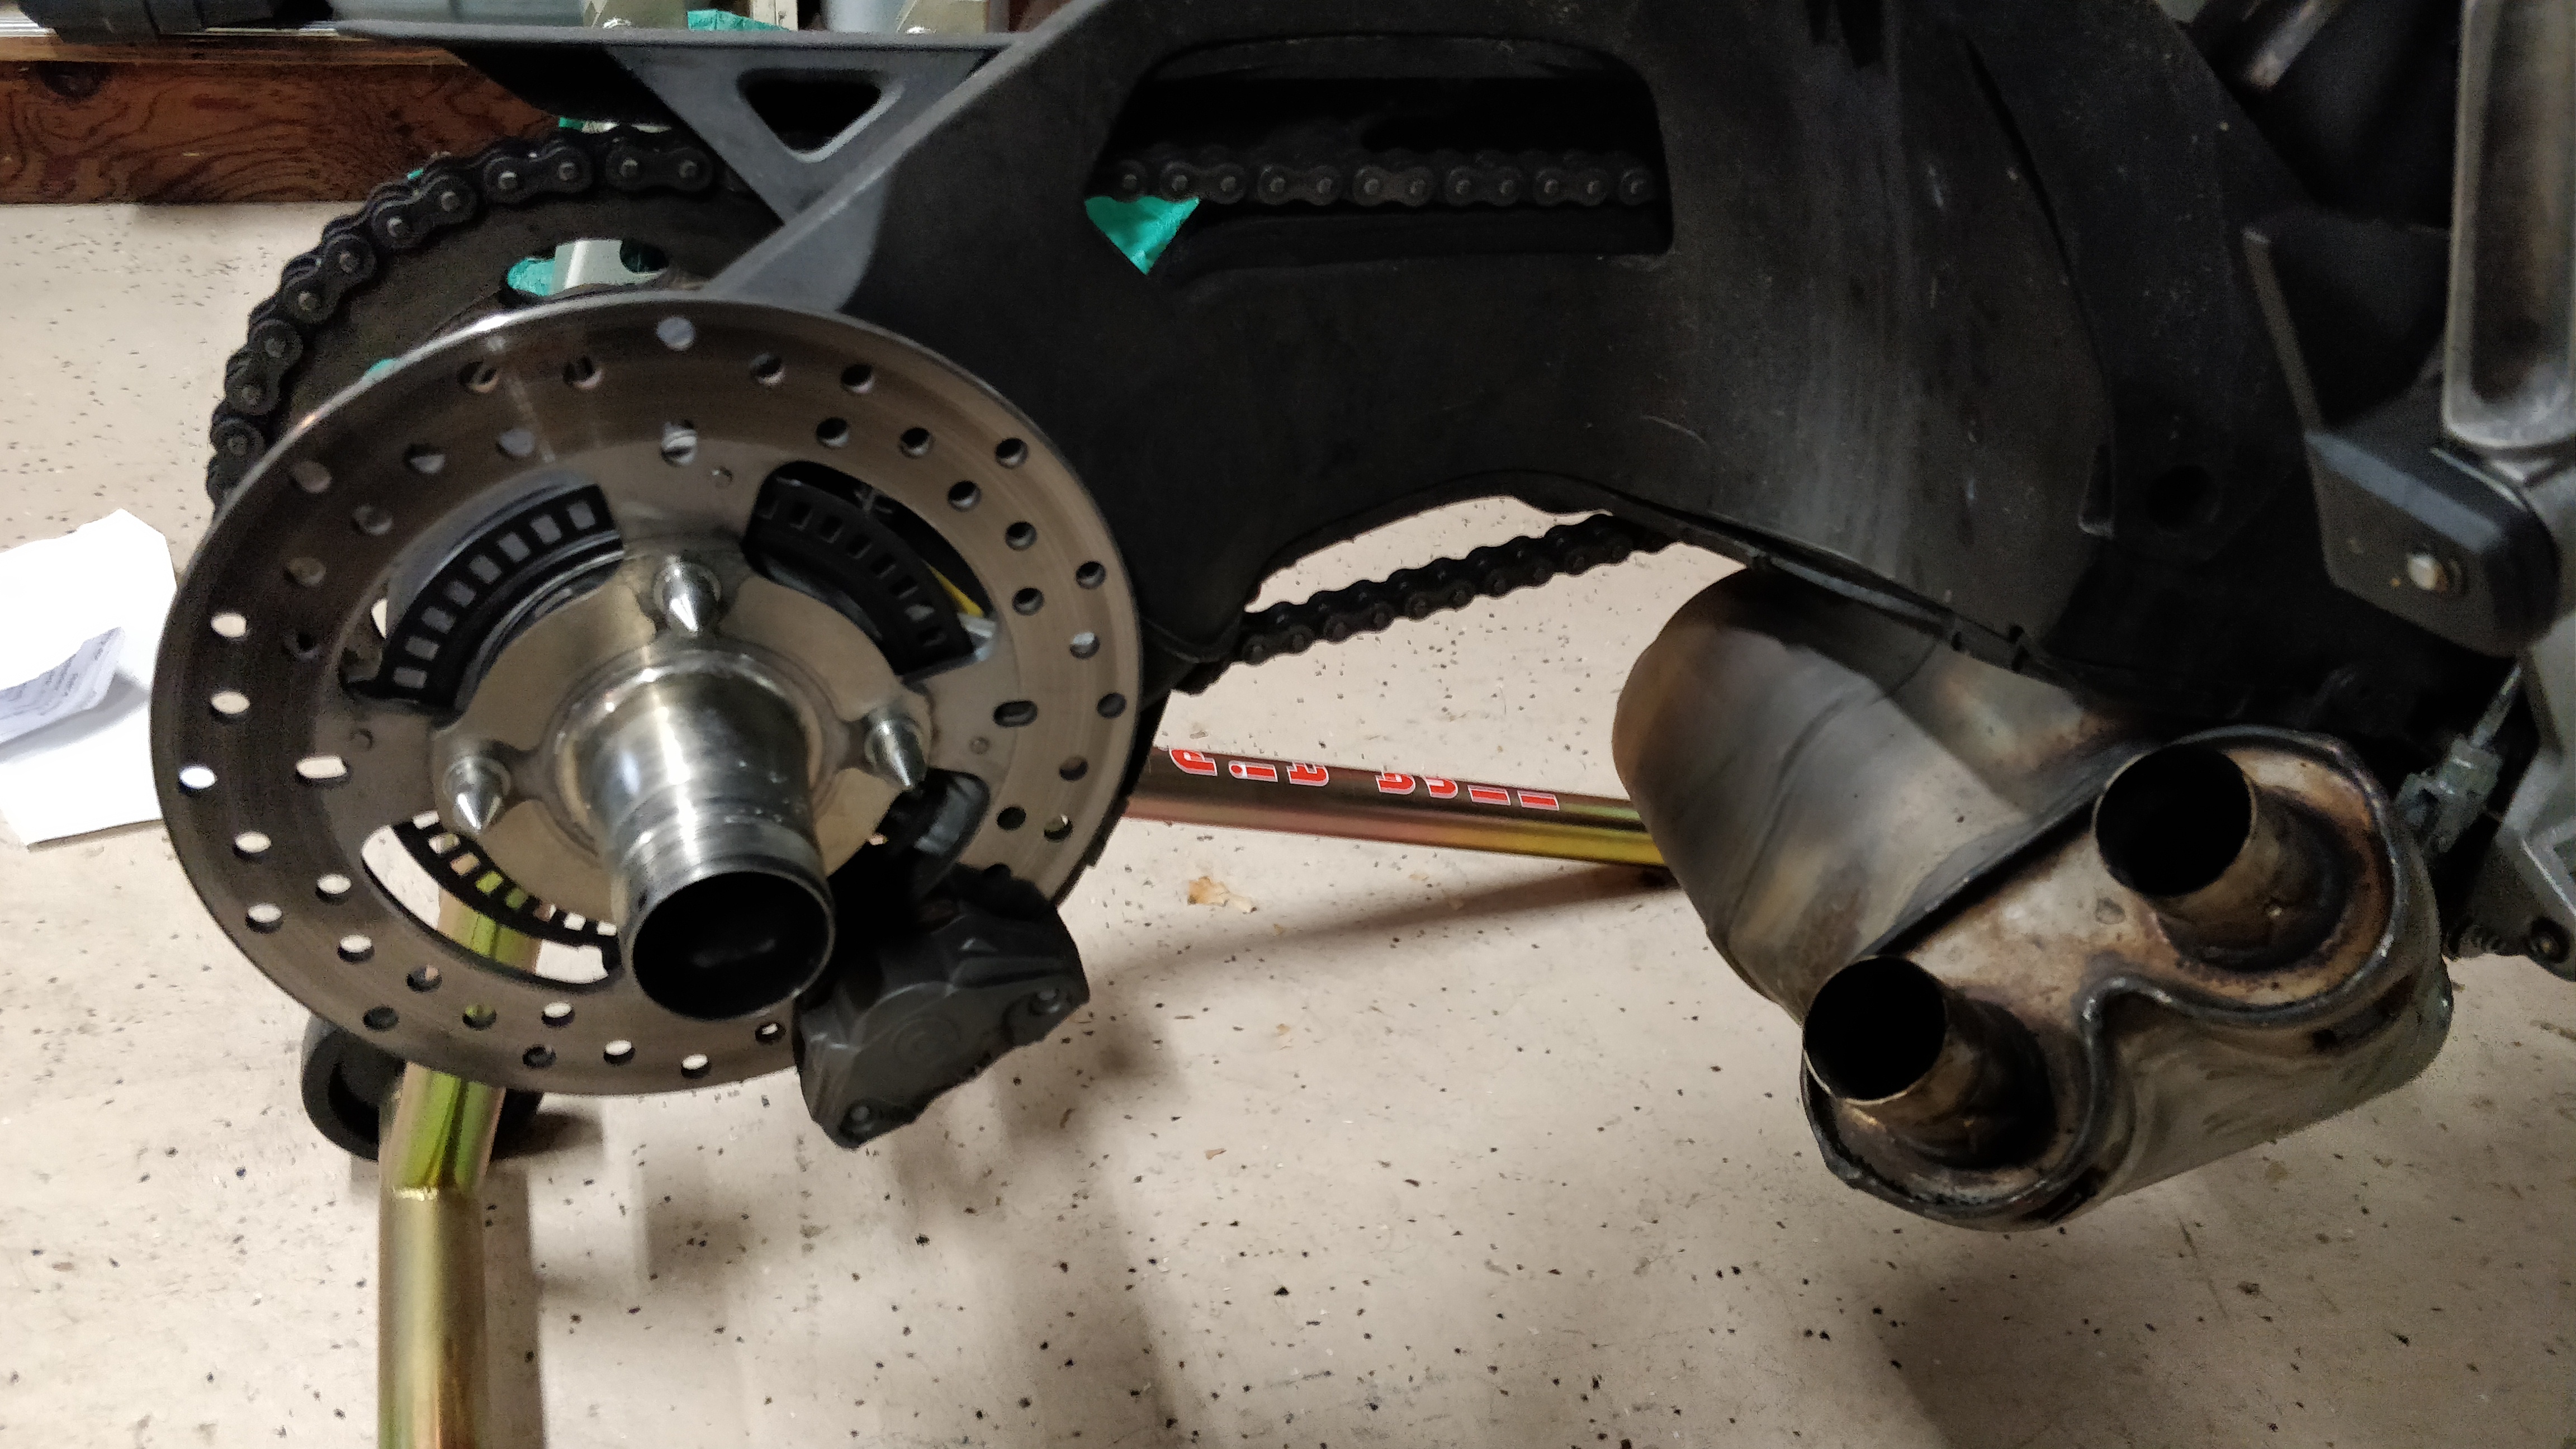
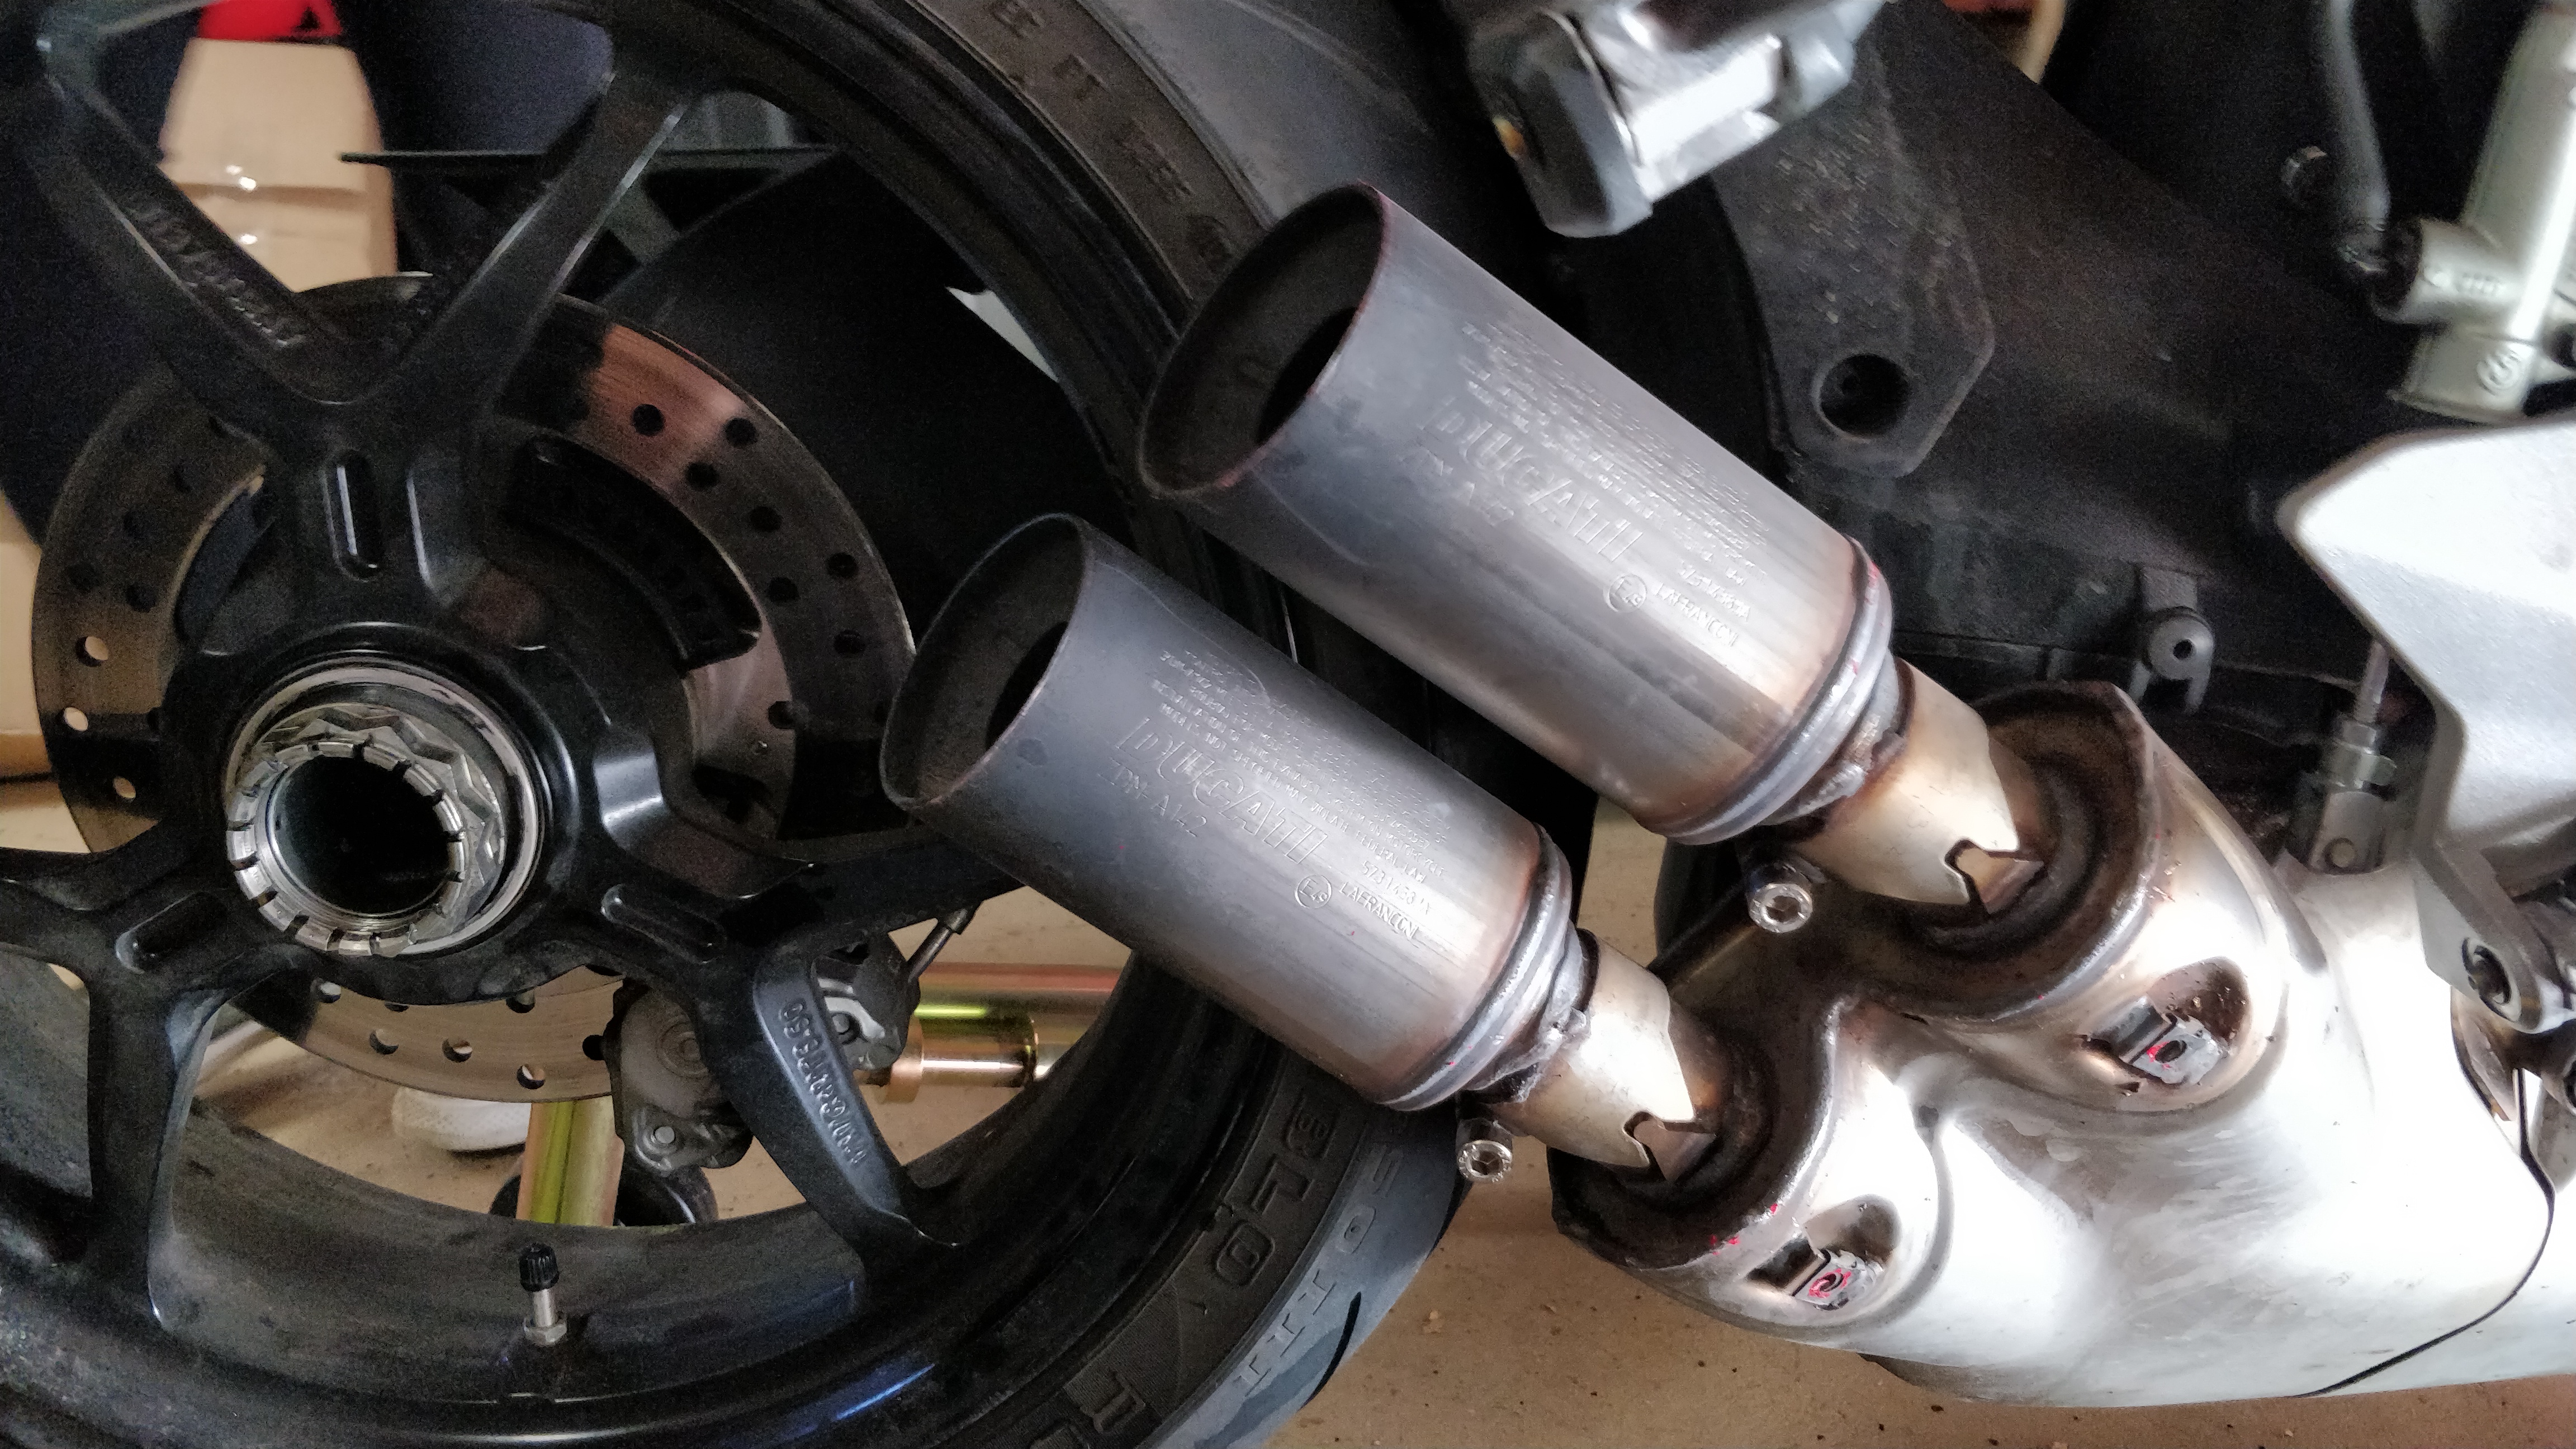 Now i pull the exhaust covers and the tips. Now i get to start the fun part.
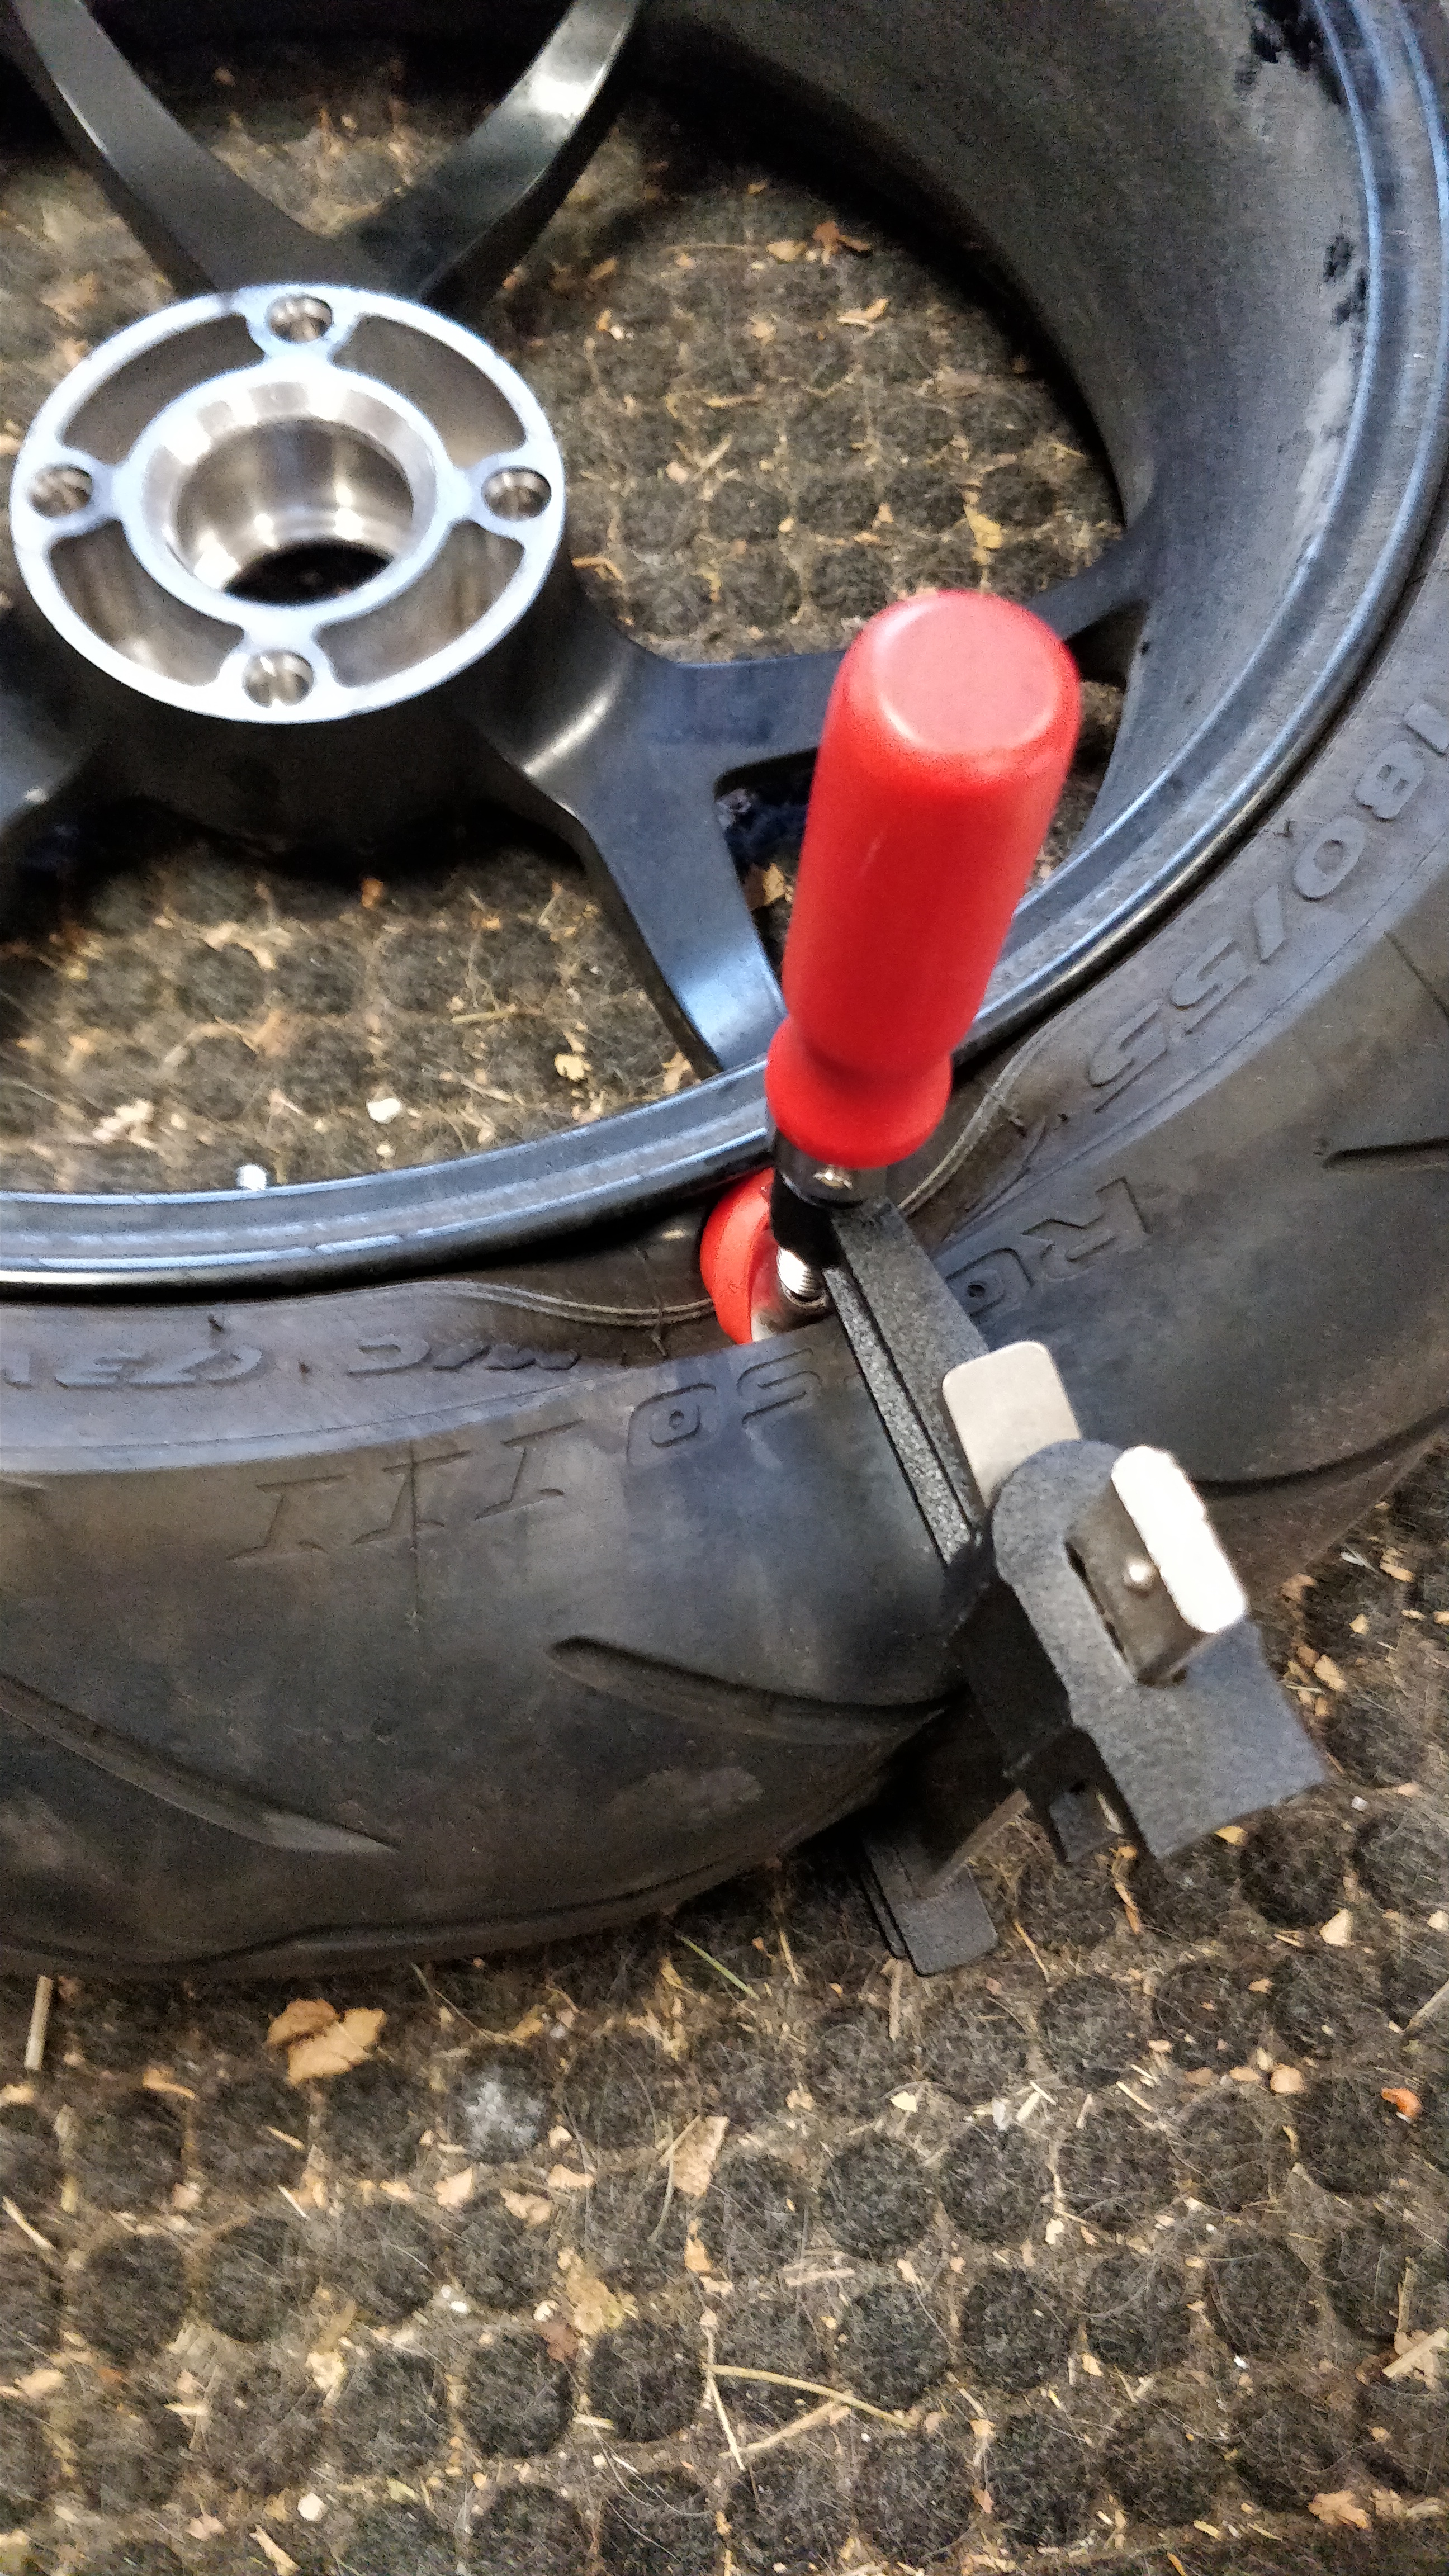
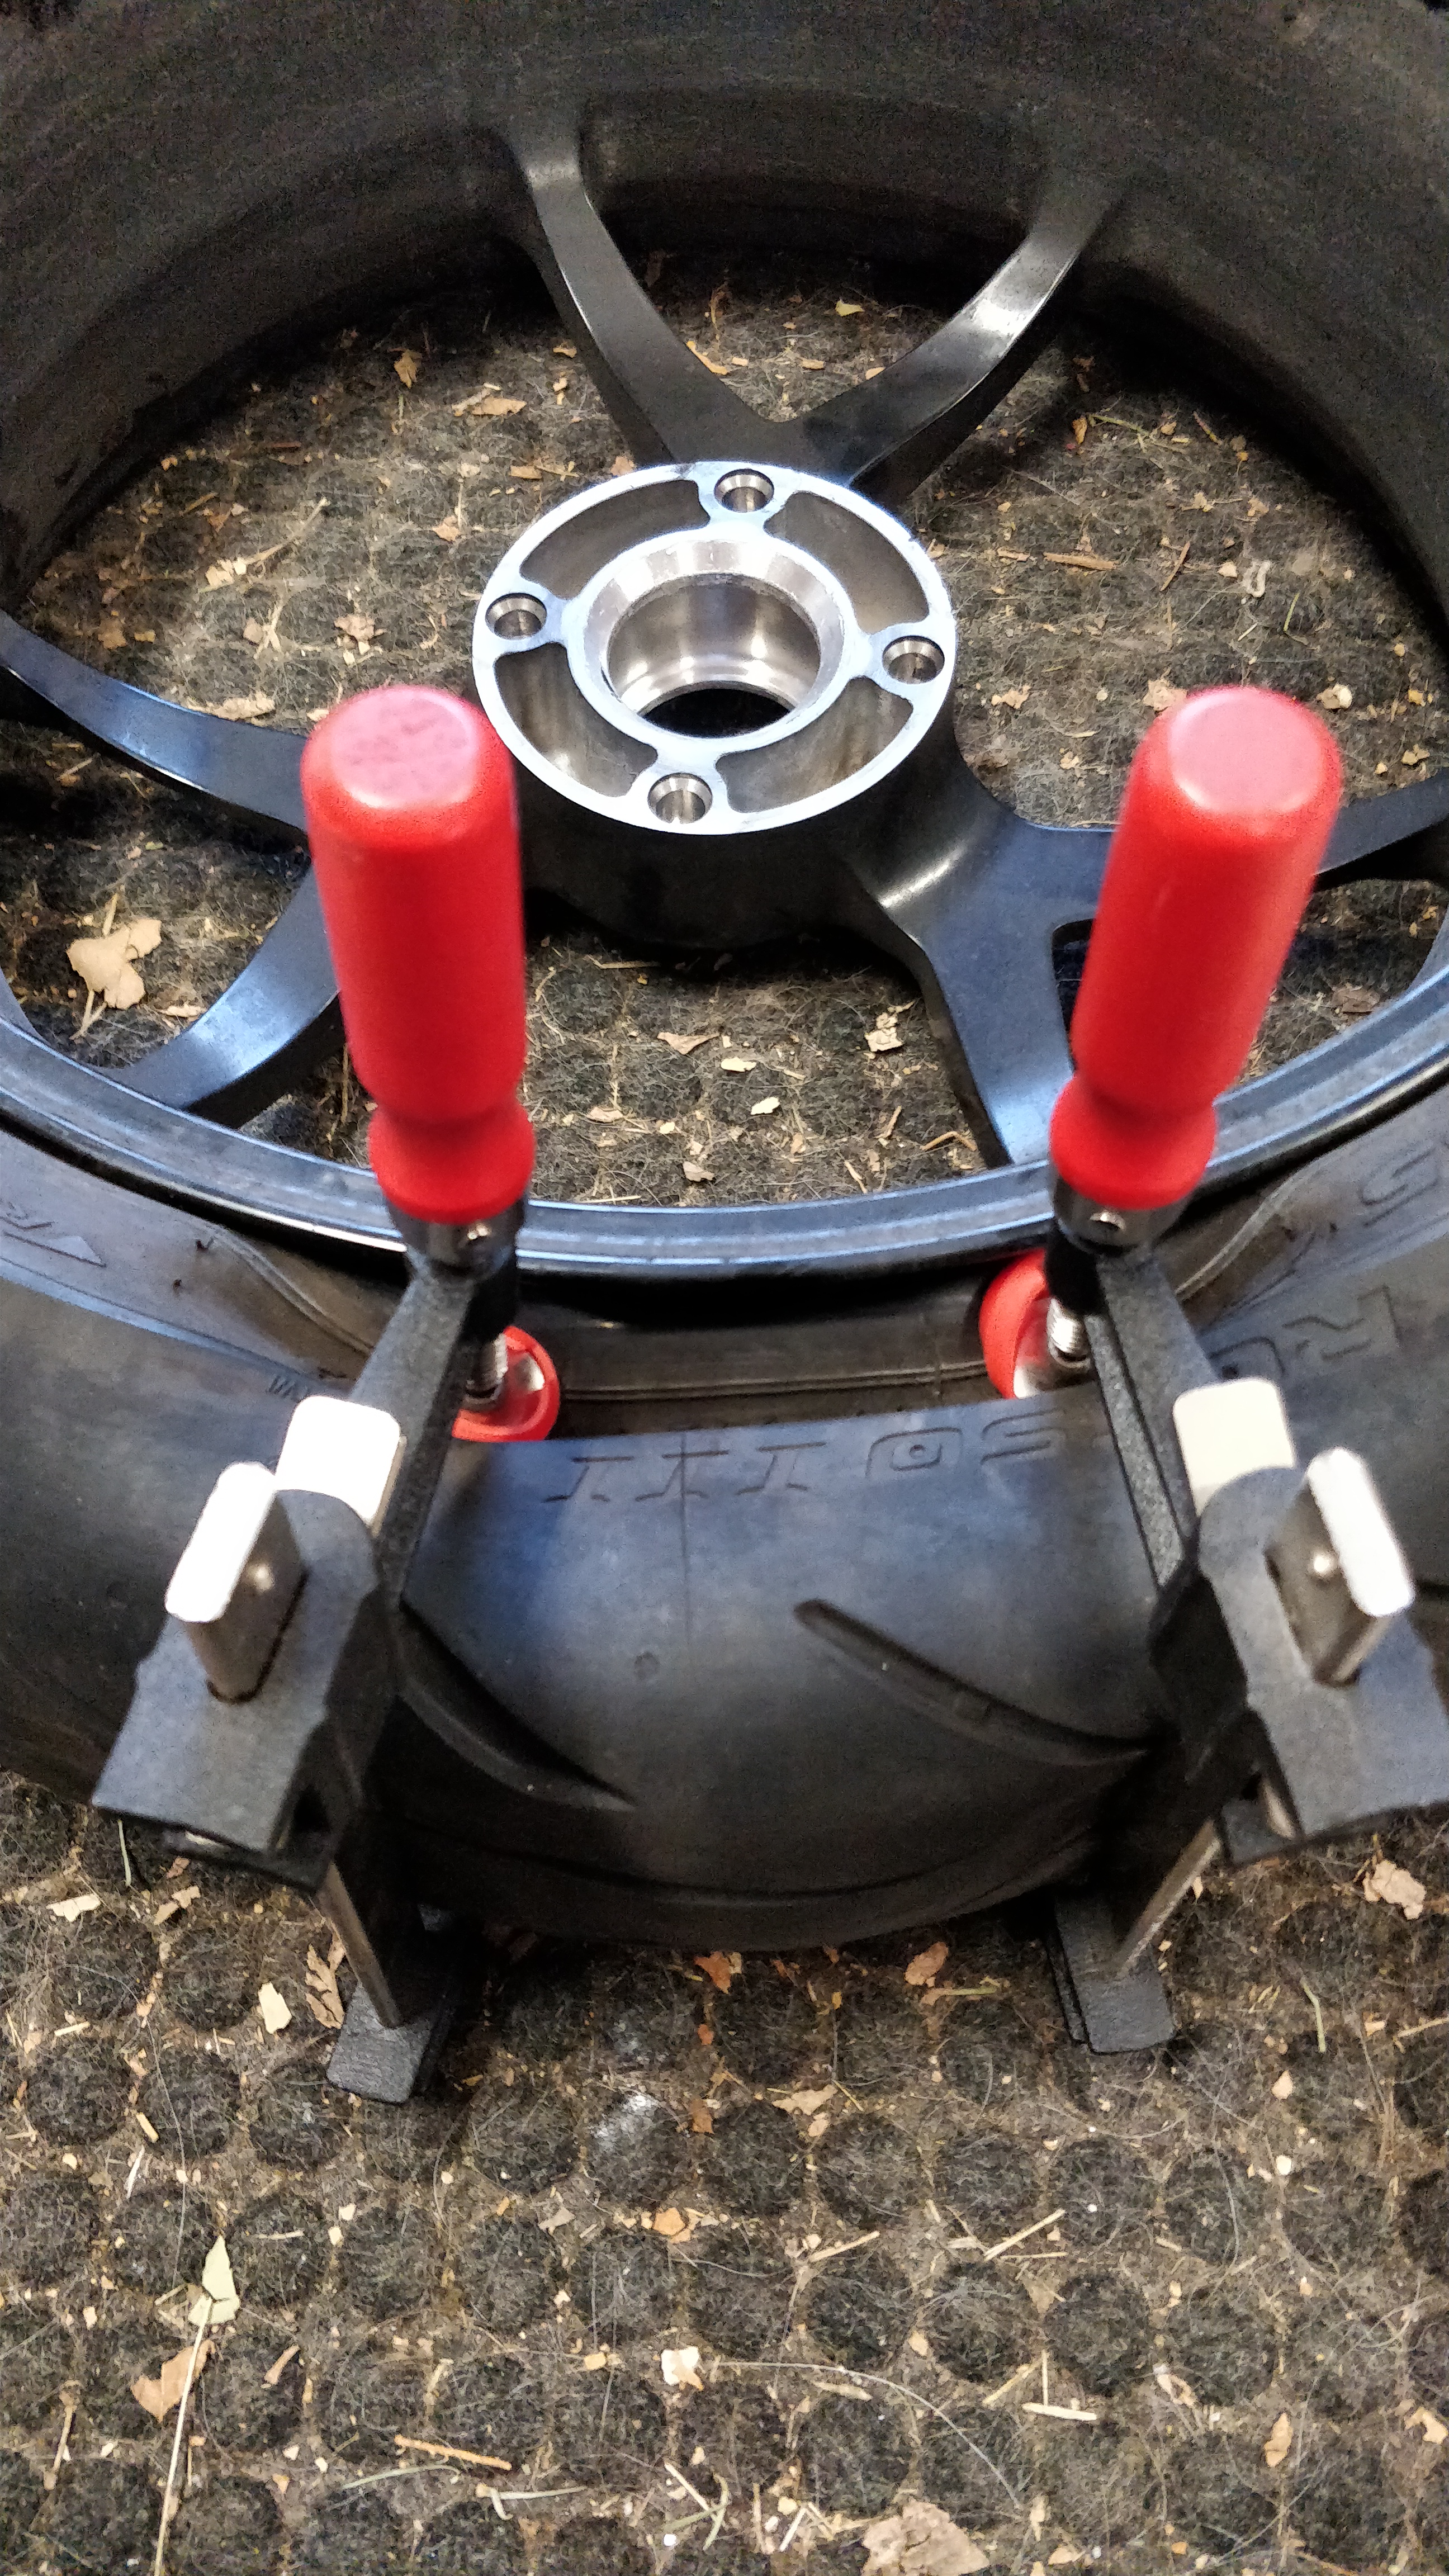 I decided to try the Clamp method to break the bead because i already had them and did not want to buy a bunch of extra tools.
 I forgot the soap at first but after i added it i finally popped the bead. The key to all of this is lots and lots of lube of some sort. I use dawn dish washing liquid and water in a spray bottle. Some people don't like to use soap and water because it can promote rust. In my case because these are aluminum wheels im not worried about it.
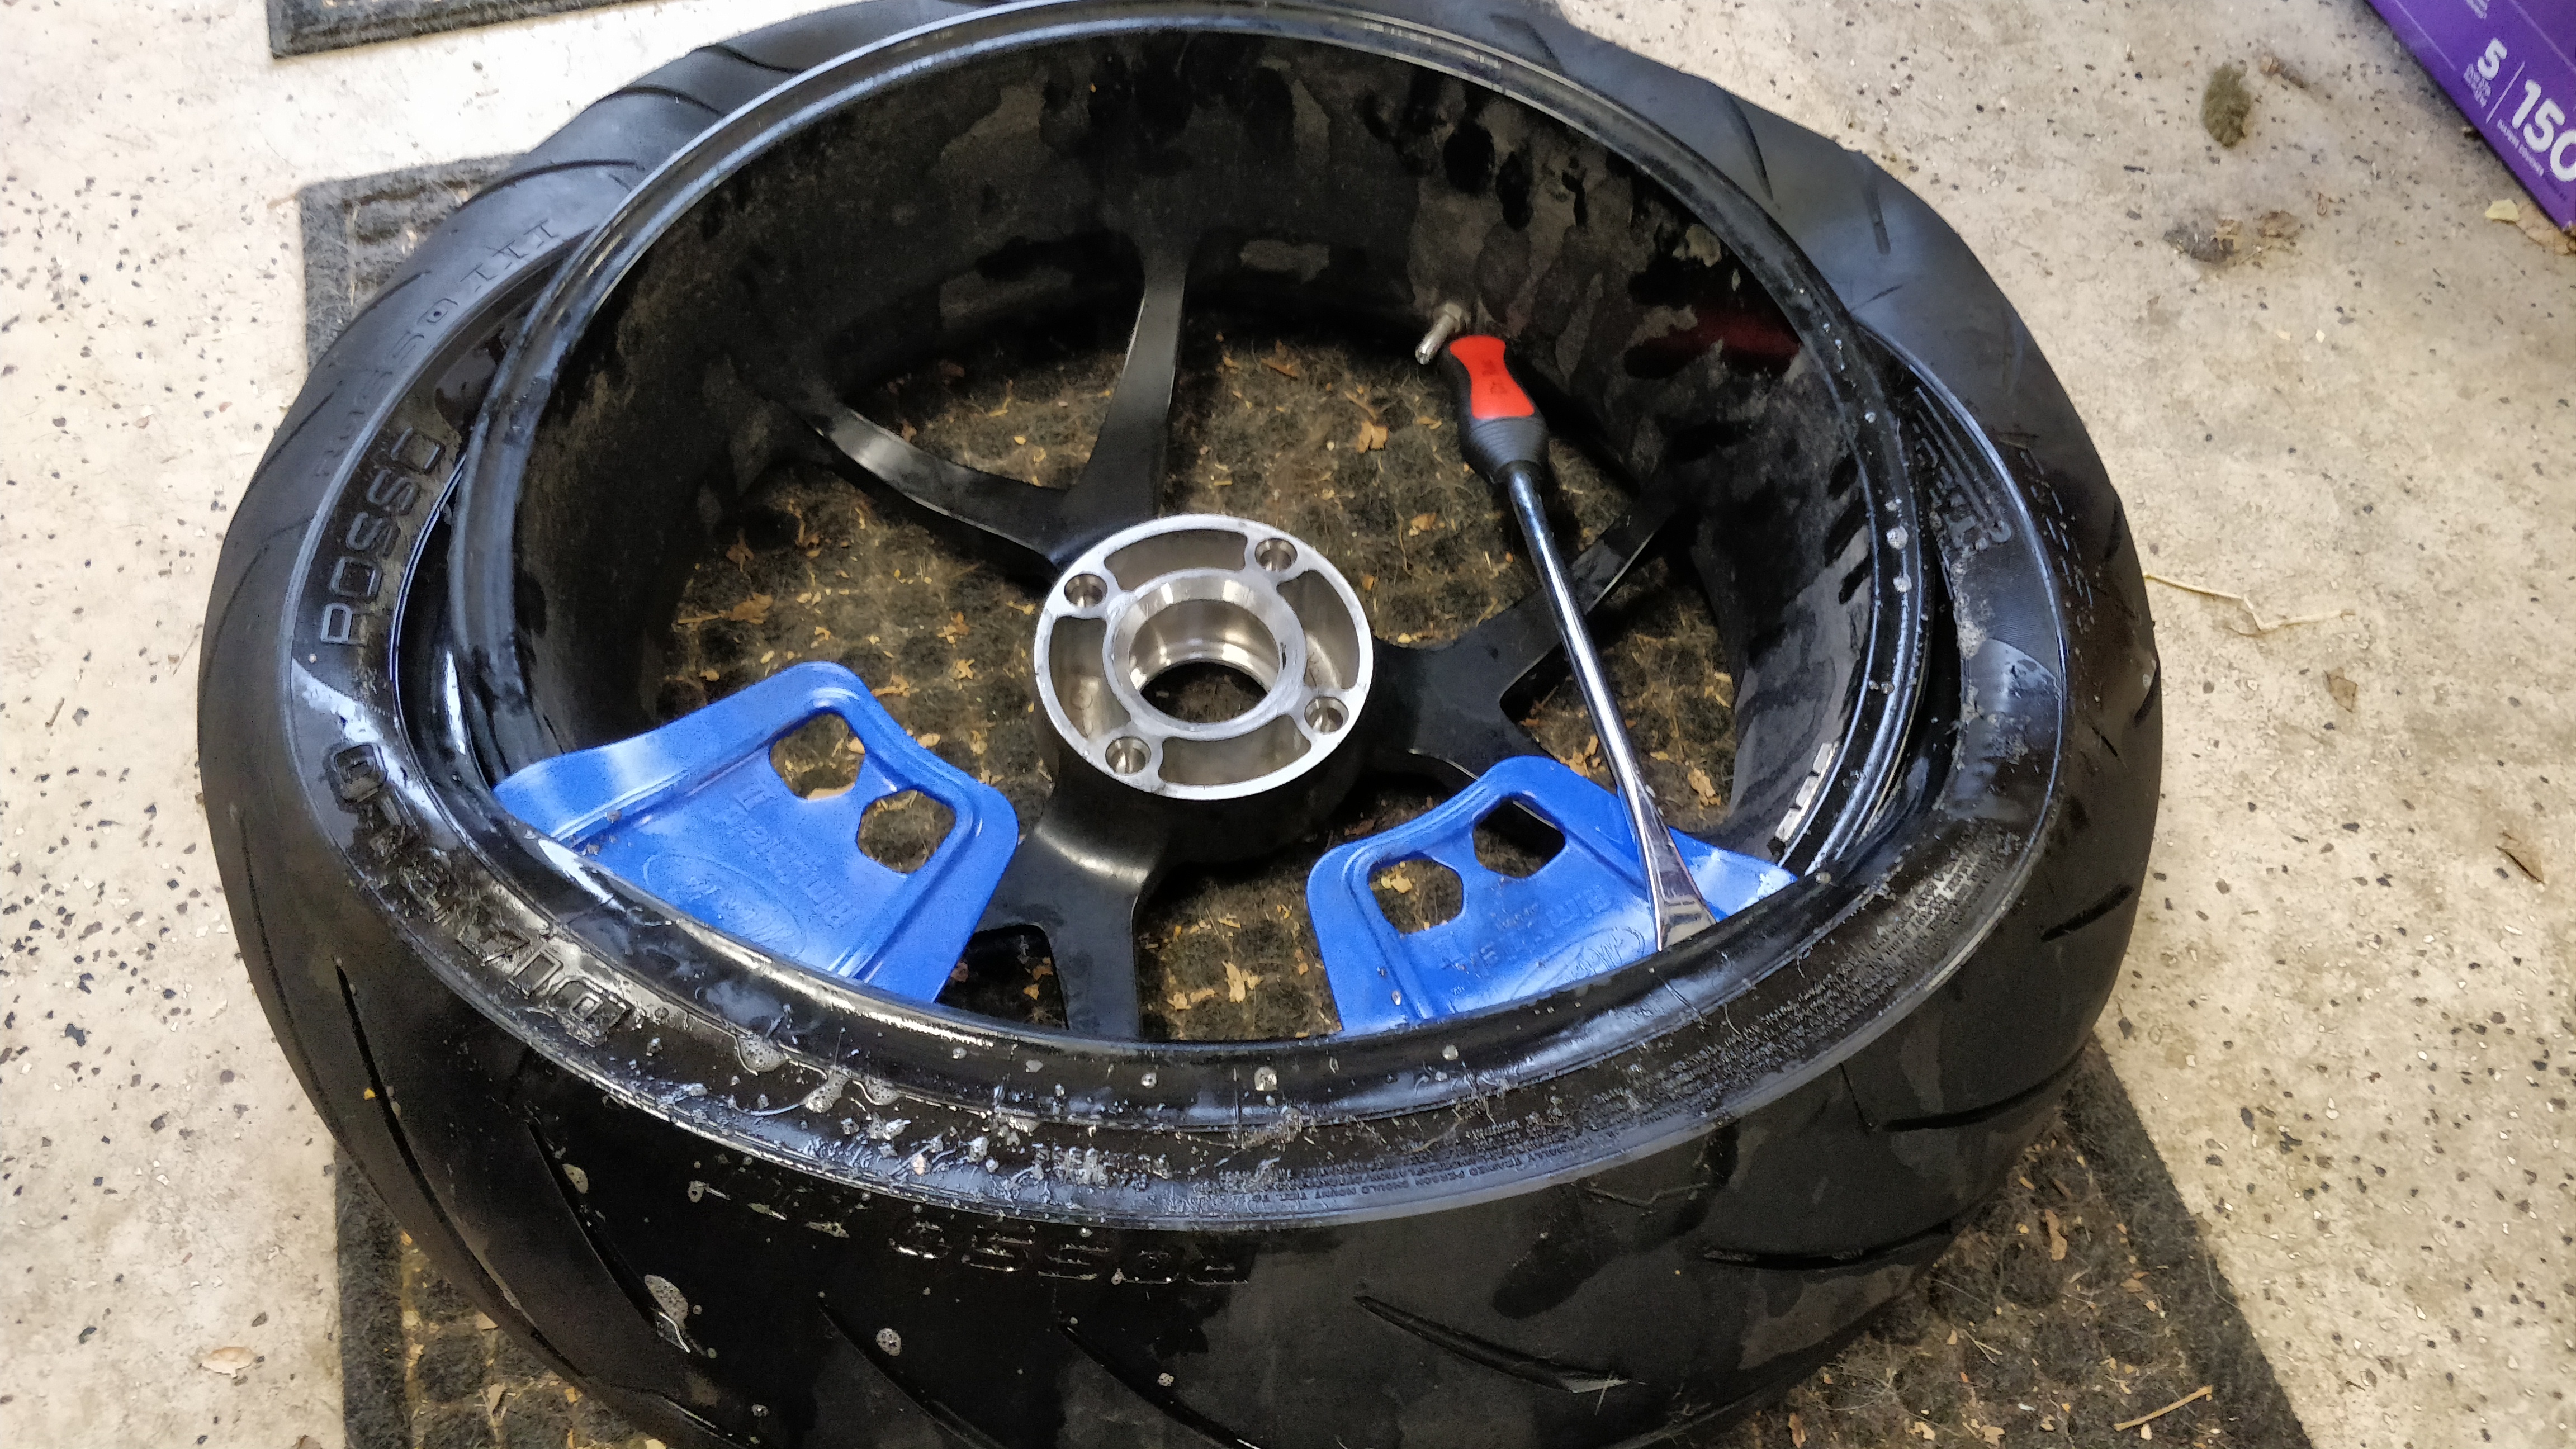 I put in my rim protectors and start working the tire with my spoons.
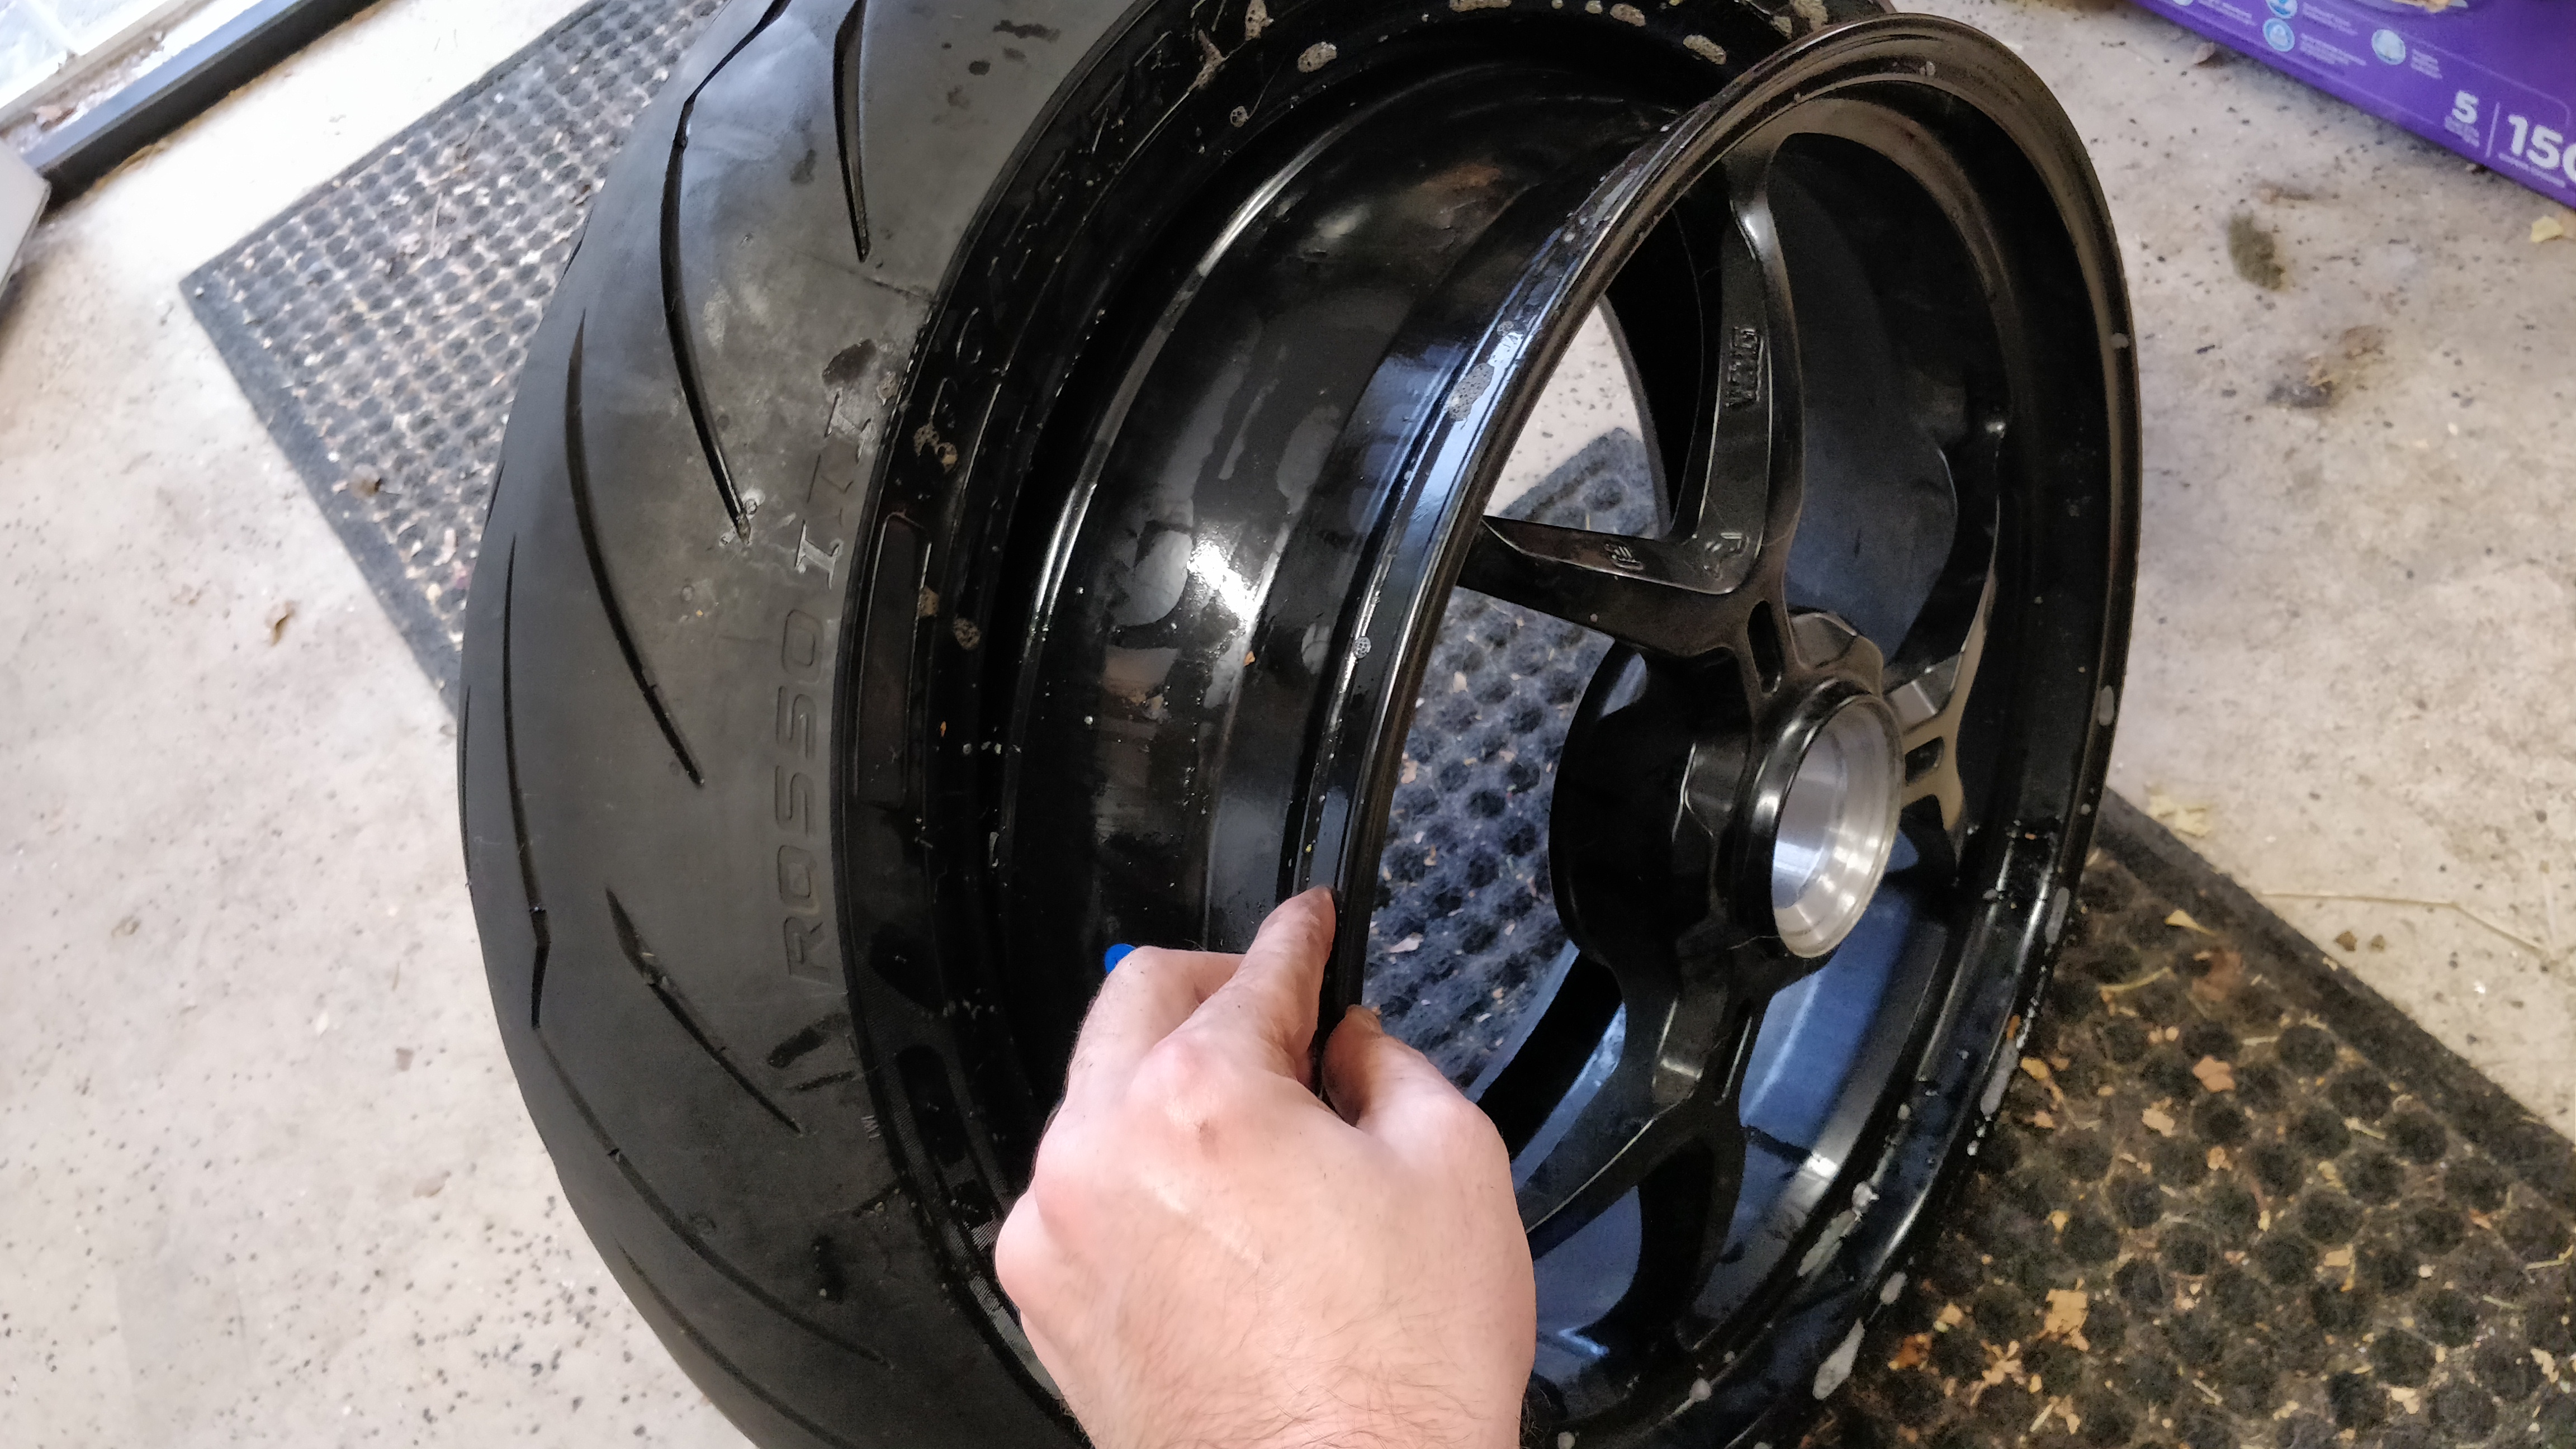 soon i have the tire half off. You can see im doing this all on the back of the wheel. i figure if i scratch it a little on the back it will be less noticeable.
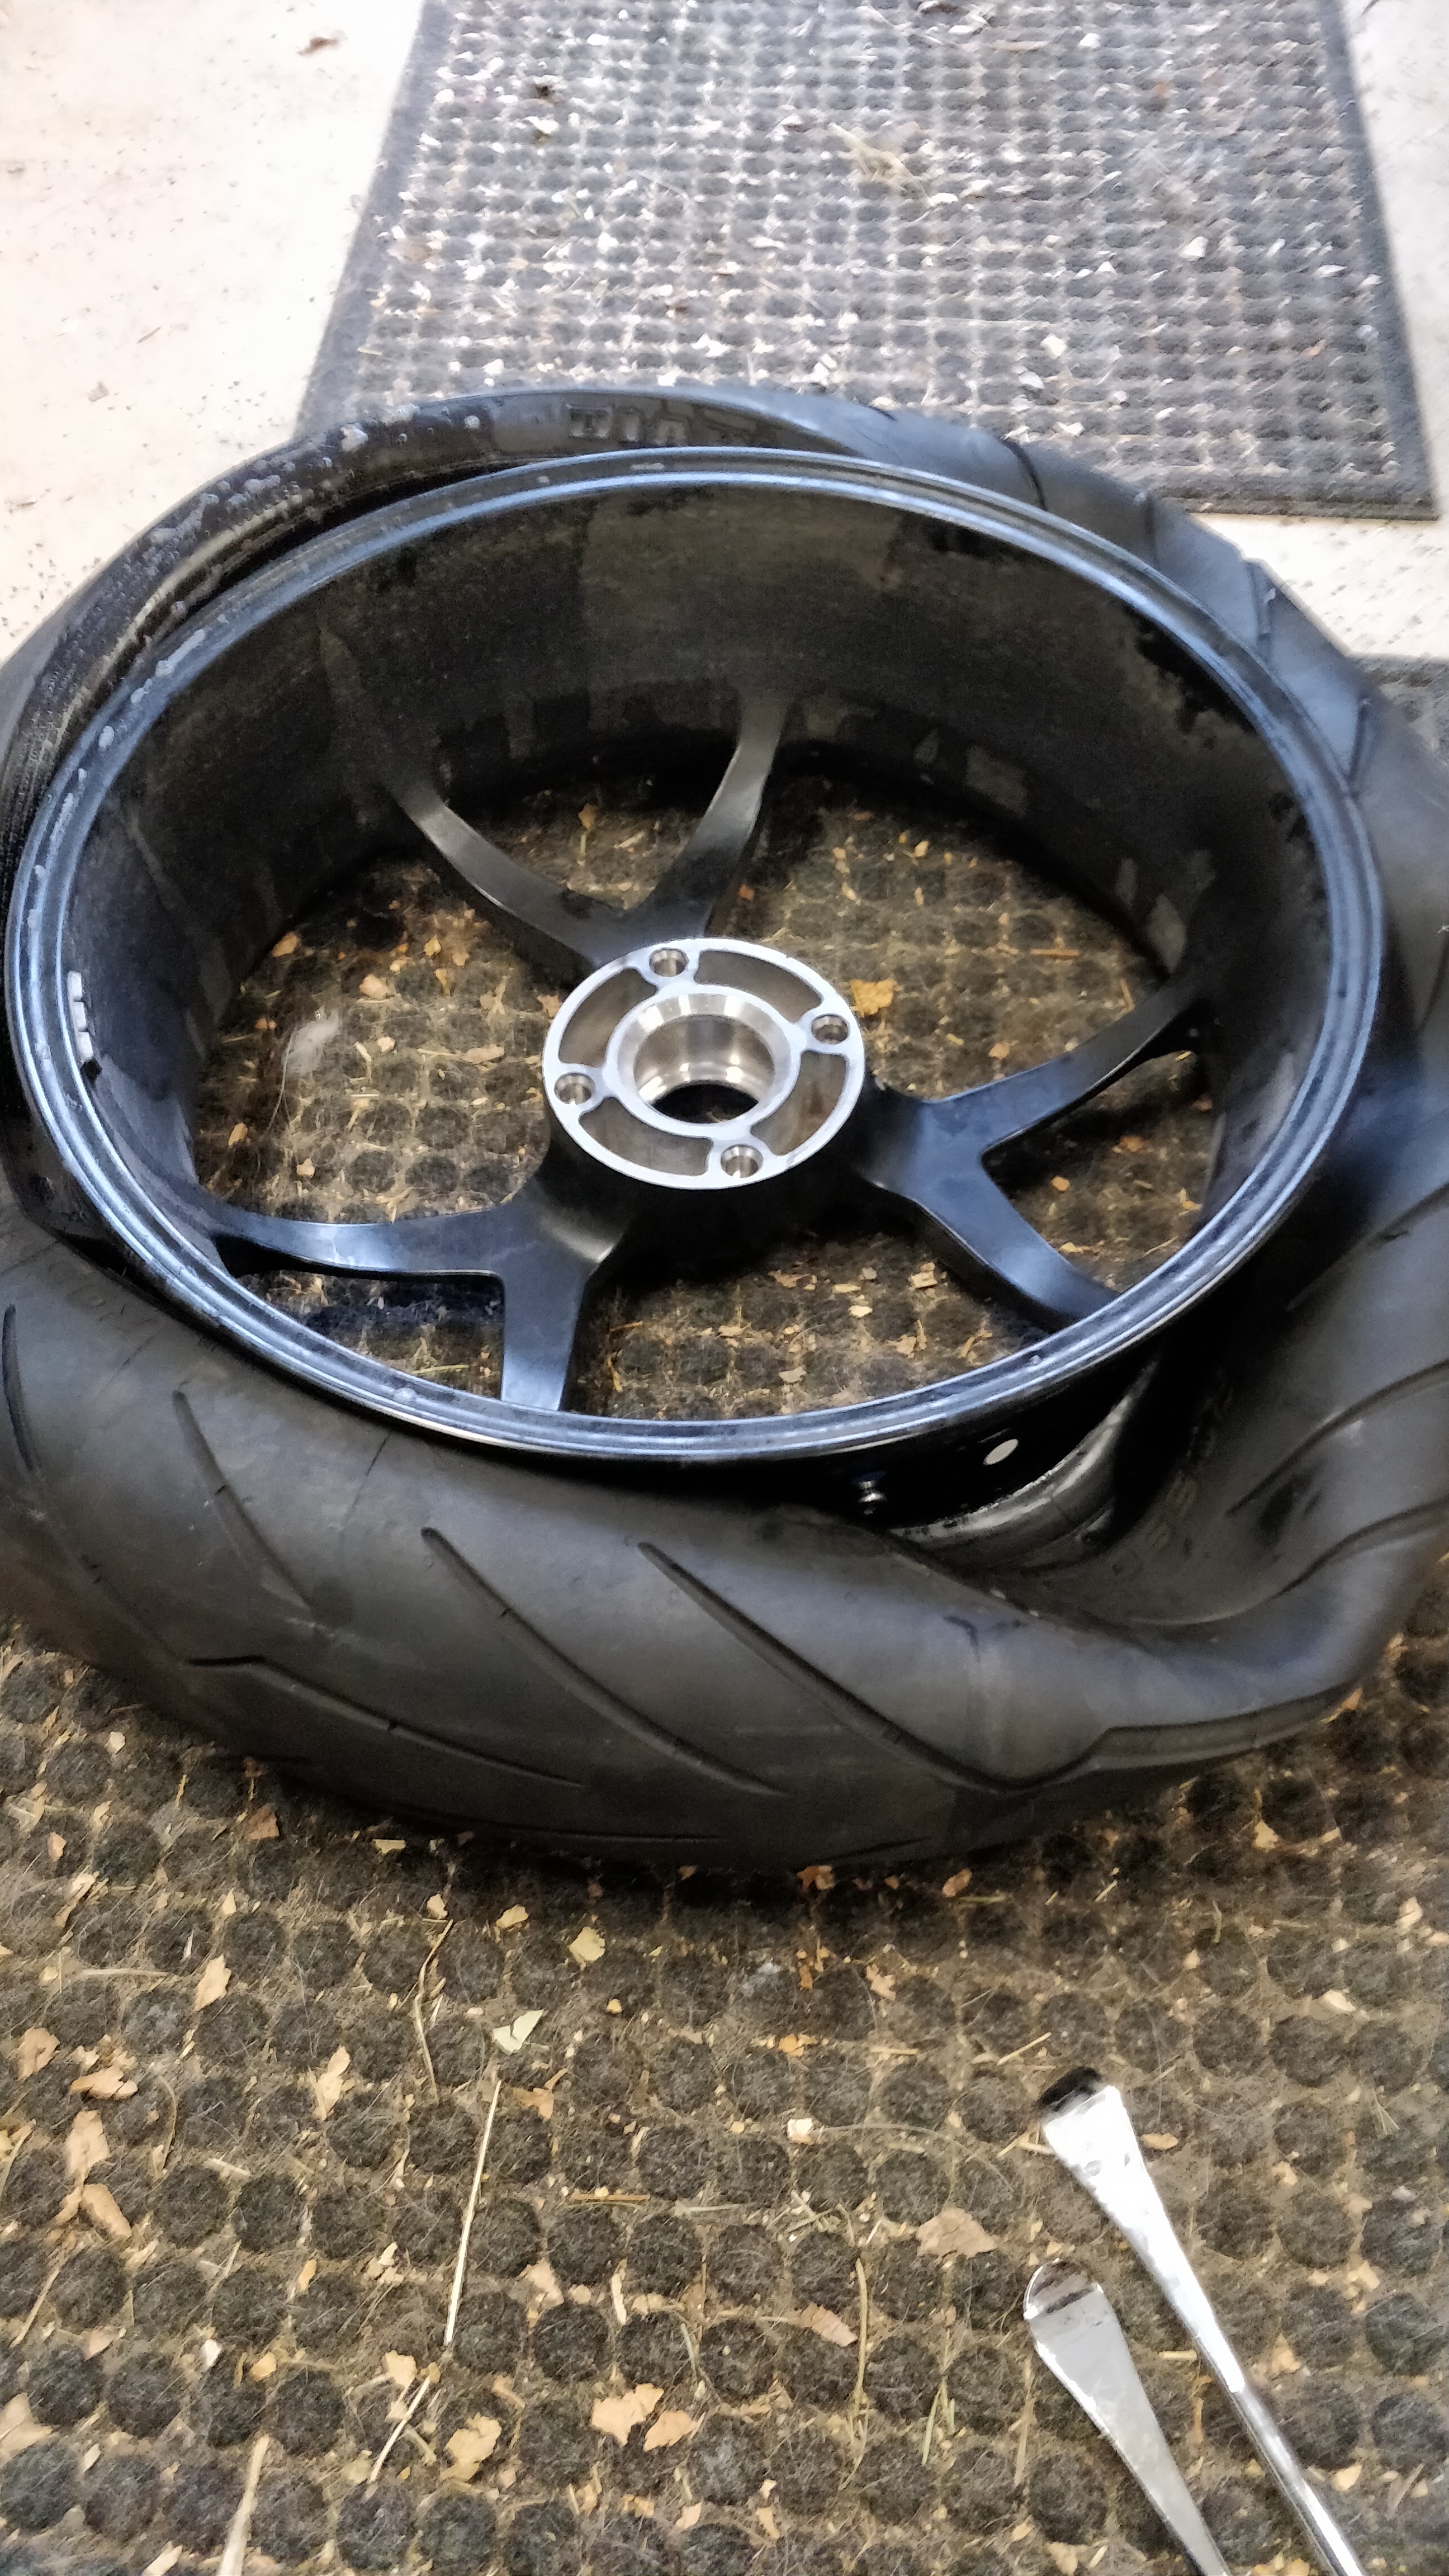
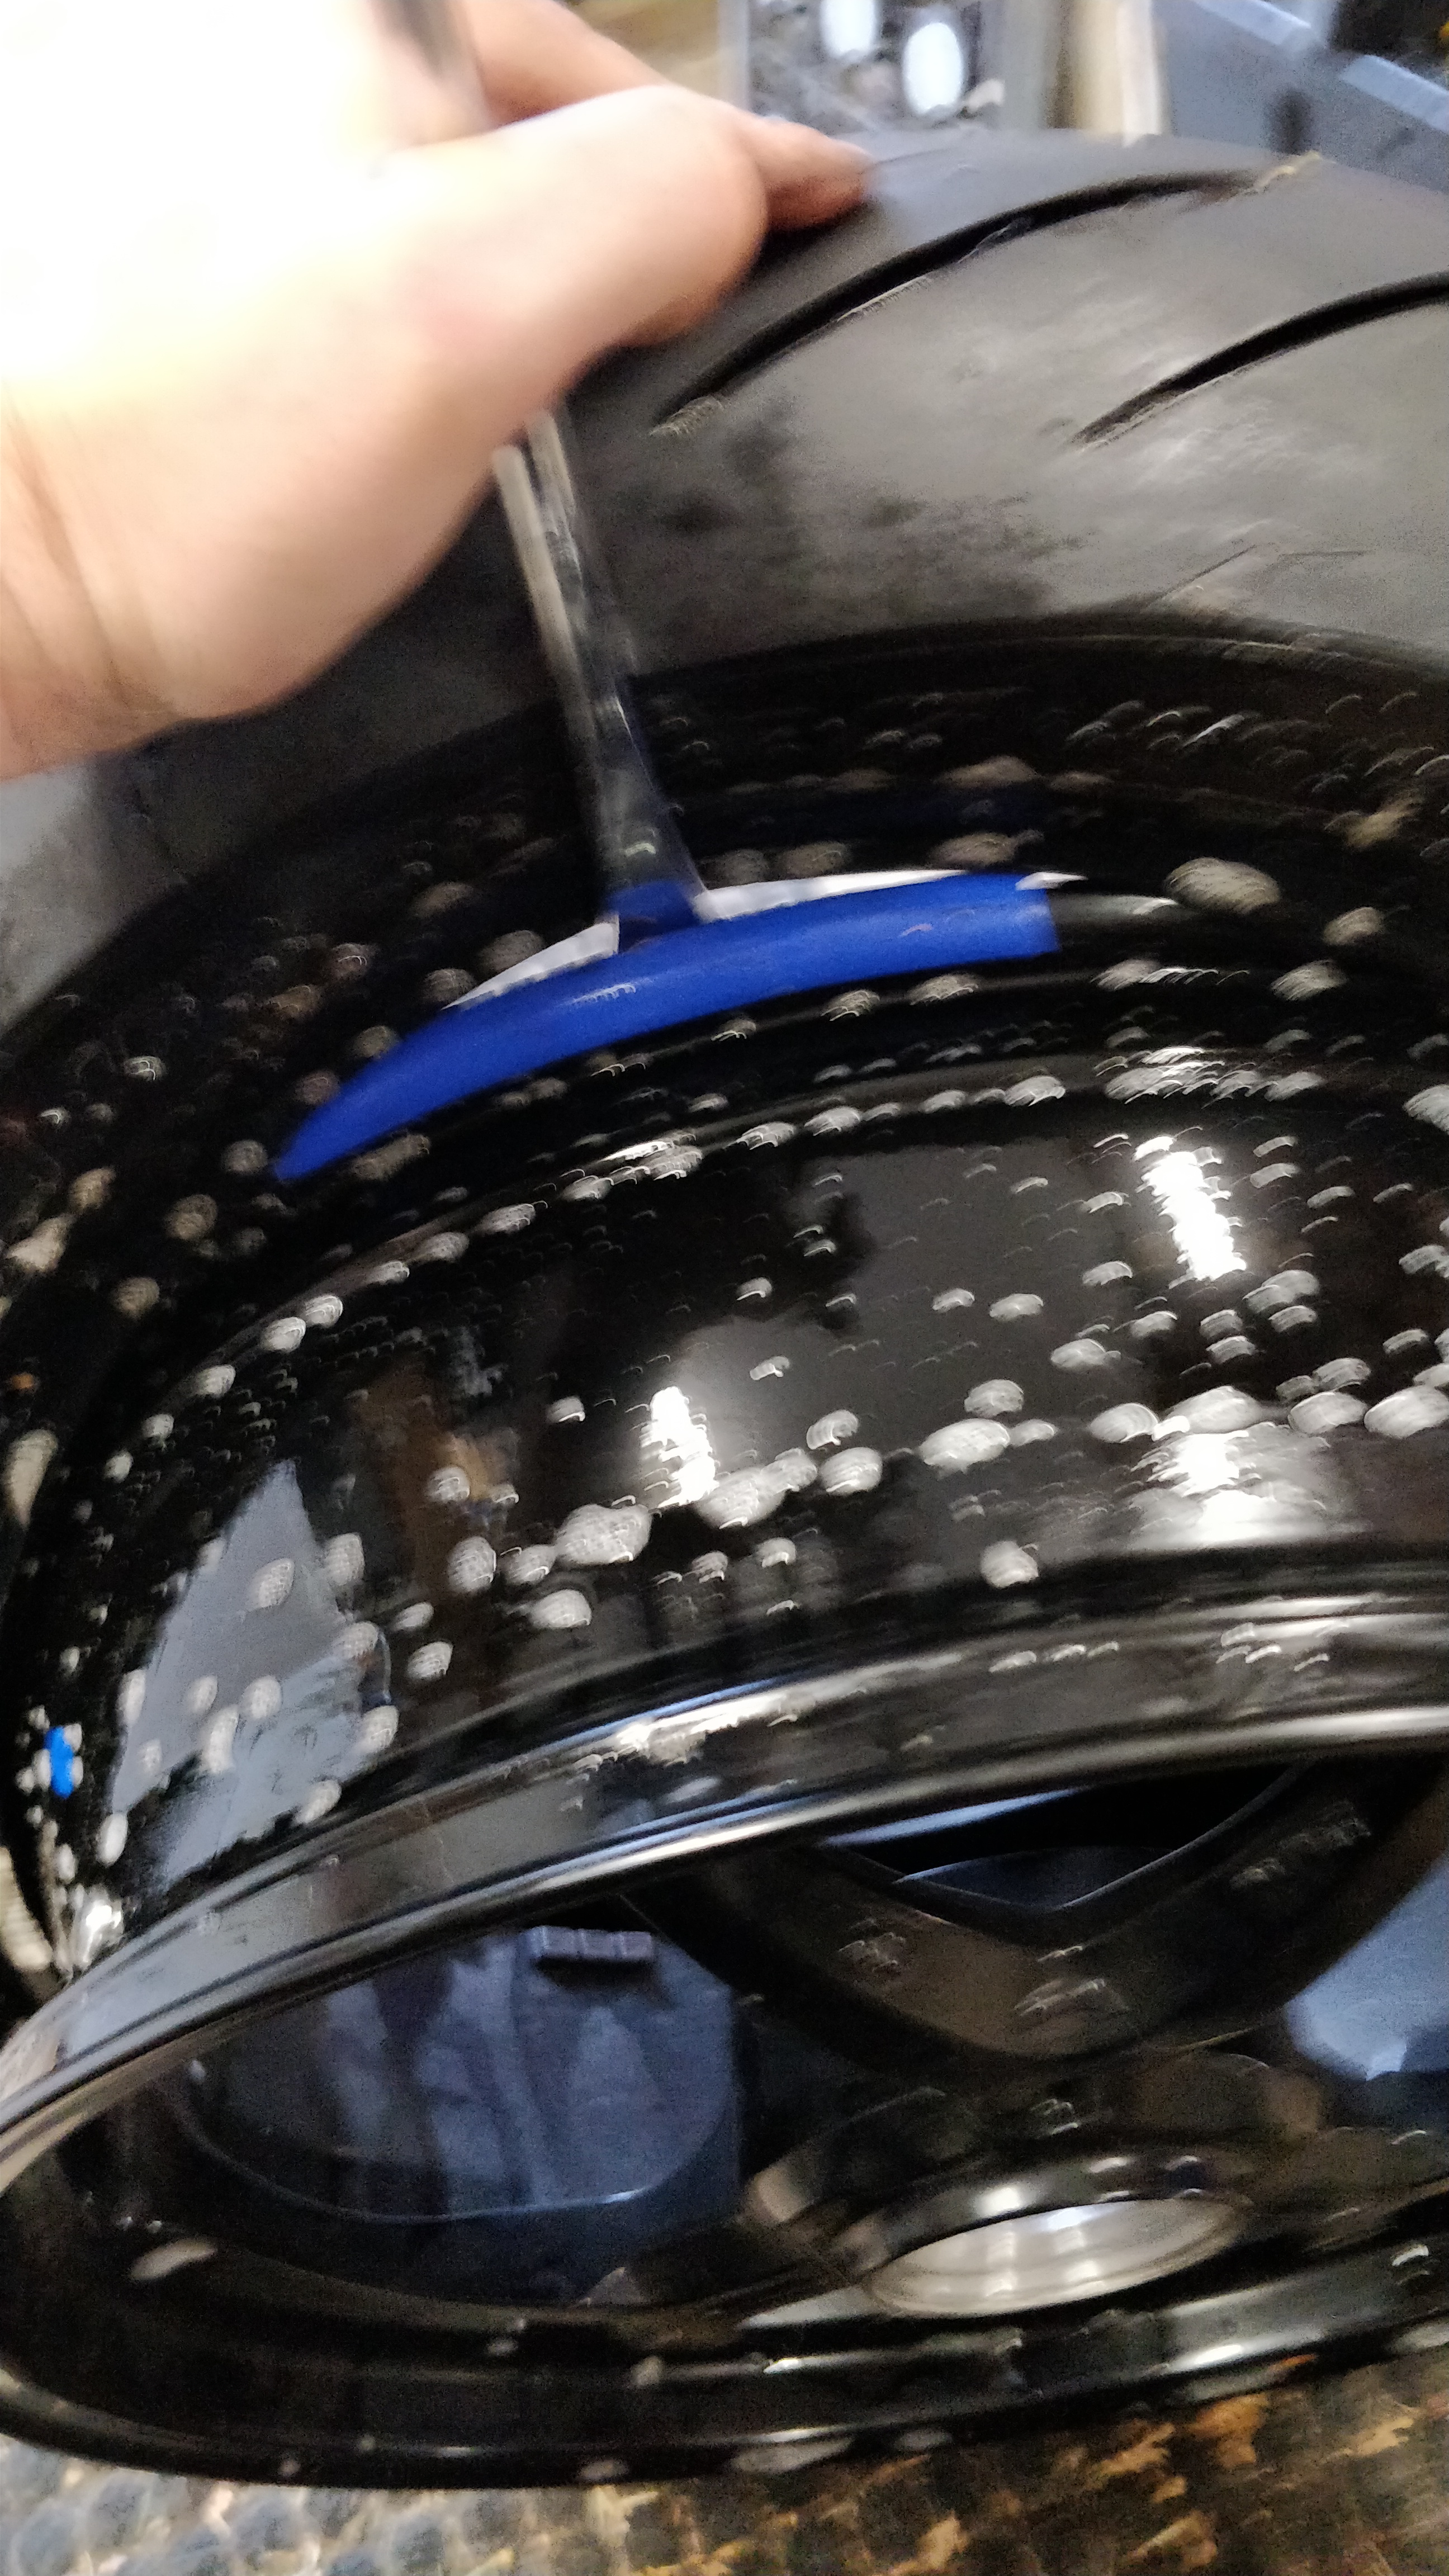 i get my spoon in this last section and bend it over as far as i can without slipping of then i put my knee on the top of the tire to force it down and off.
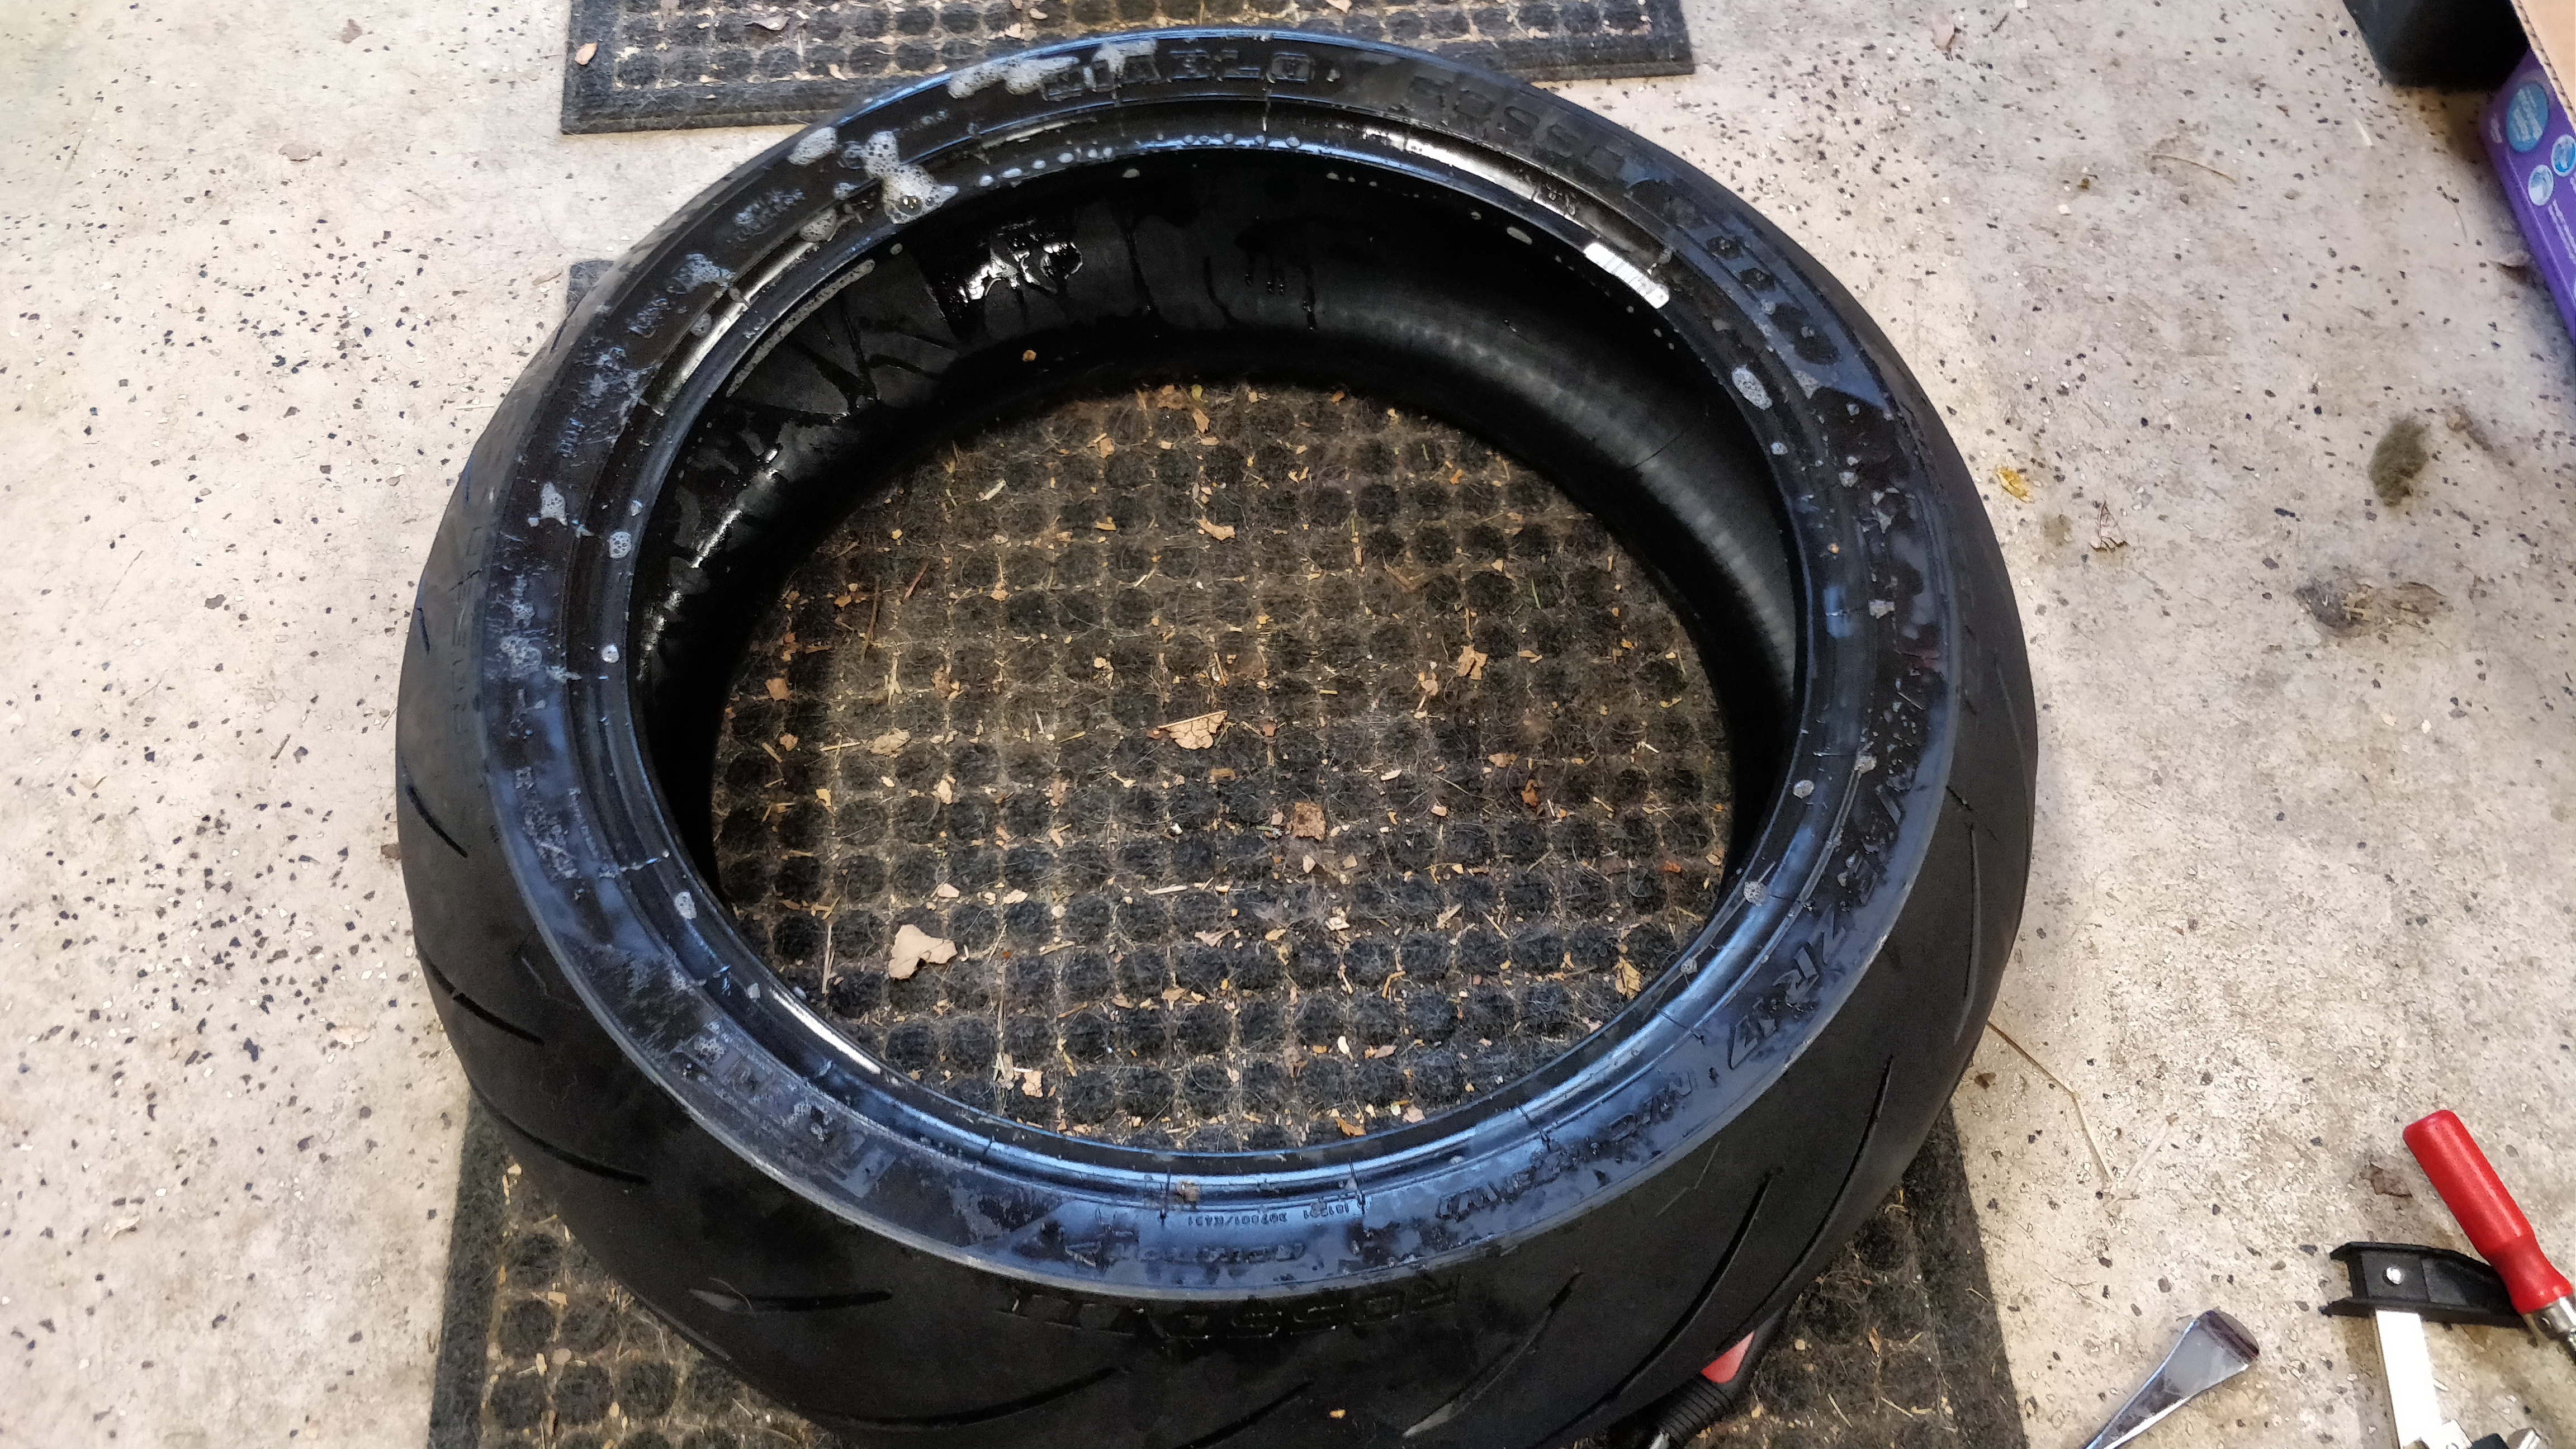
 AH! theres my slow leak. A left over from the rivet i pulled out.
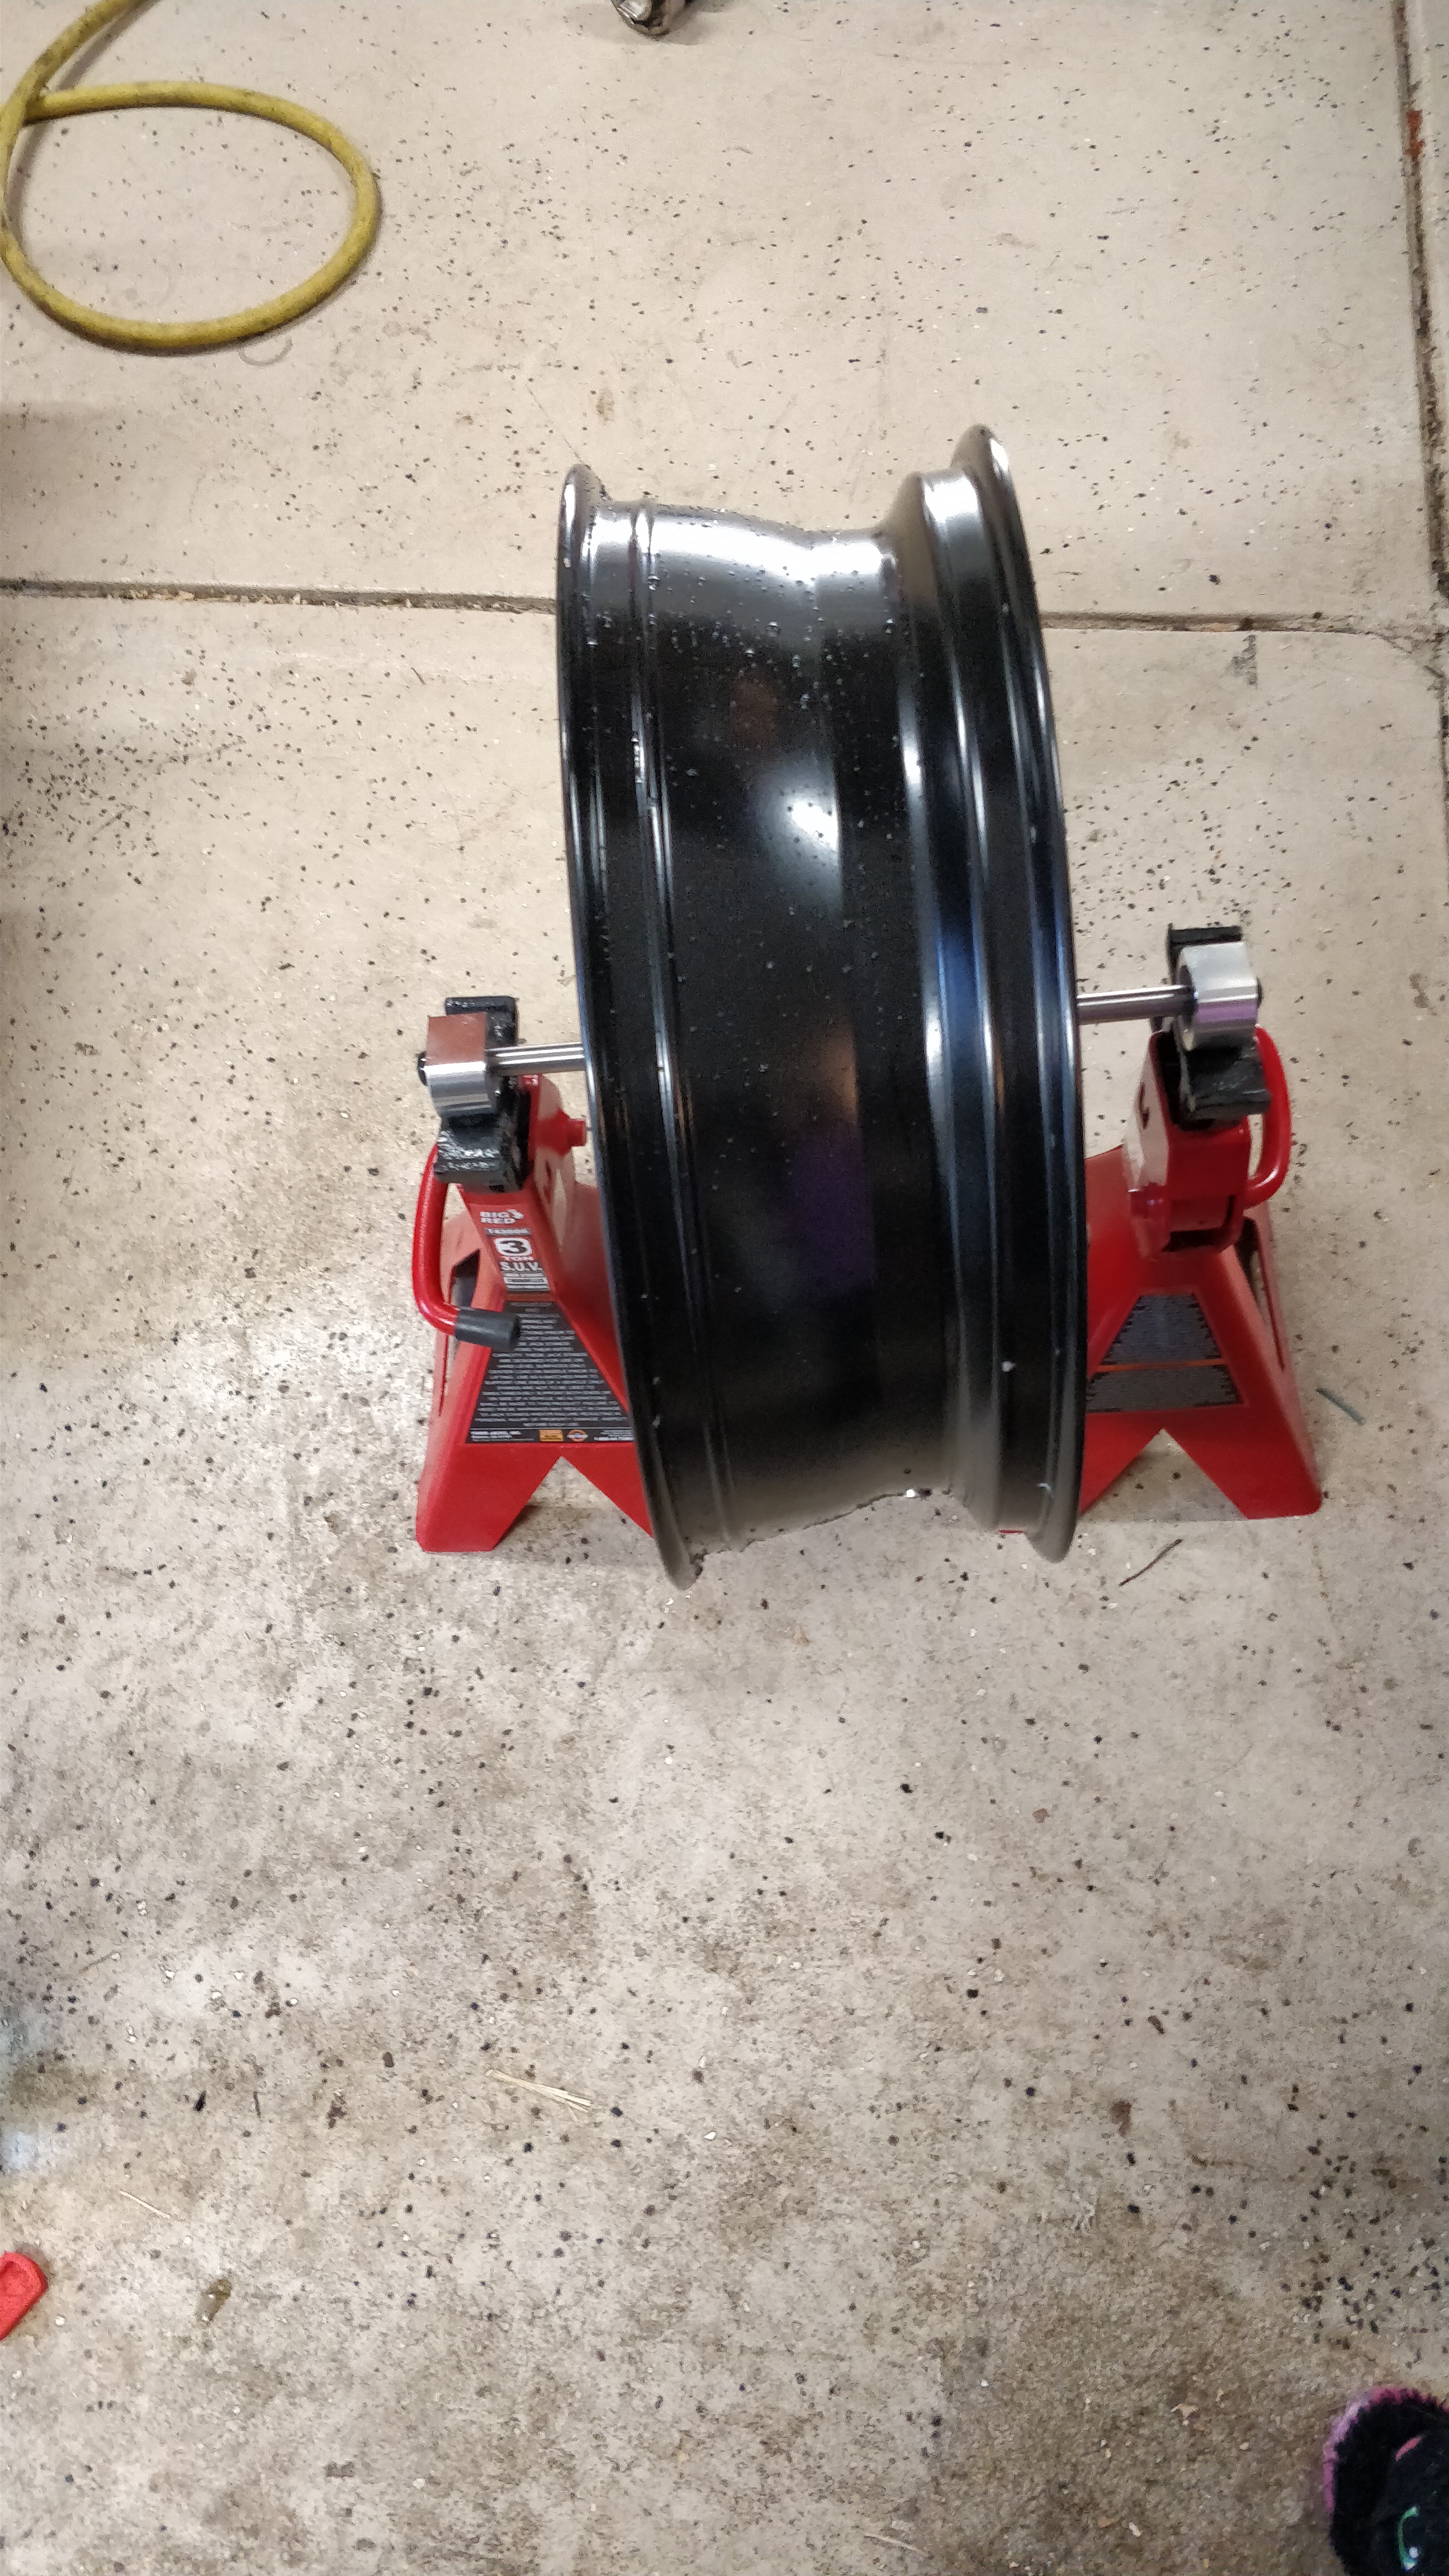
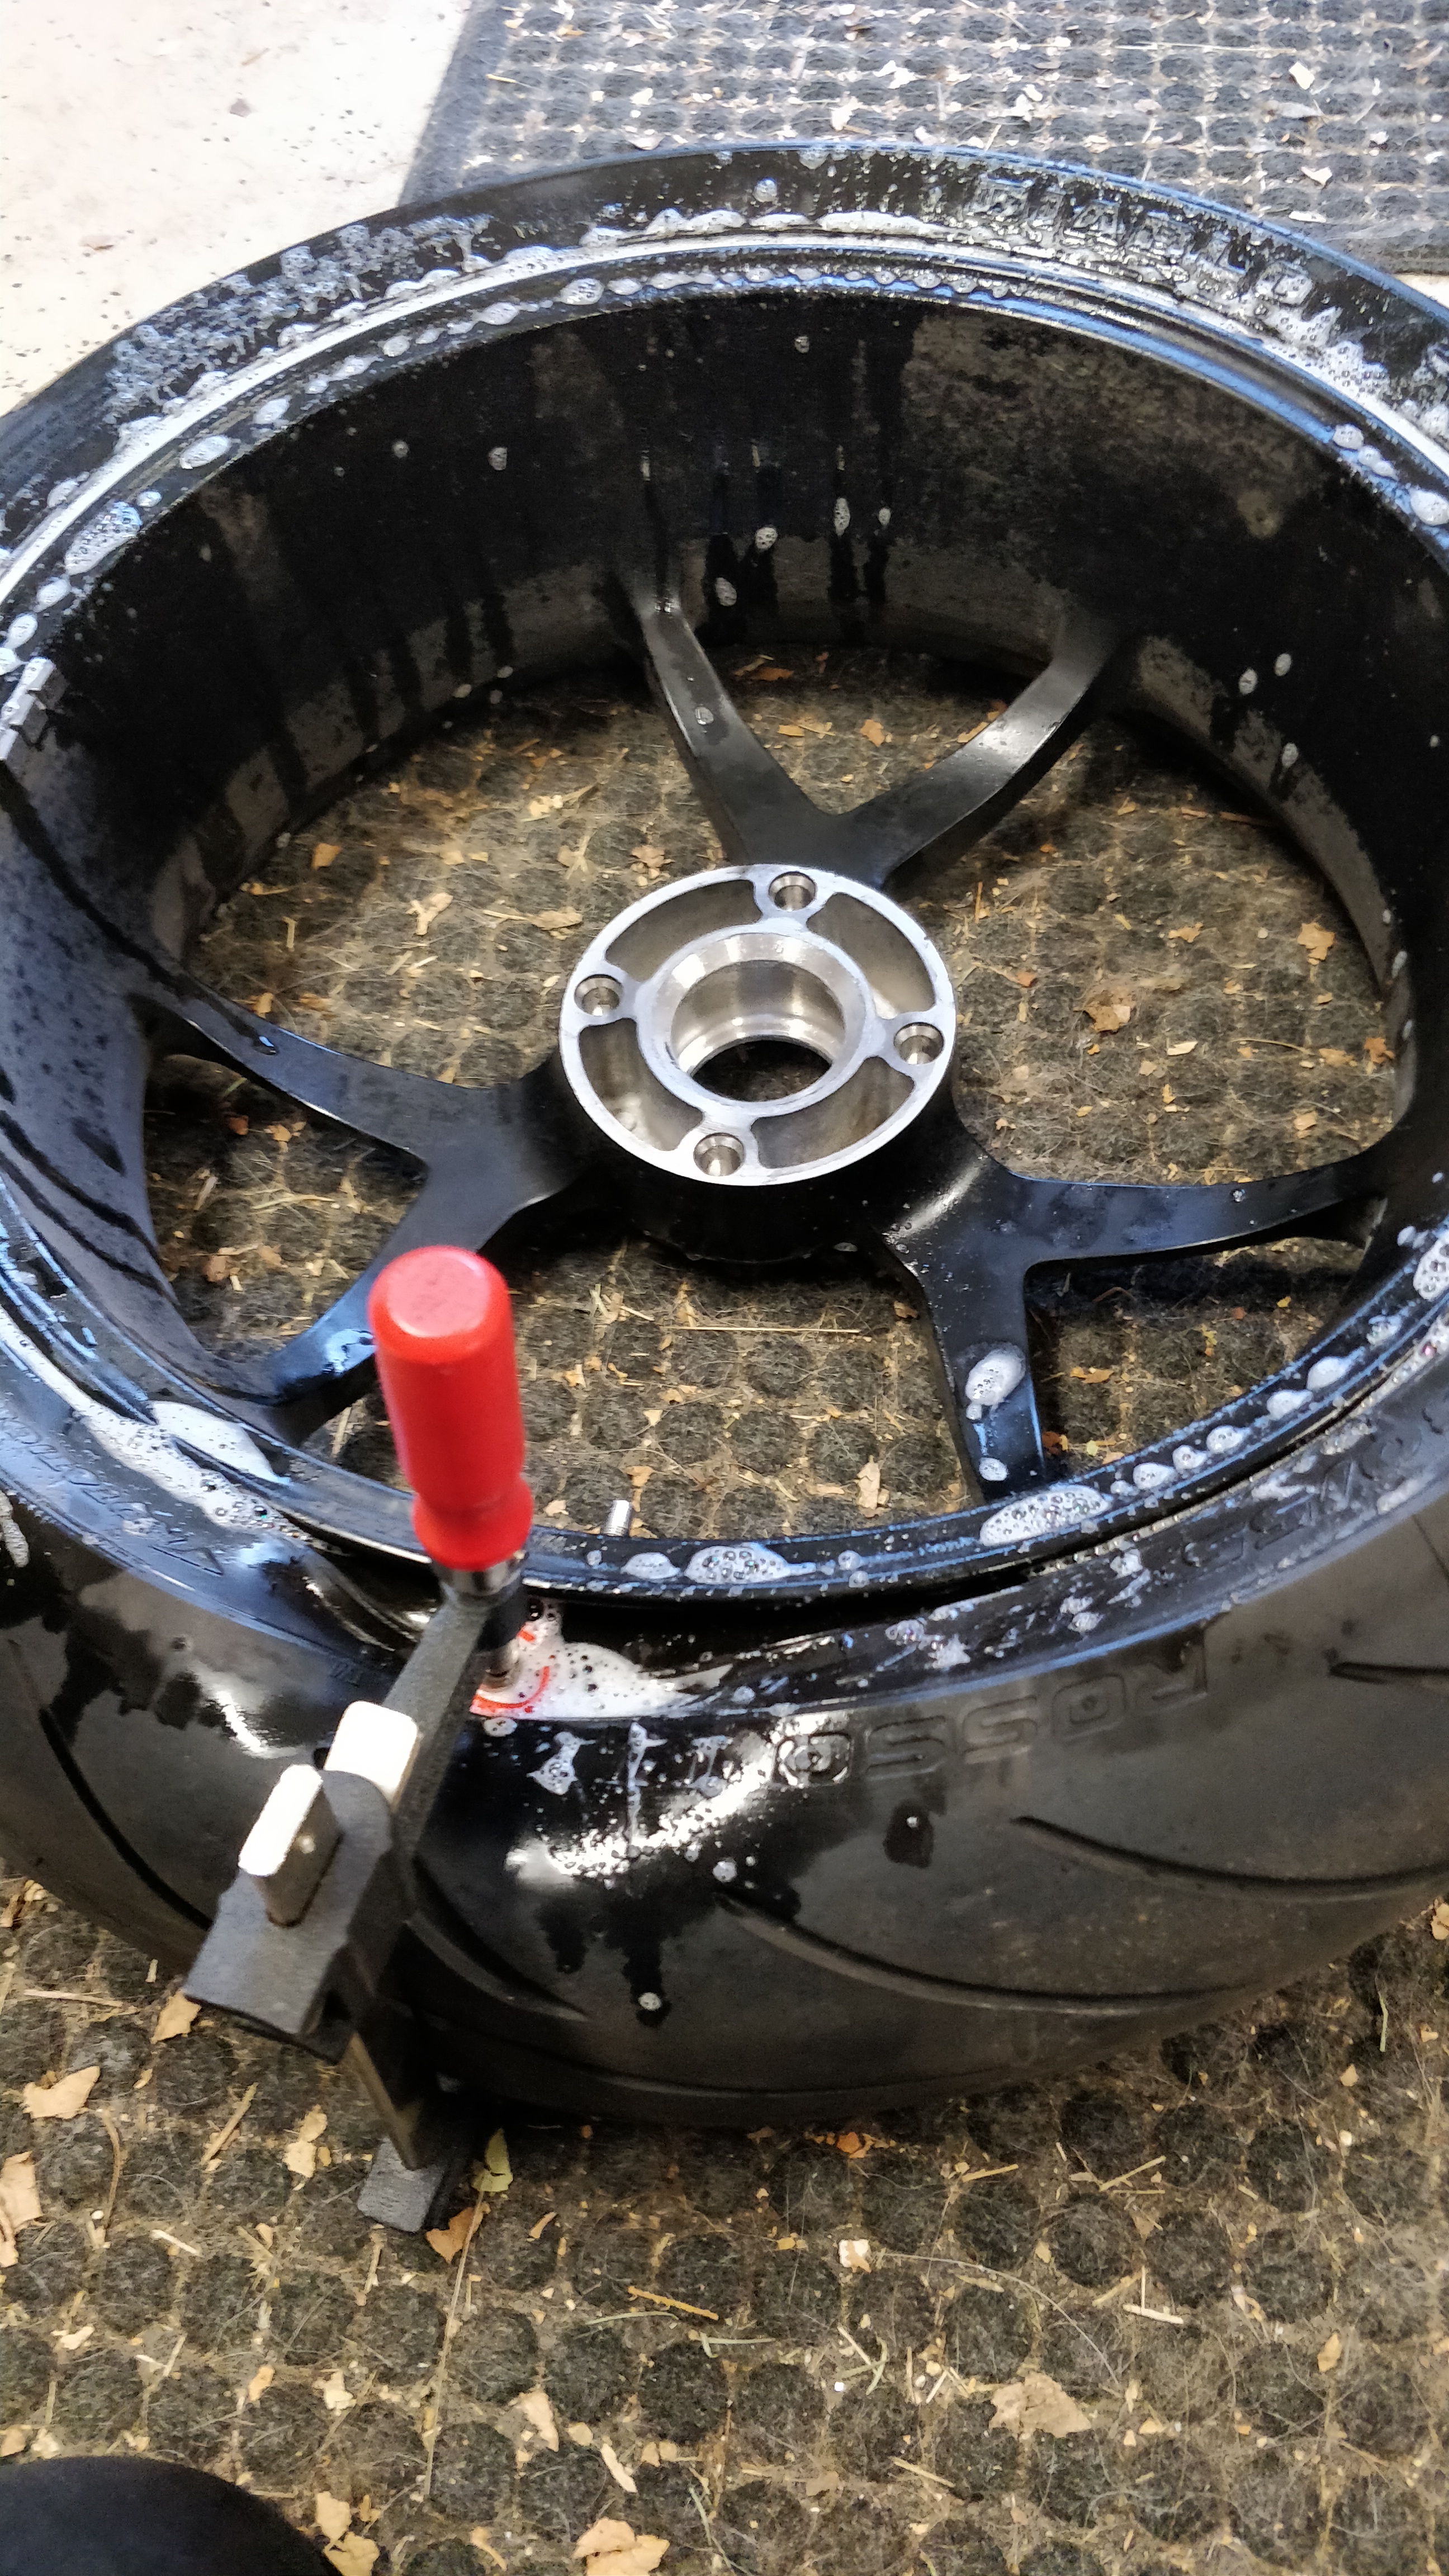
 Now that i have the wheel loose i wash it and put it on the balancer i got from Marc Parnes at marcparnes.com
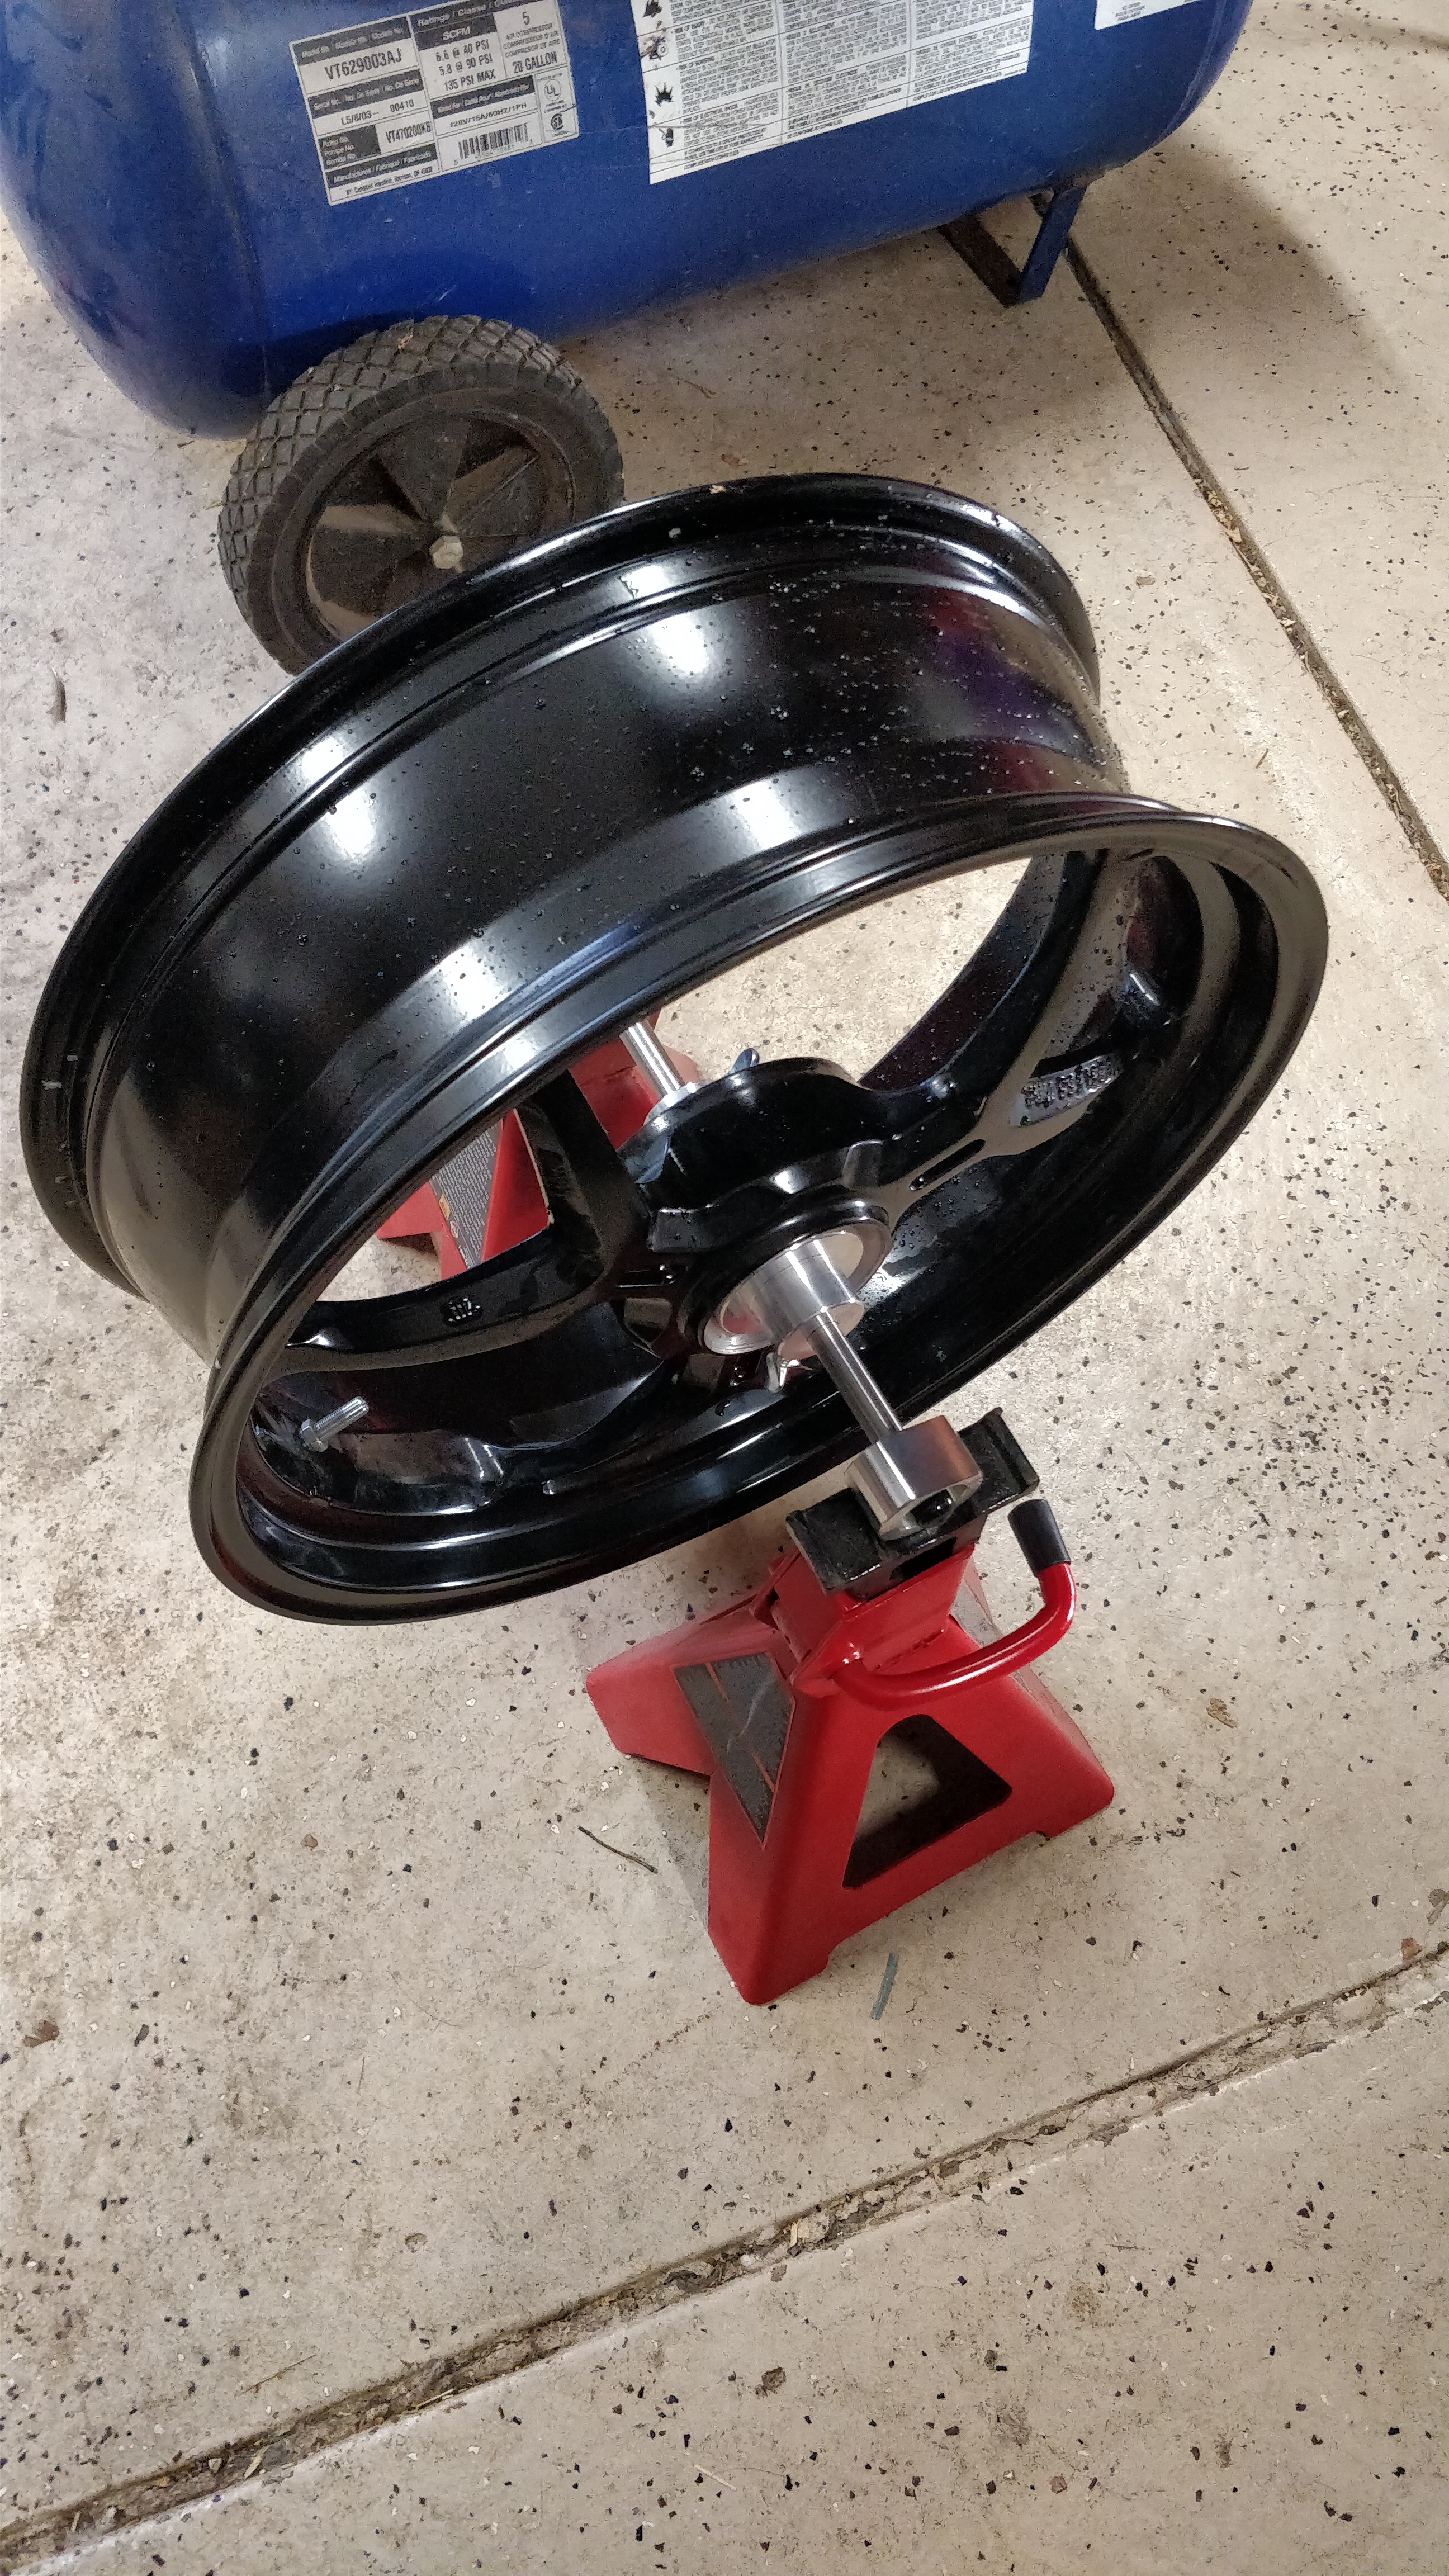
I note the heavy part of the wheel and to my surprise it is not the valve stem. Now for the back story tires have makers marks that show the light balance point.
These are typically lined up with the valve stem because that is suppose to be the heavy spot. This allows you to use less weight when balancing.
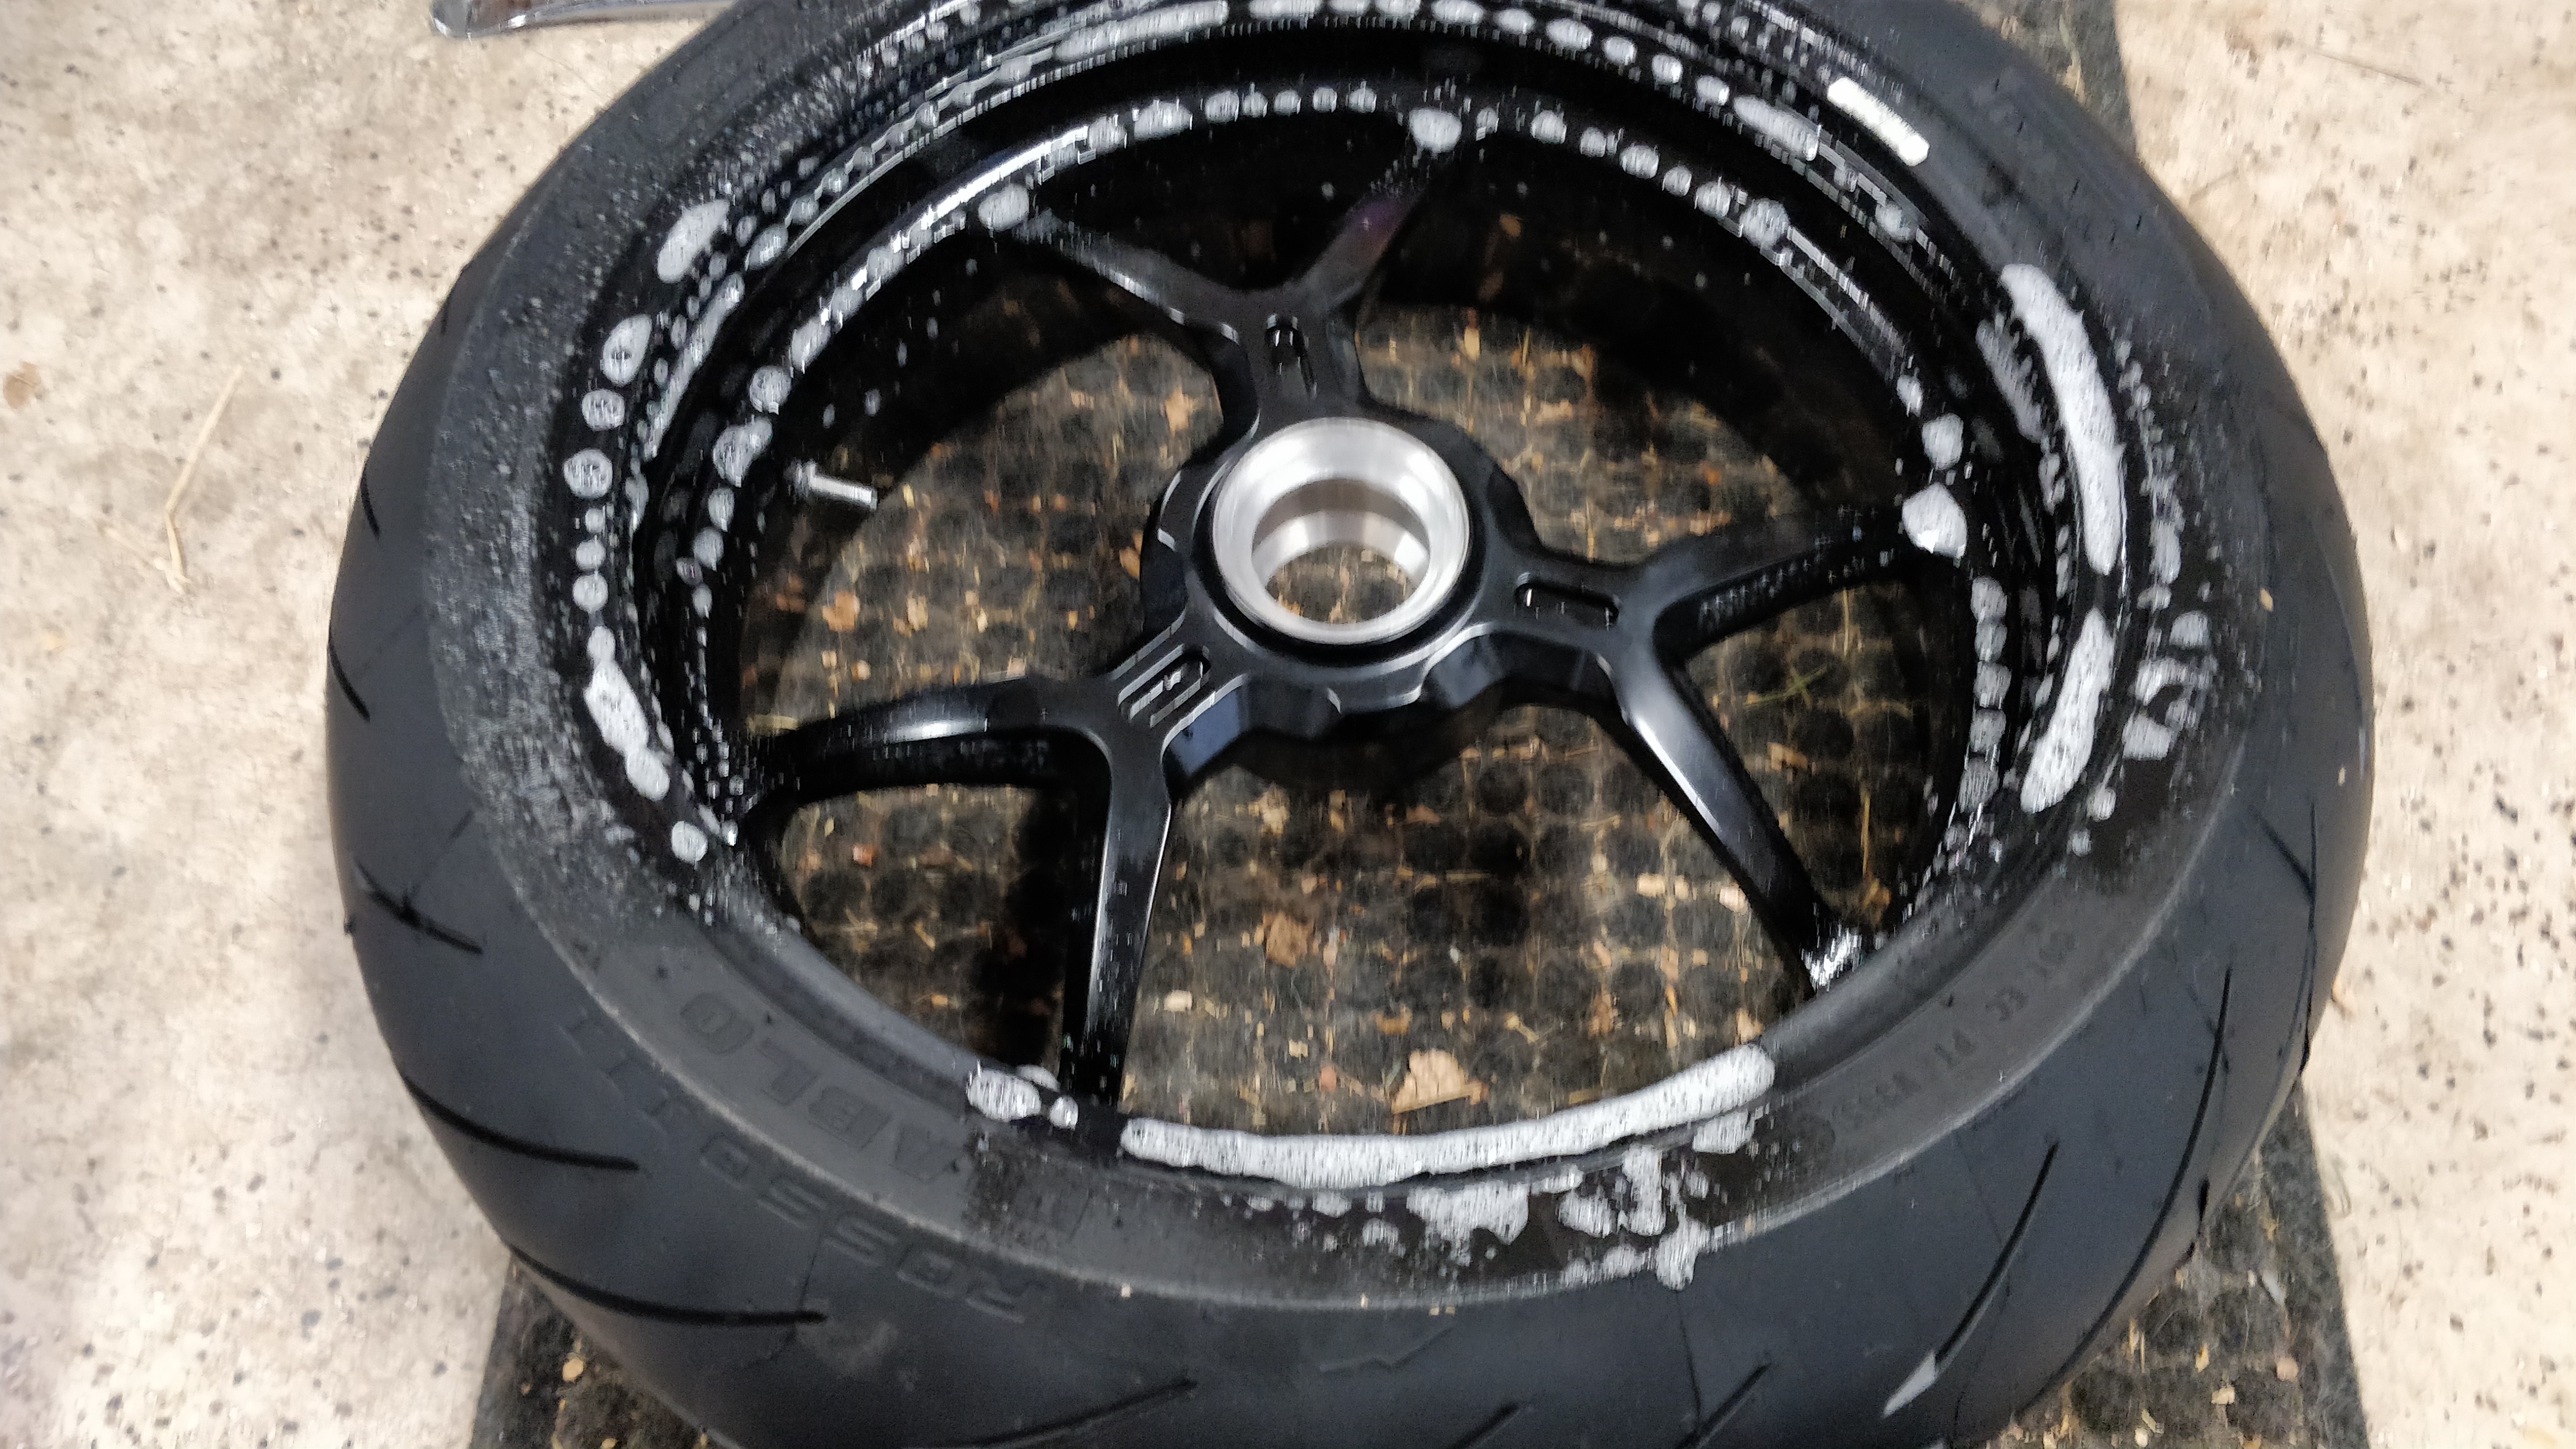 I soap up the new tire and make sure the rotation is correct and push it onto the wheel. Note that i have messed up here and placed the new tire so ill be working on the front of the wheel its is not ideal in my mind but technically there is nothing wrong with it. If i mess up the scratches will be on this side.
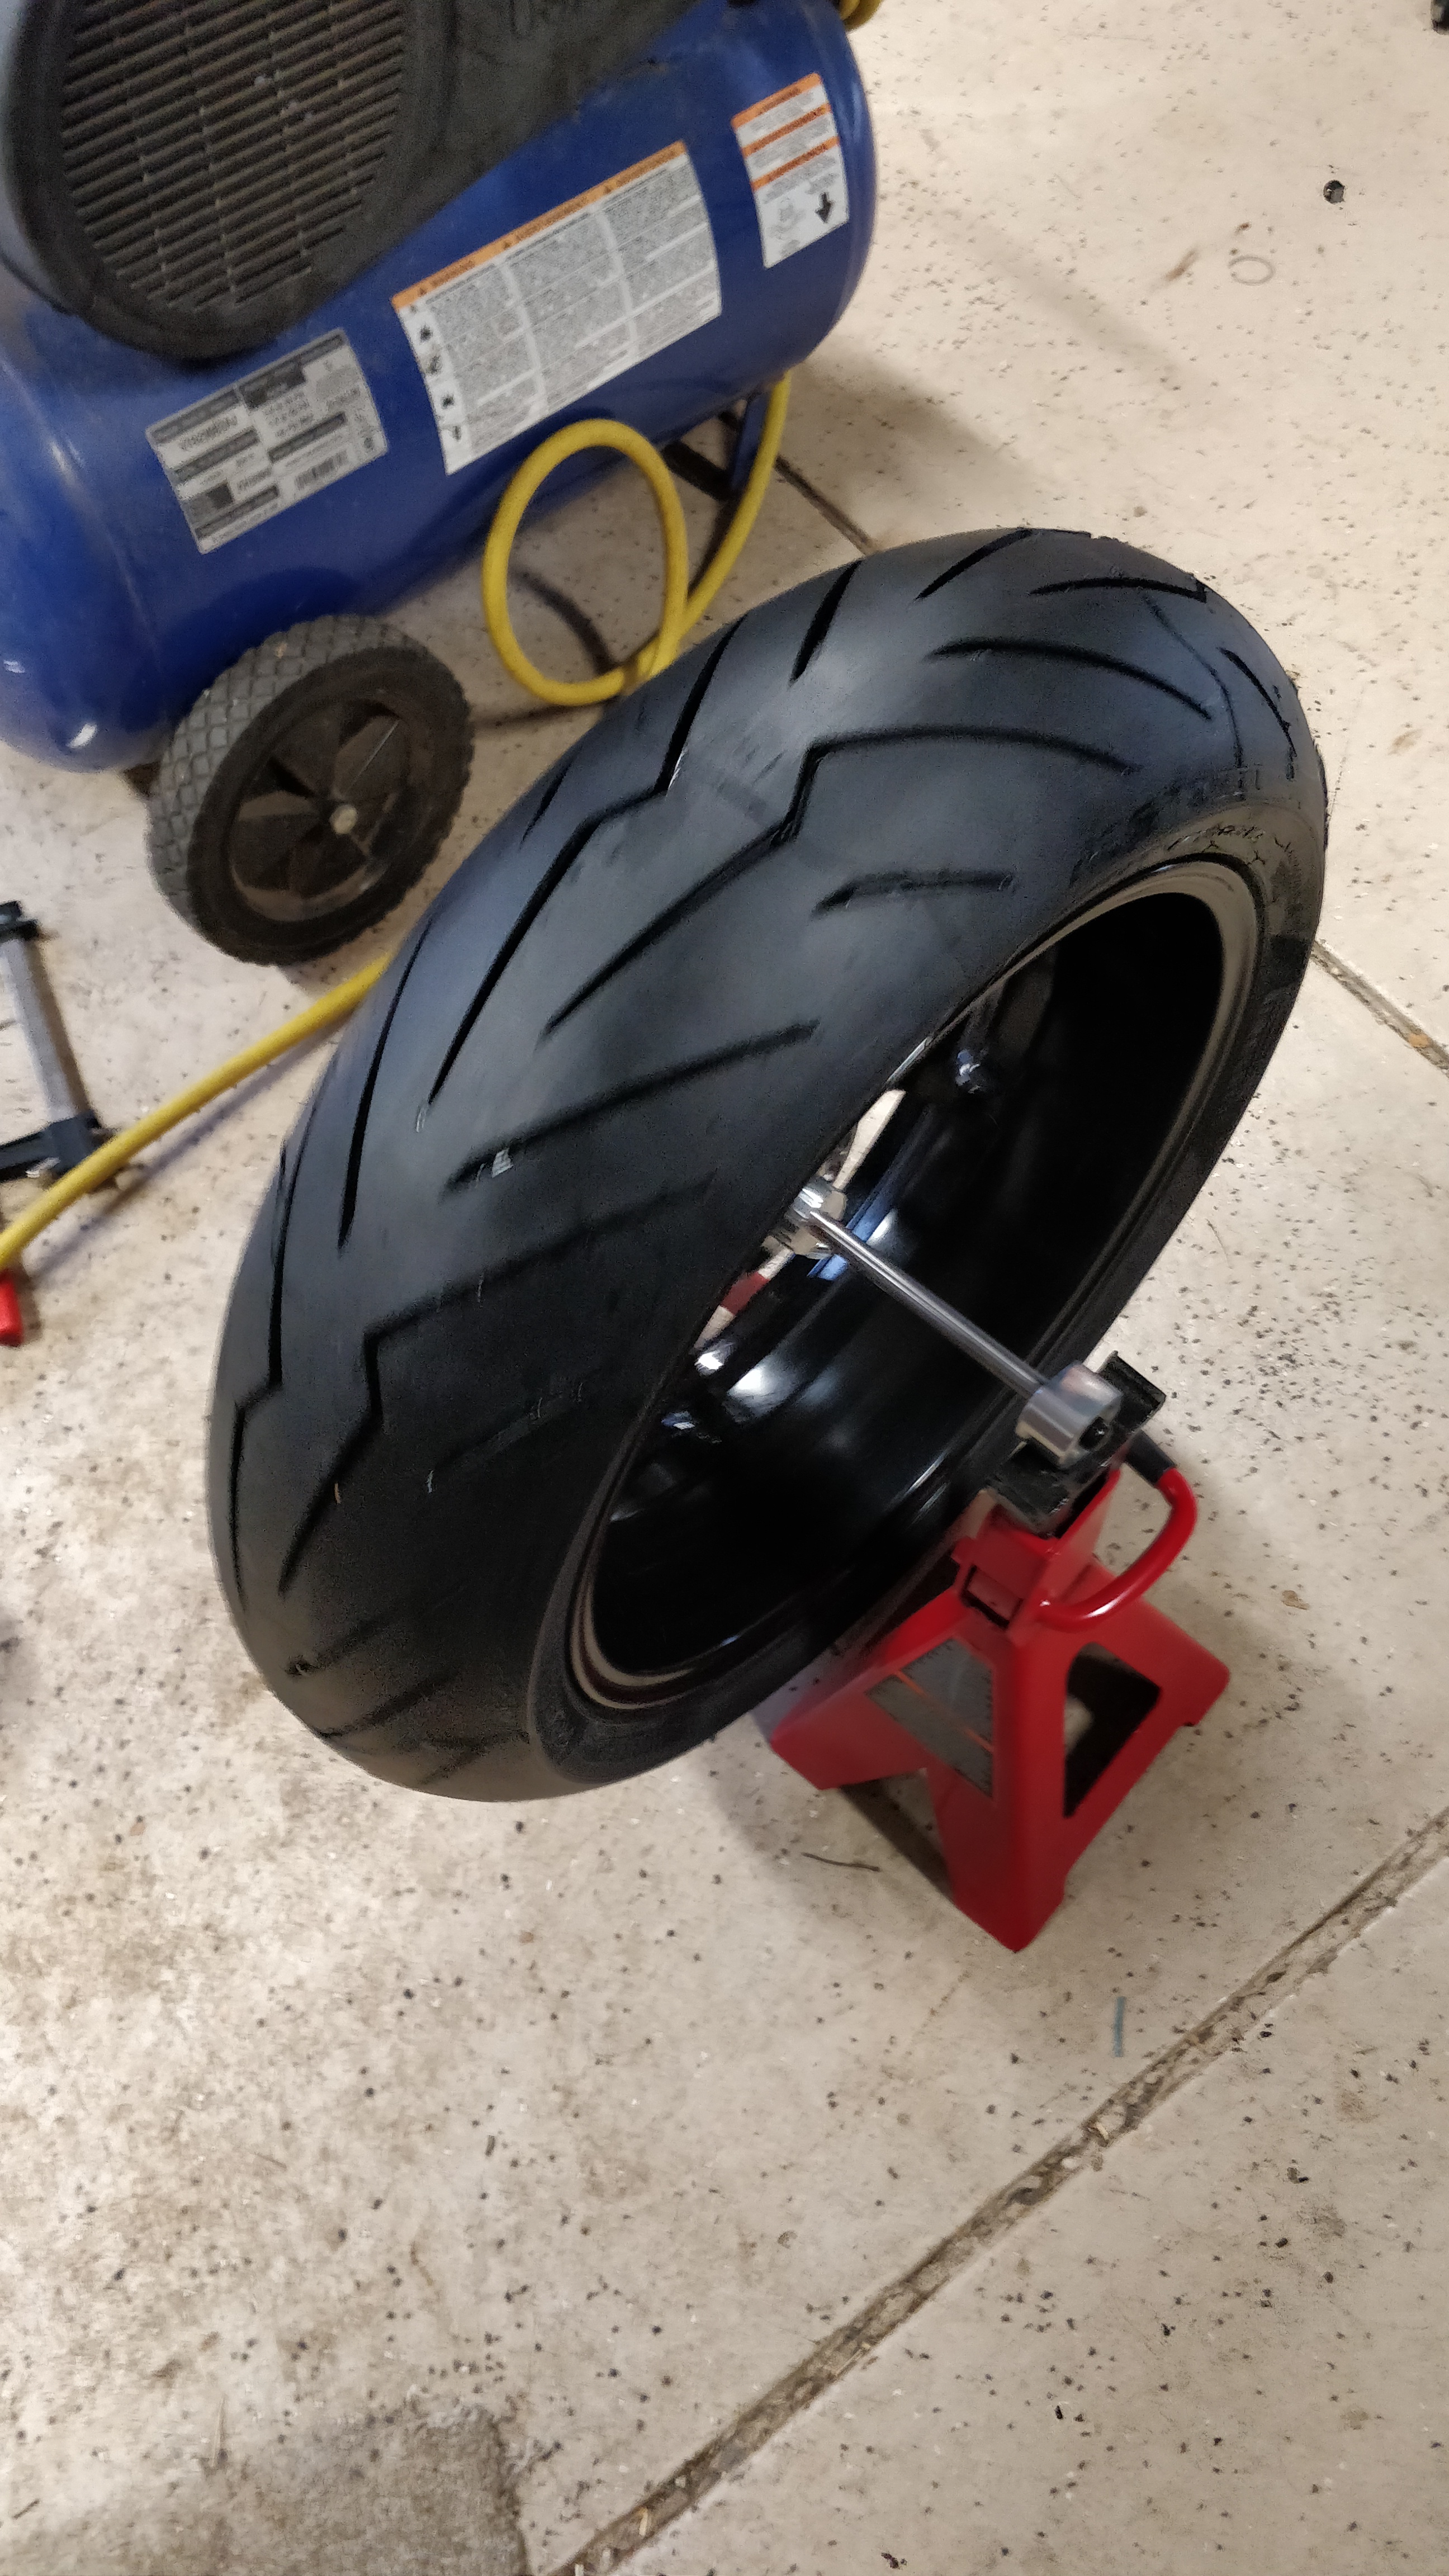 I work the tire on then get it on the balancer. I play with it until i find the heavy spot. I test this by moving the wheel to 3oclock and letting it settle back down.
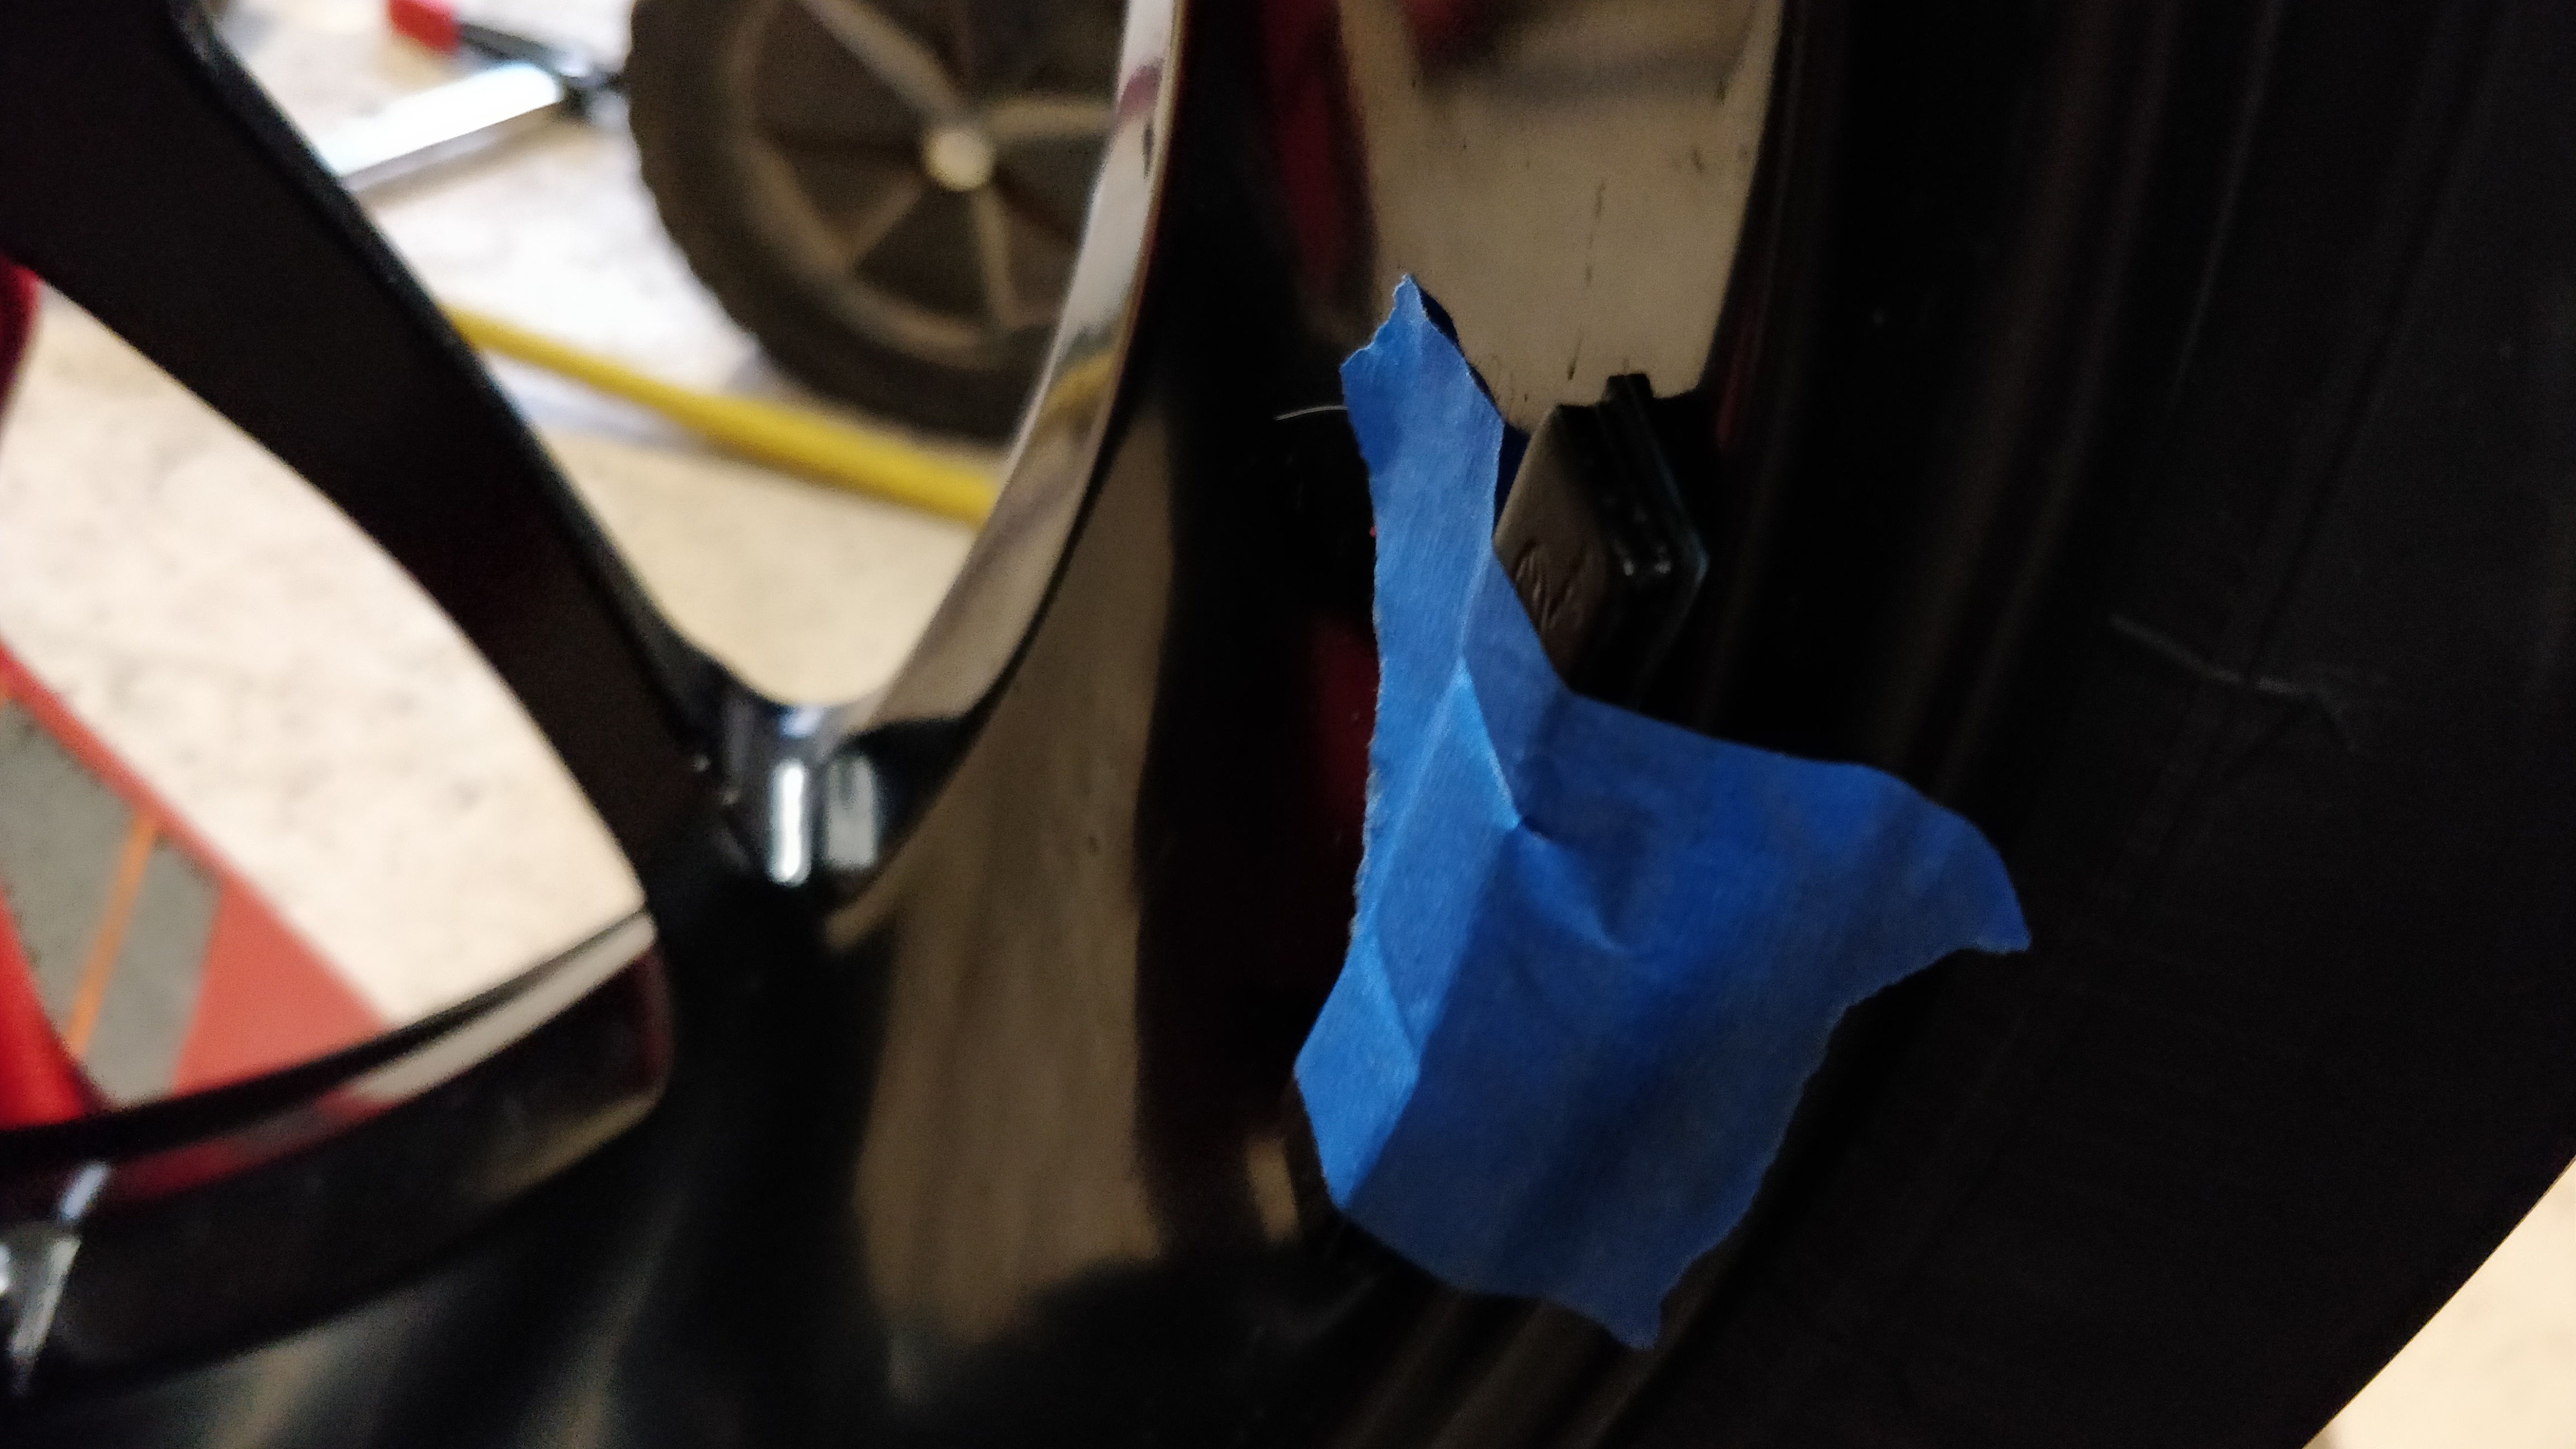 I tape on some weights and move the wheel to 3oclock again and now its static and does not move up or down.
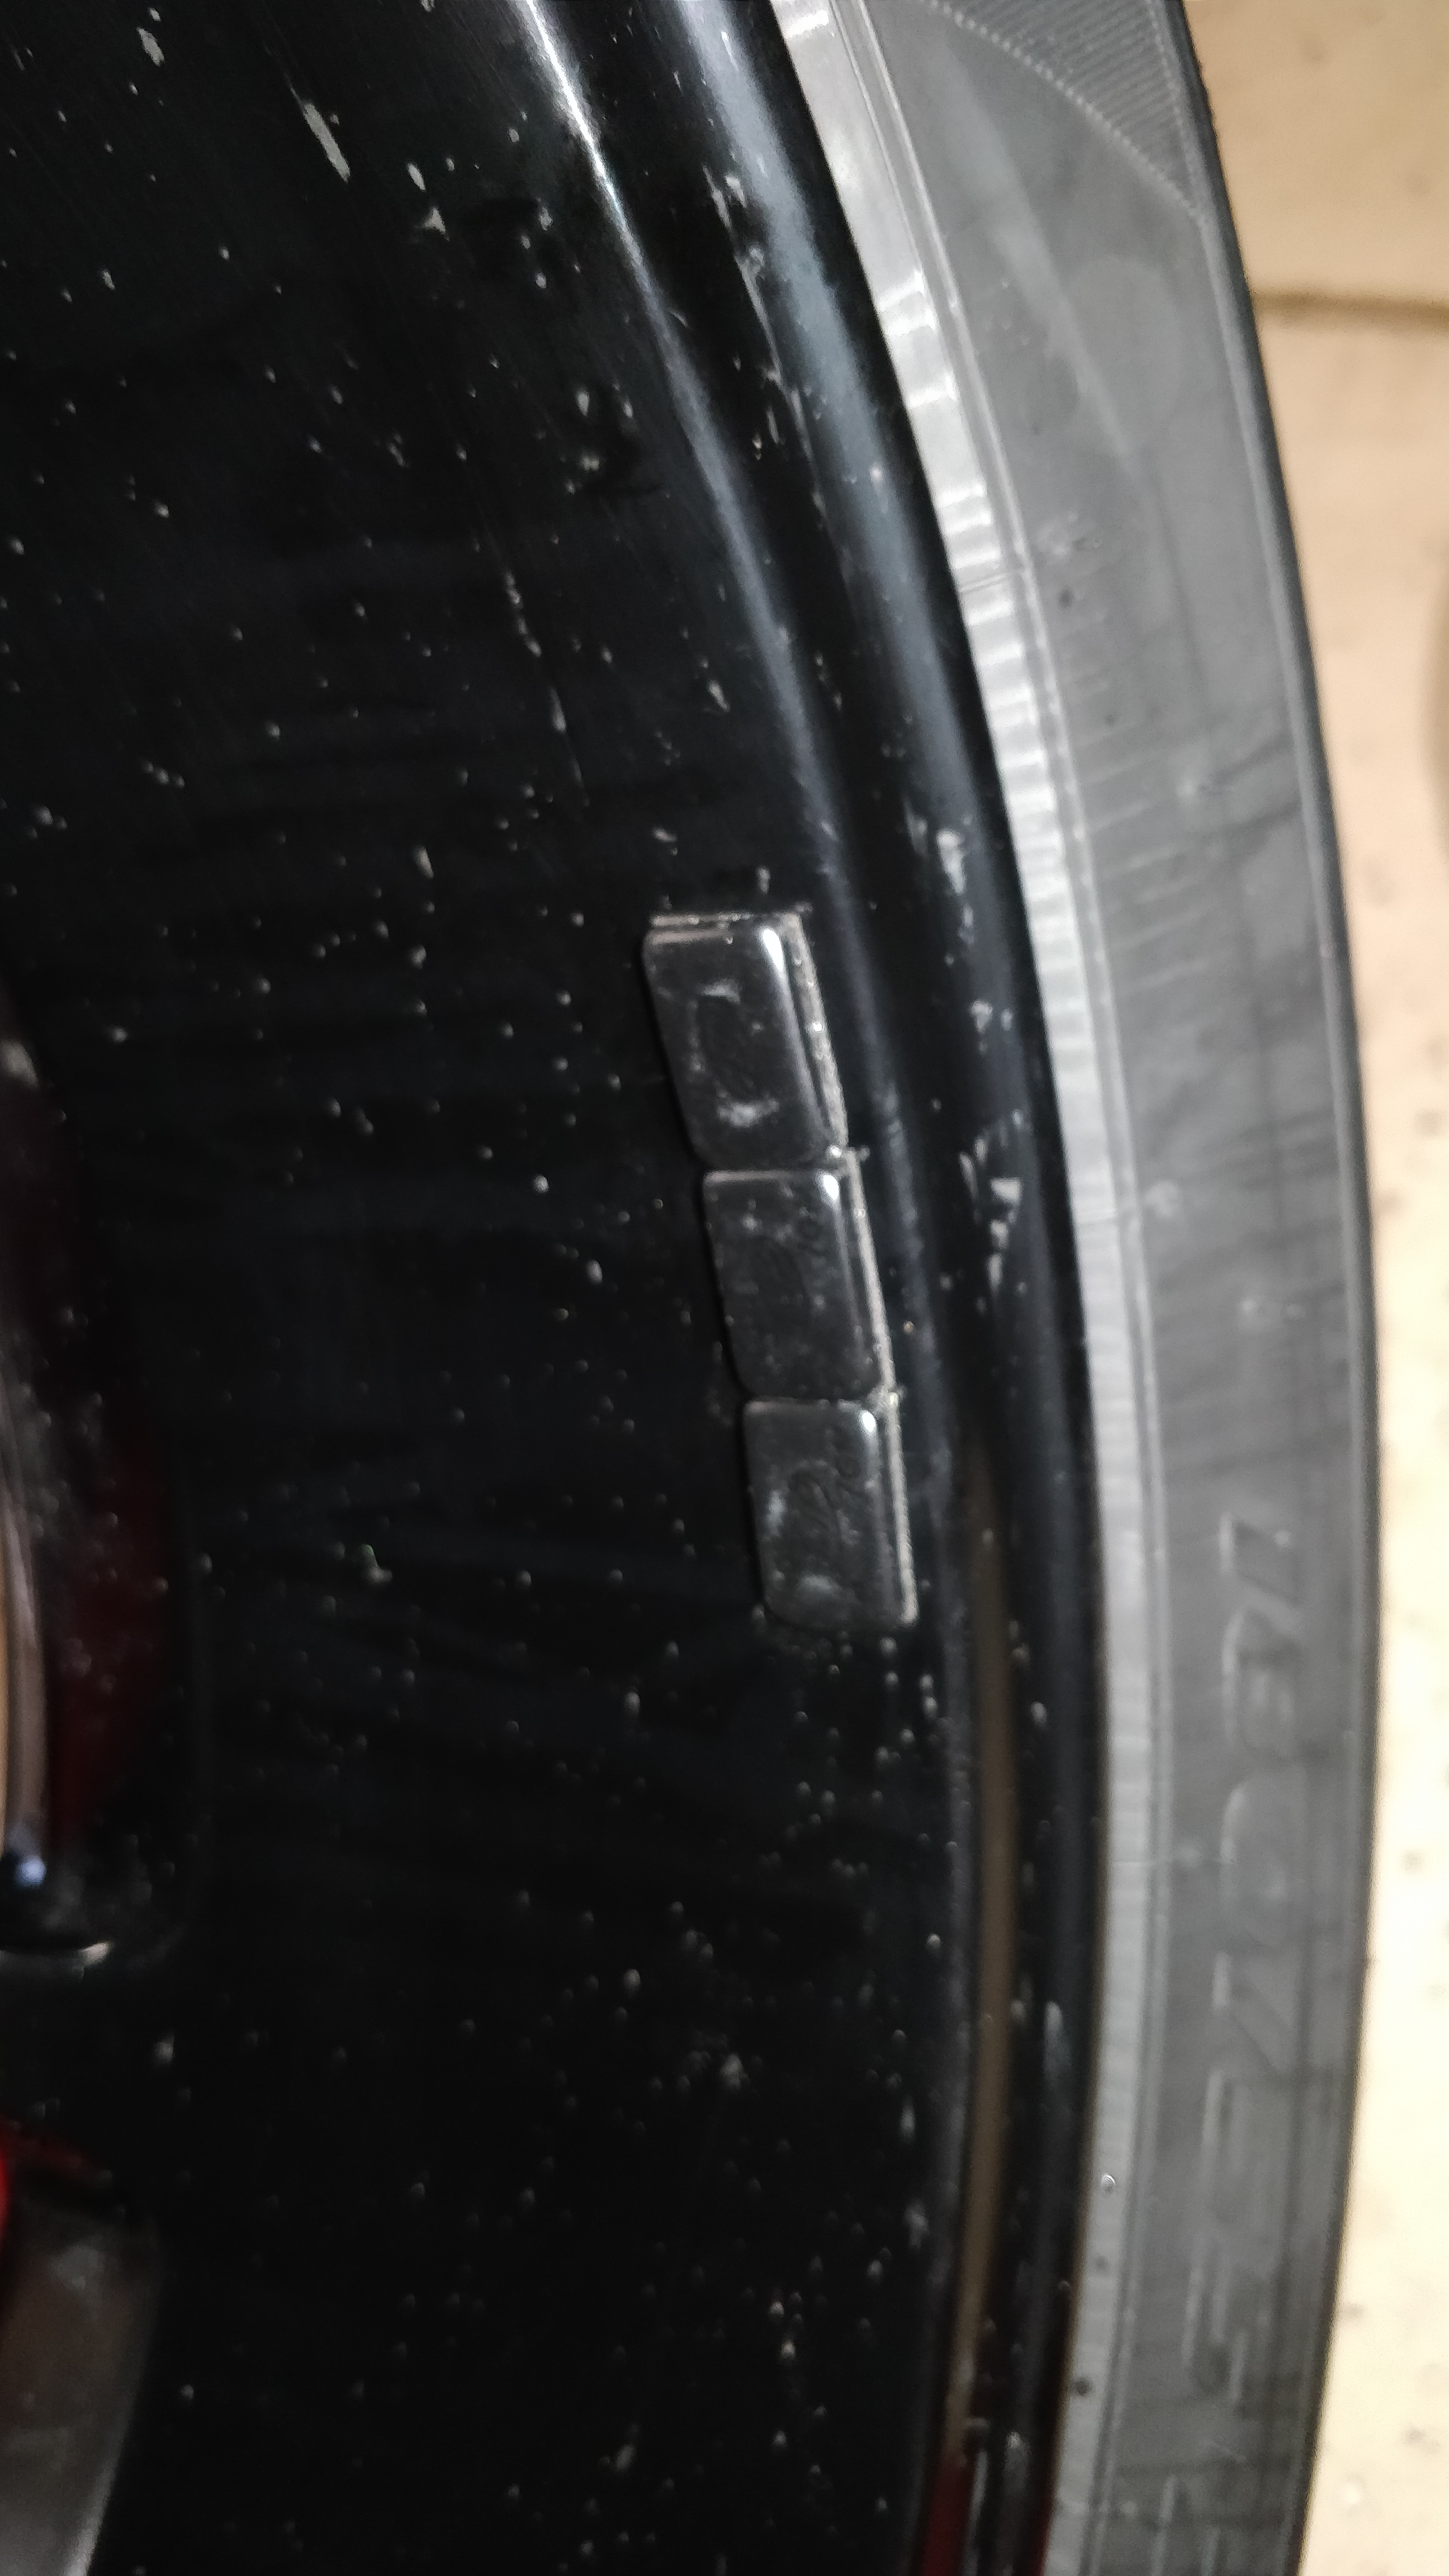 I stick the weights on the wheel for real and double check and all is good.
 I put the wheel back on and lube up the nut threads with some molly grease. I then torque the nut do 165ftlbs.
 I put the lock ring back and assemble the exhaust and we are DONE!!