
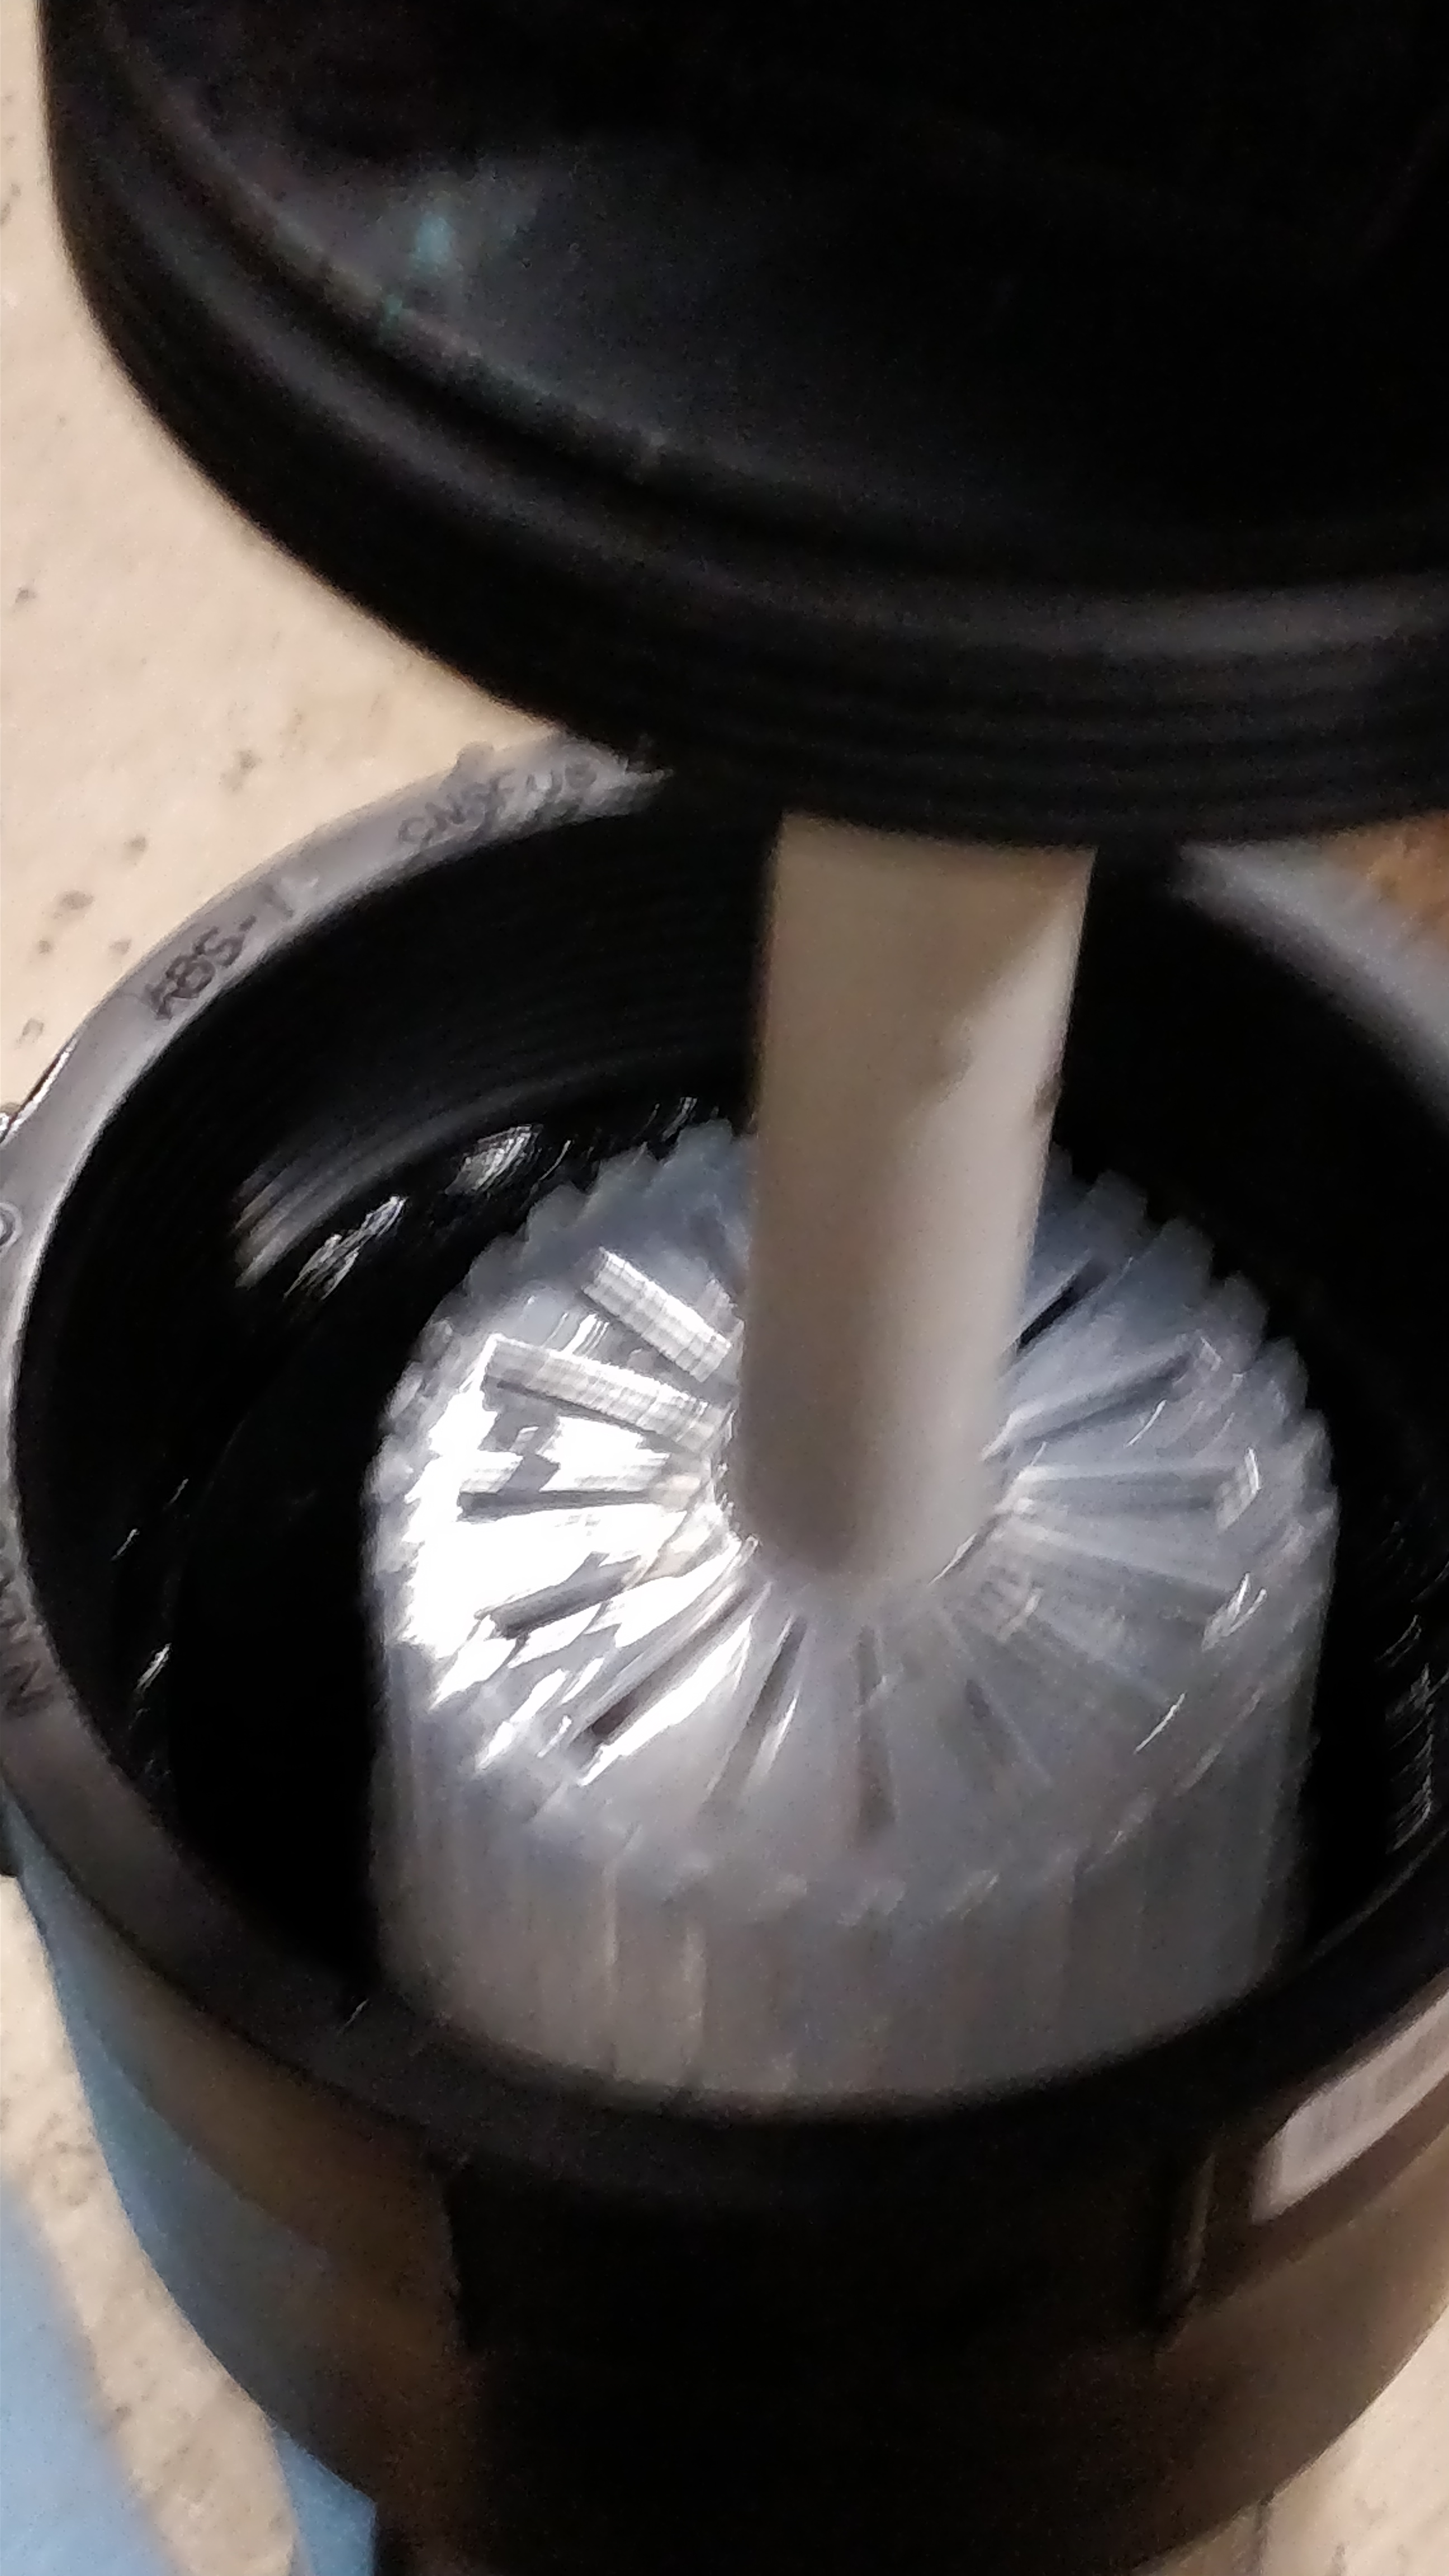
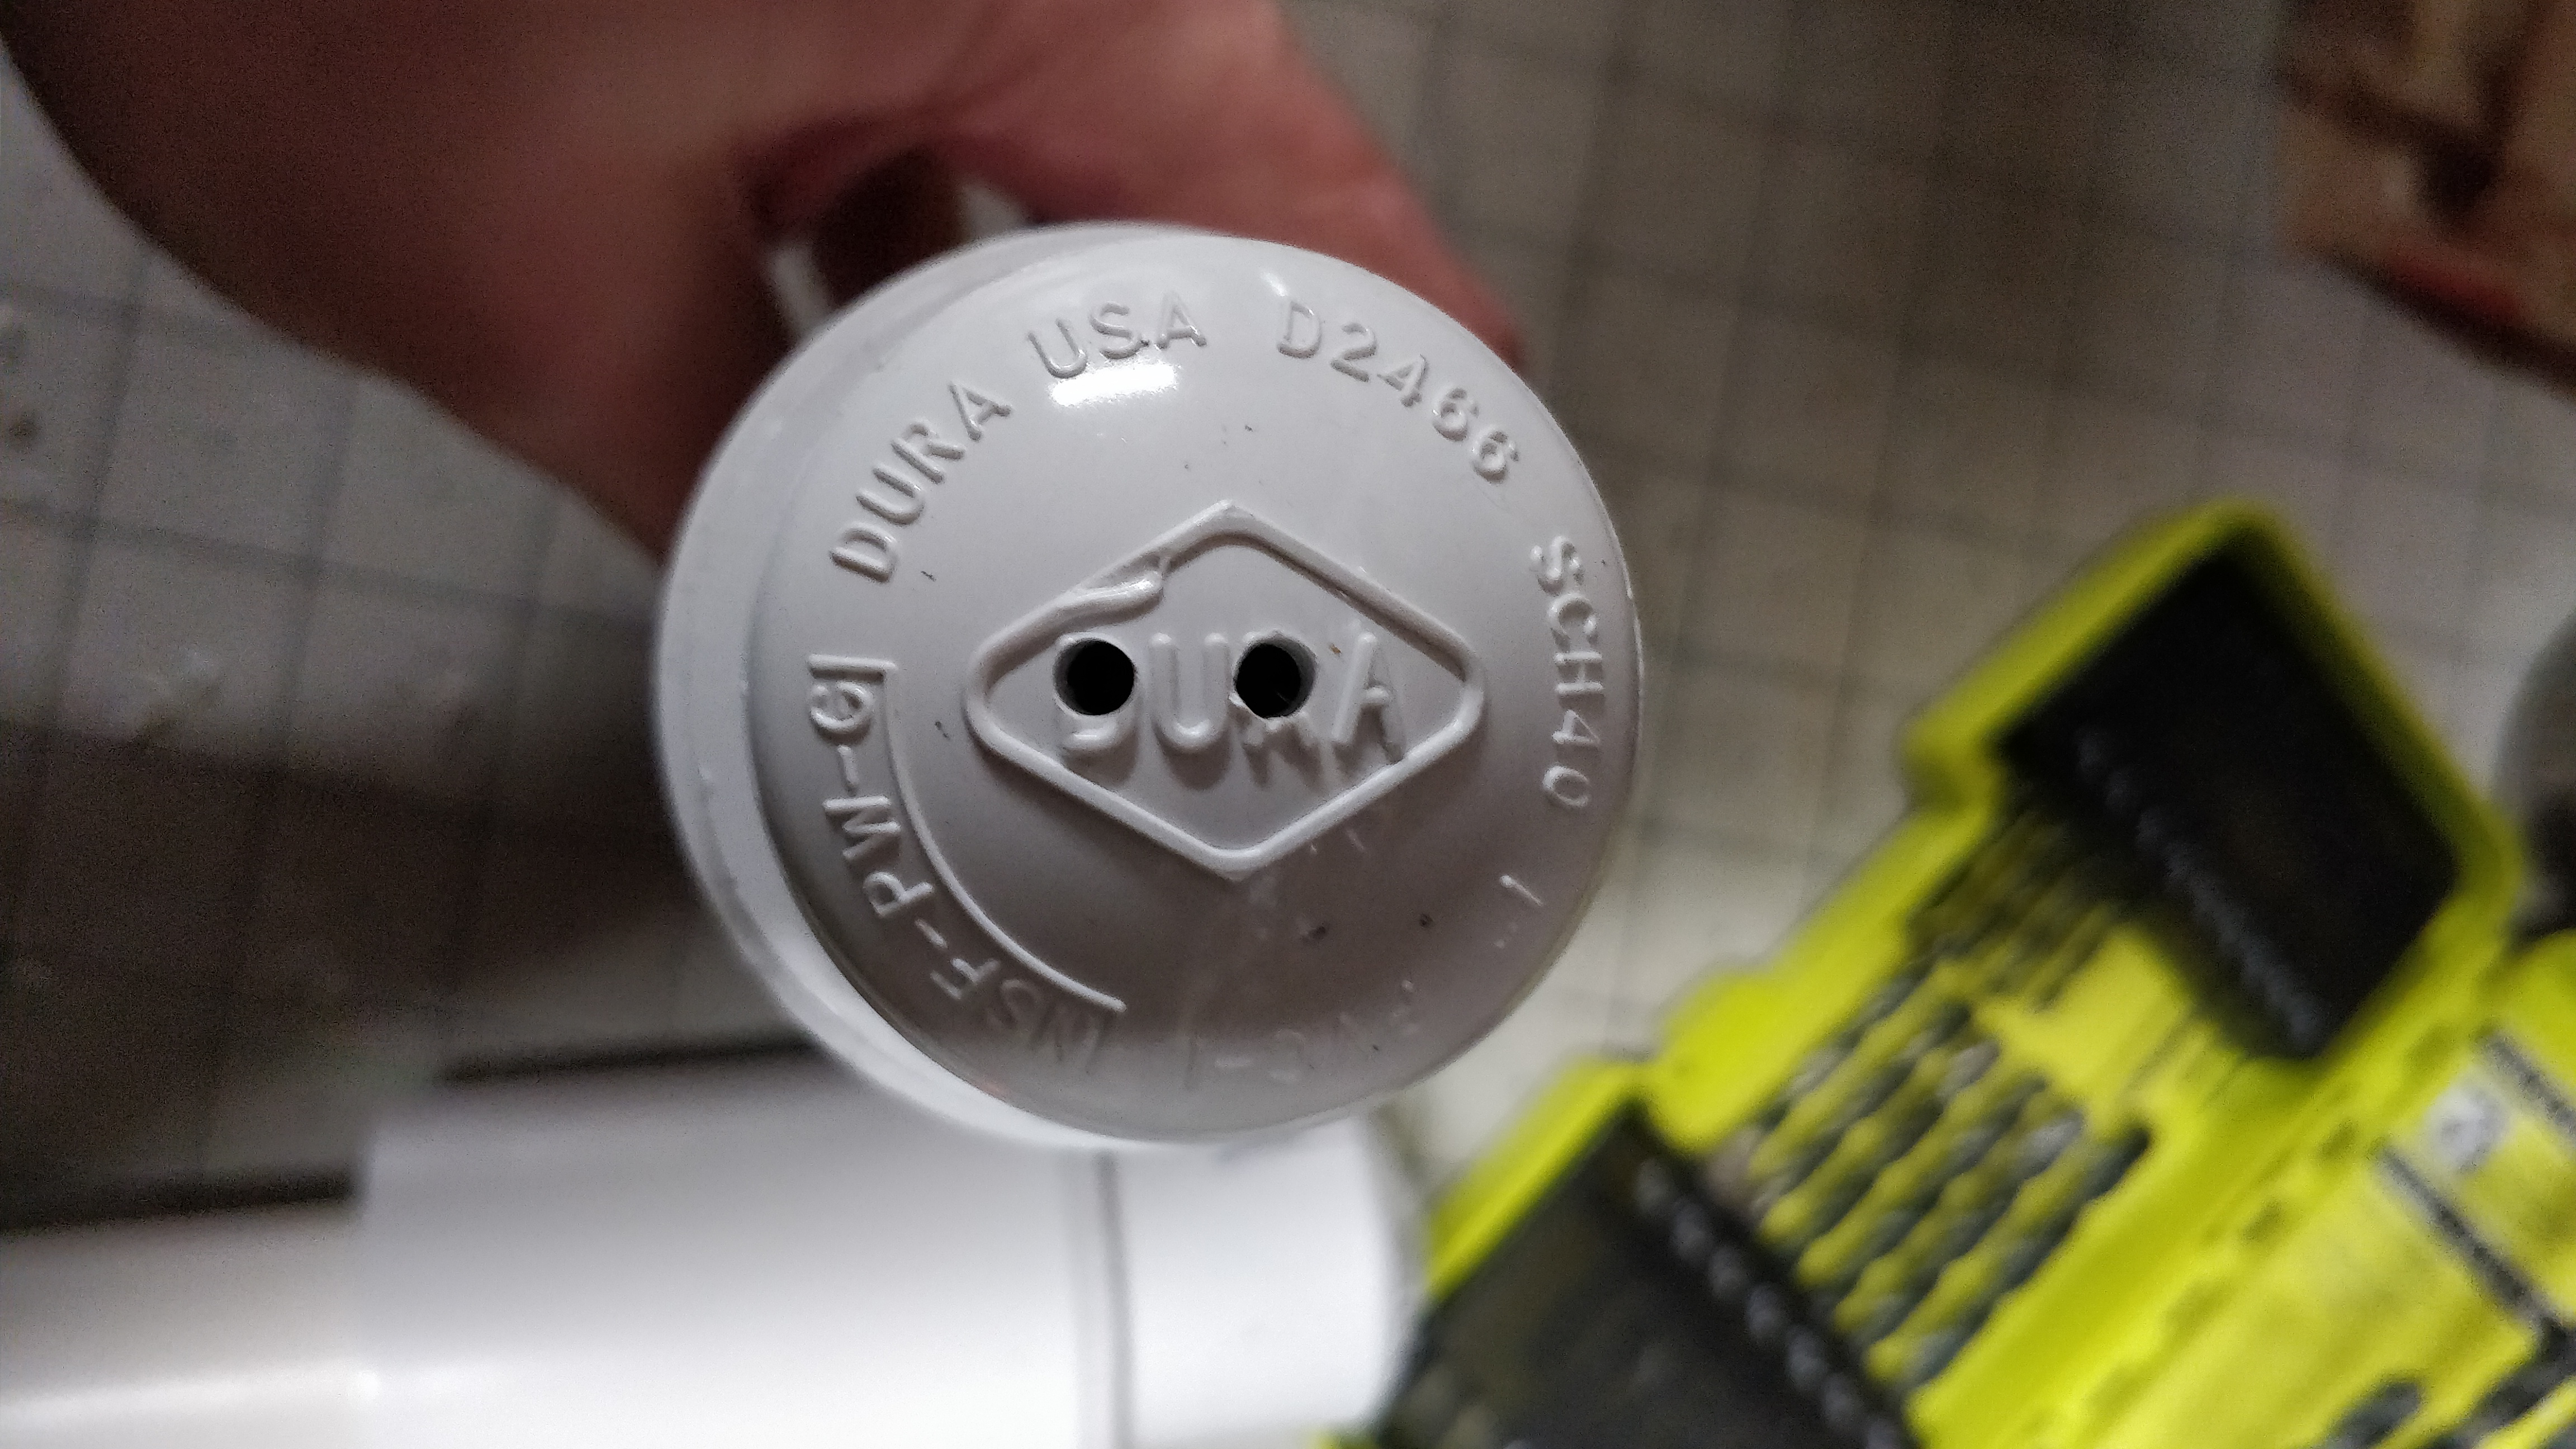
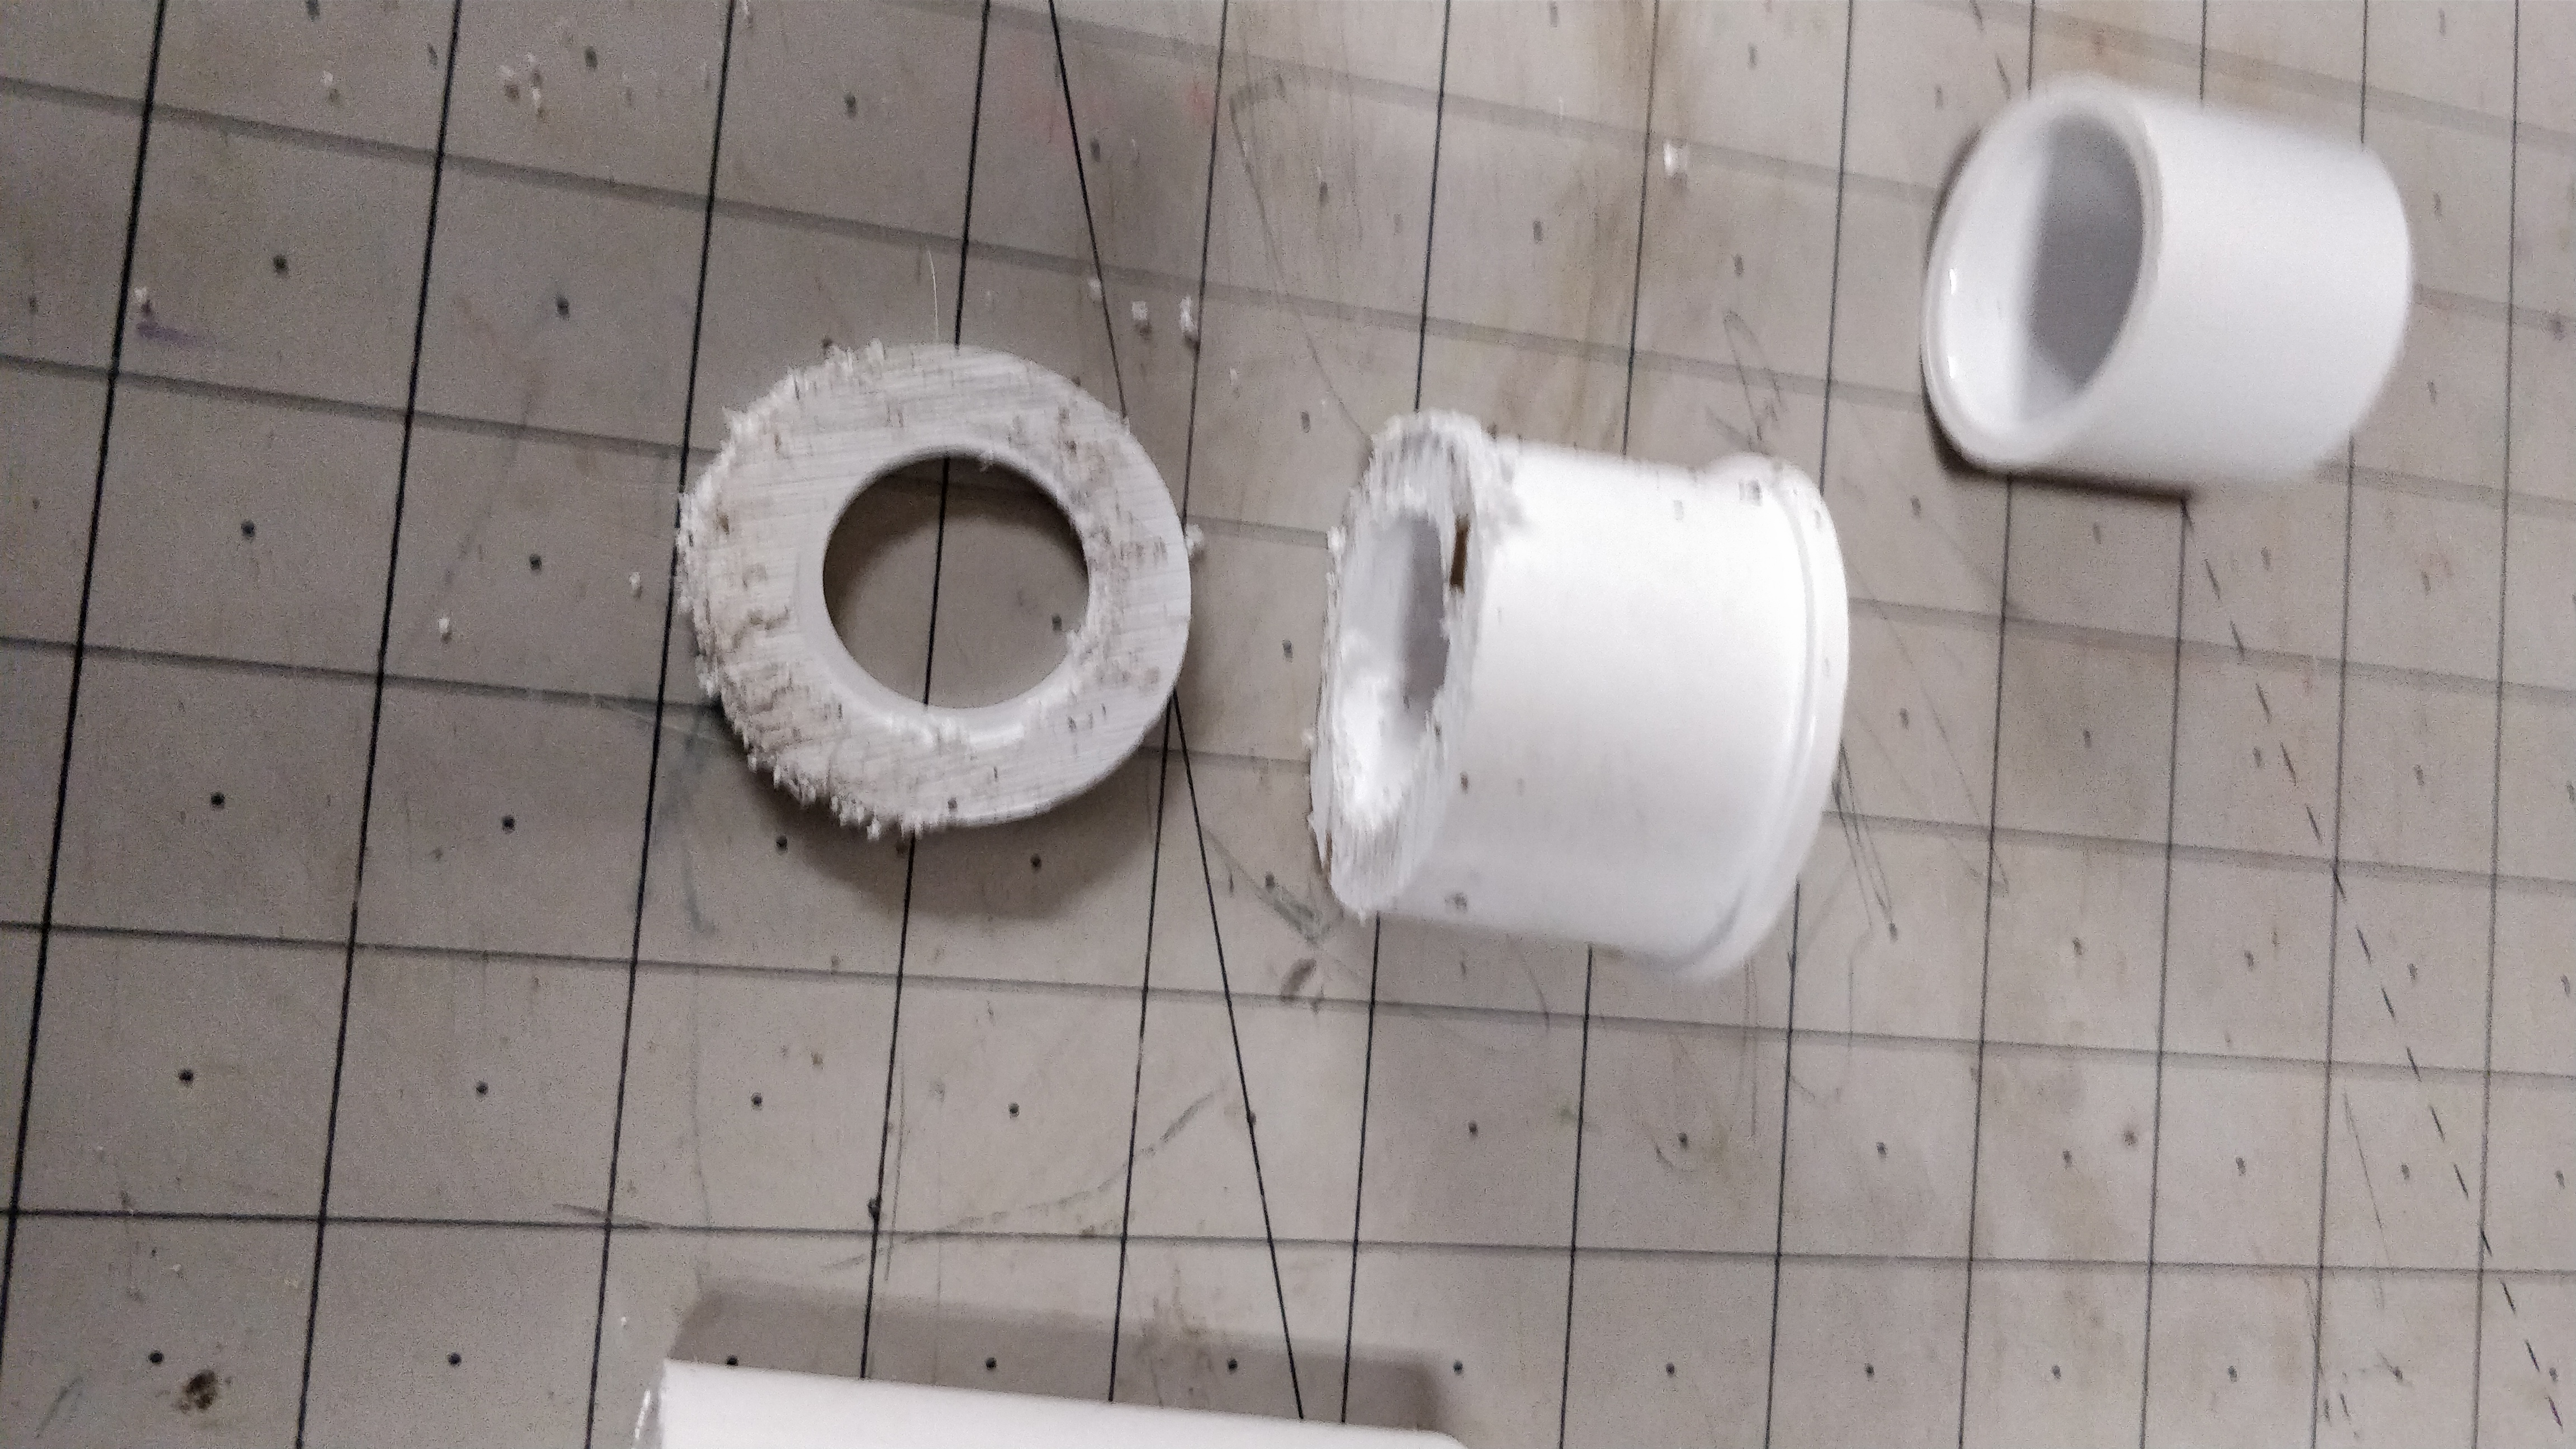
The Stockman Standpipe (Success)
This standpipe setup muffled my loud overflow quite a bit. You can see in the pictures below how i assembled it from basic plumbing.


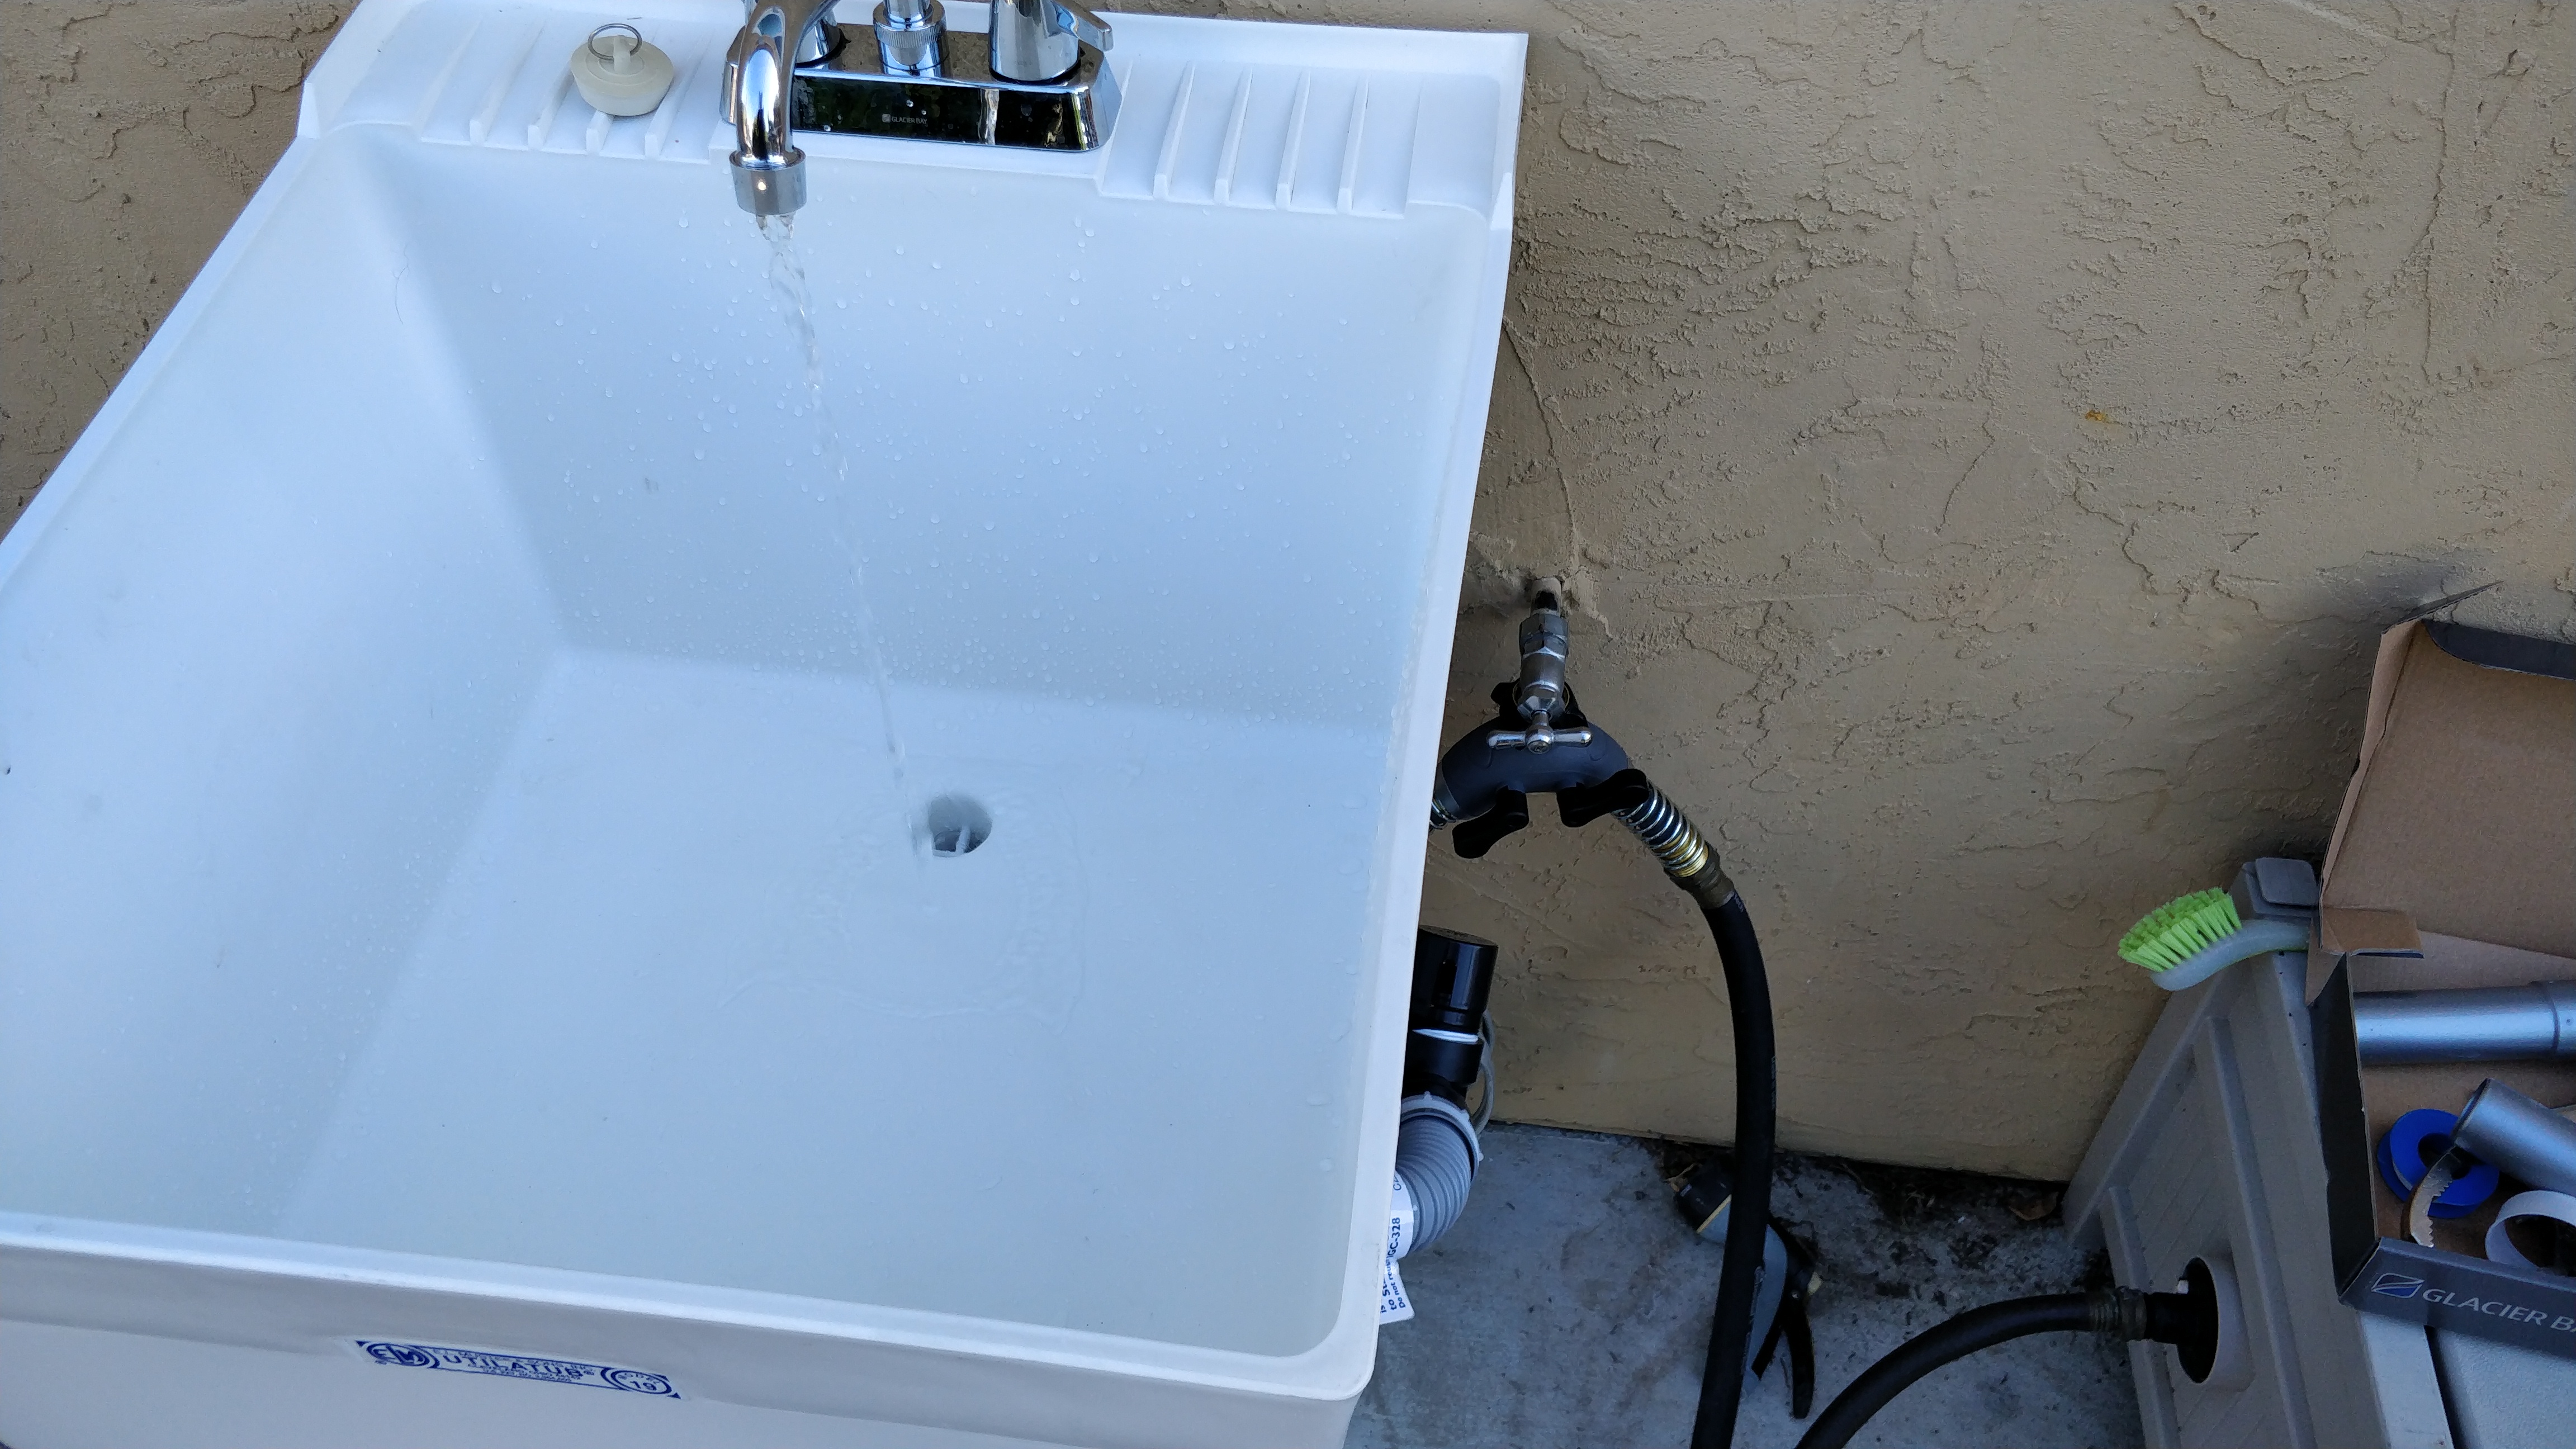
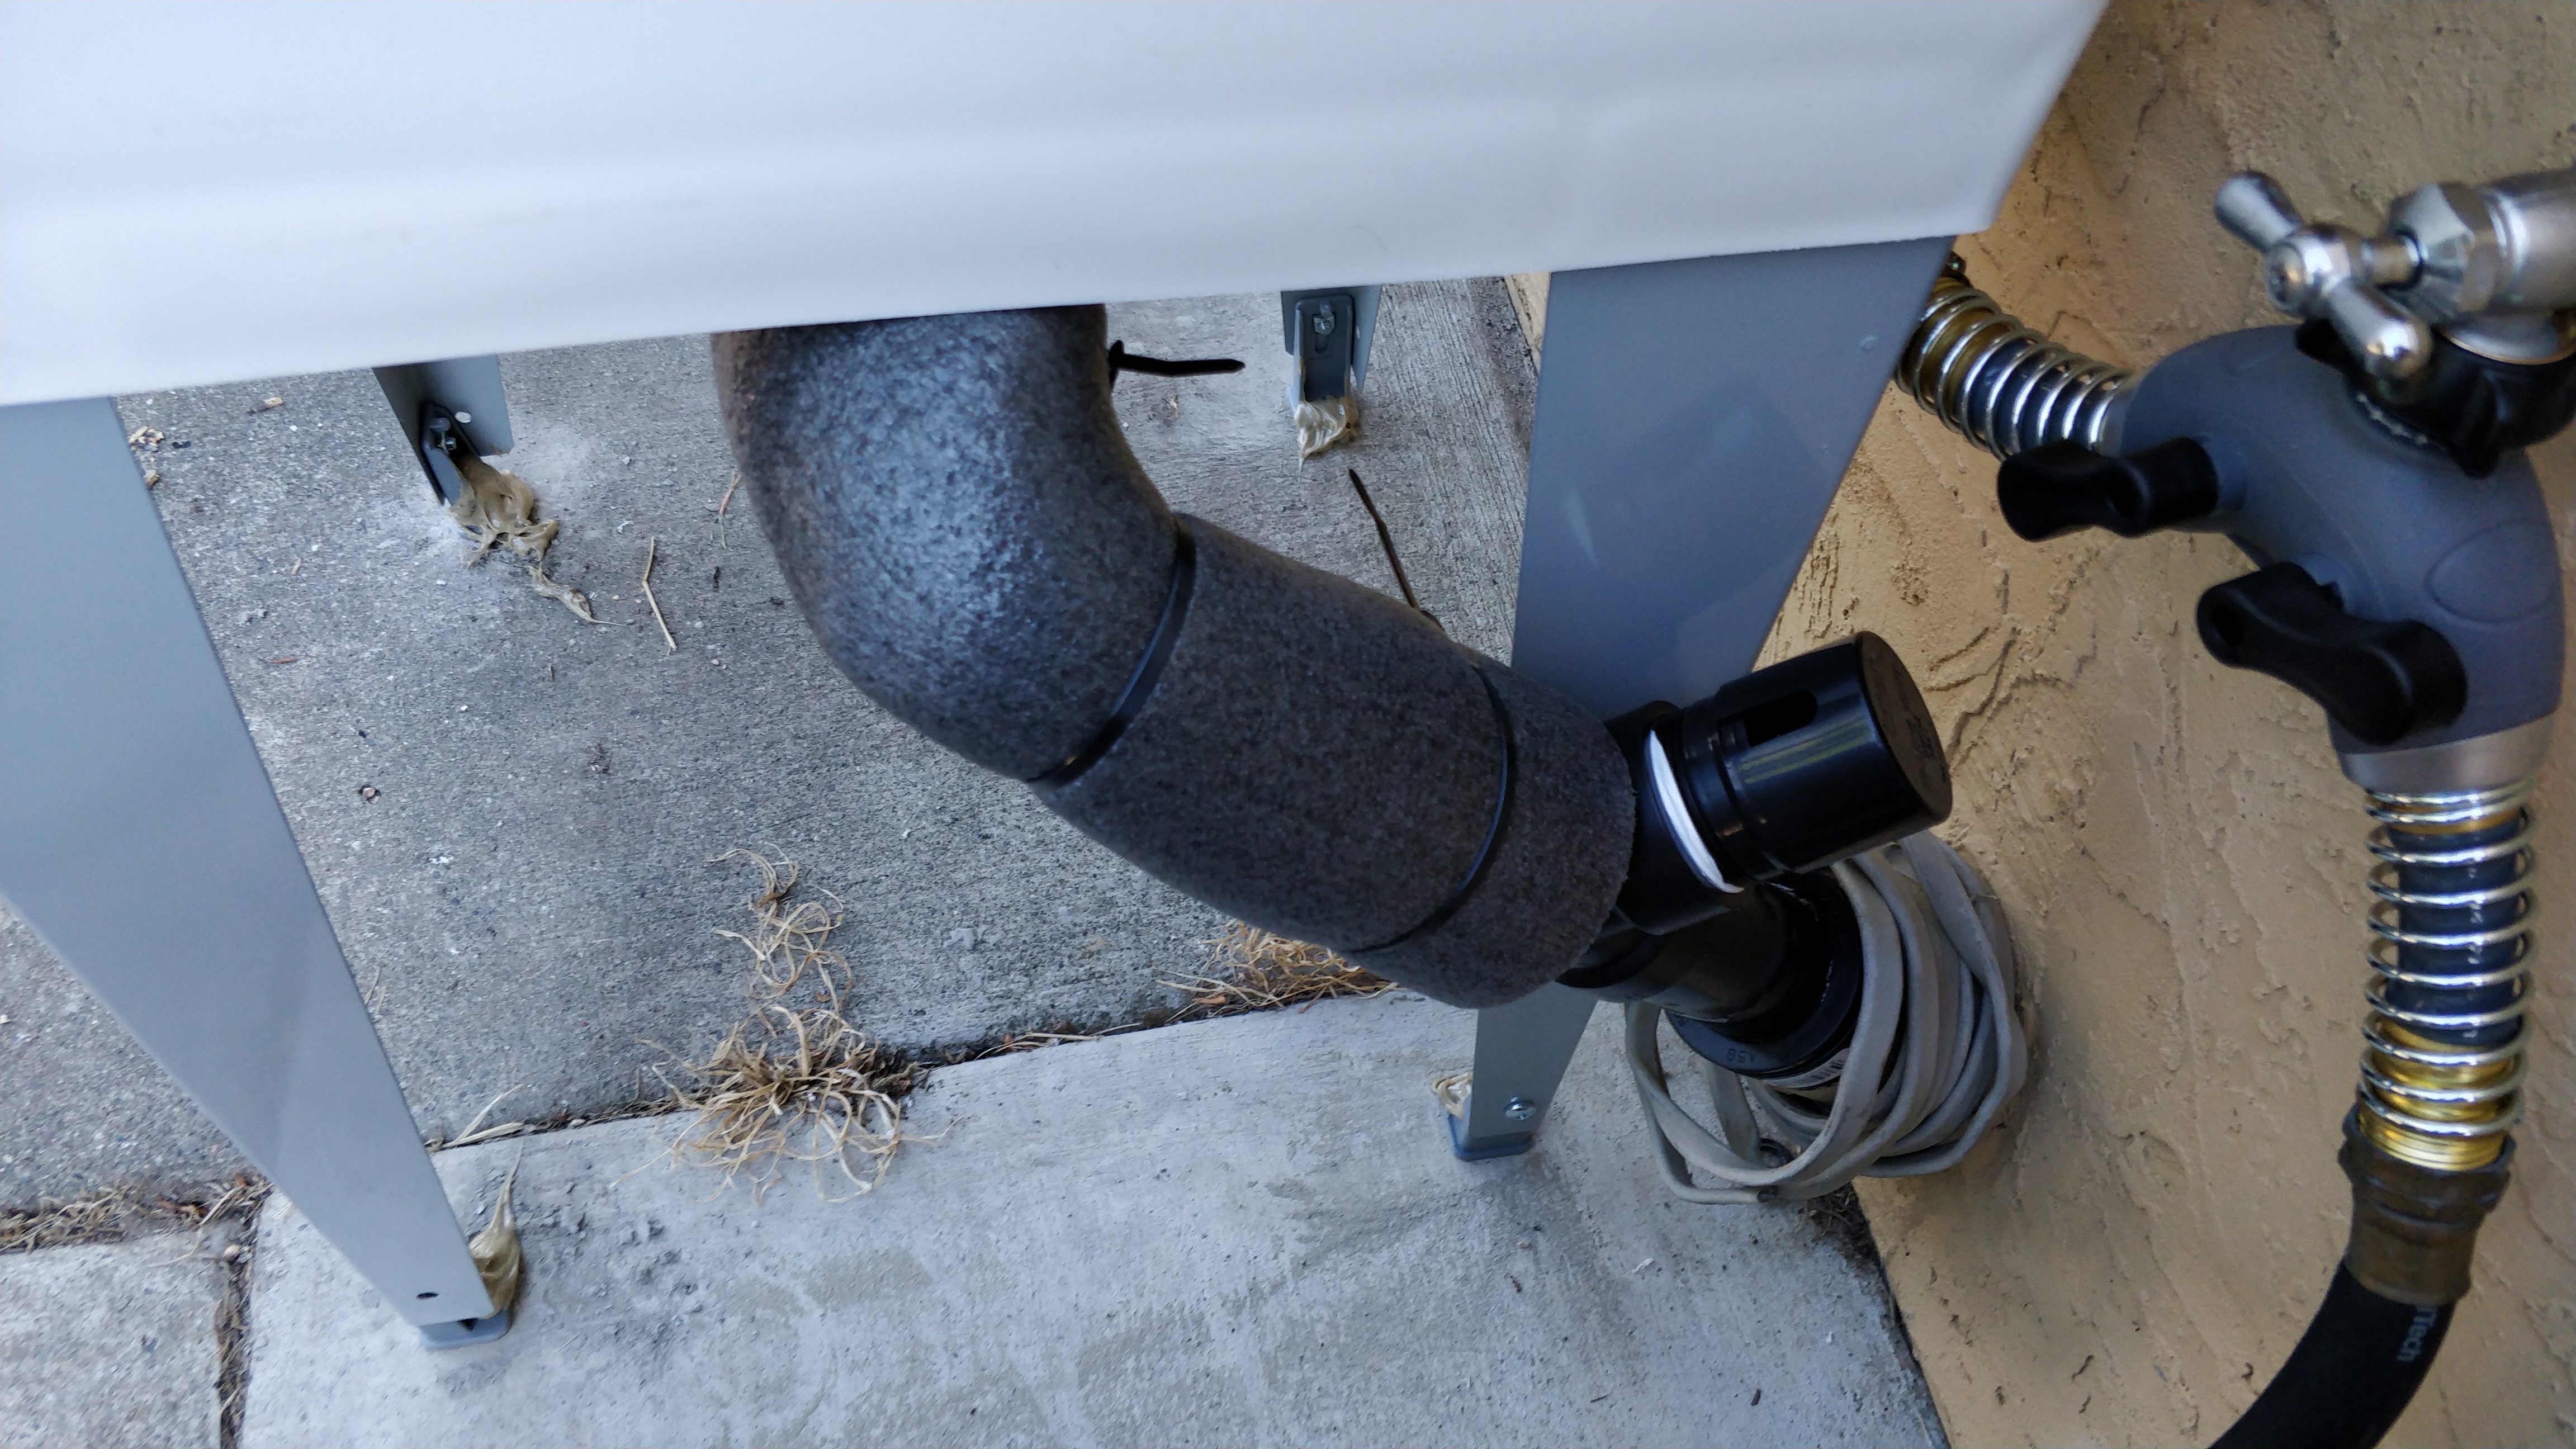
Utility Sink ( Success). Well..... some people may not like this but i did not have a spot in the garage for a utility sink. however i had a water source and sewer hookup right on my back patio. now i have a good spot to wash out my dirty filter socks or drain my aquarium for water changes. This helps prevent anything that i may be growing in my tank from making its way into local water columns.


Carbon and GFO Reactor (Fail)
Well..... I tried to DIY up a Carbon and GFO reactor. I was going to build 2 containers and so on.. It was more expensive than anticipated and one container failed and the other one leaked. after about 1 month of service i pulled it for a BRS setup that was roughly the same cost with a pump included.


Cooling Fan (Fail)
I had some cooling fans and tried to set them up to cool down my tank. The issue was they were not cooling down much and making the inside of my sump area super humid and wet. It even fried my dosing pump. After this I decided i must find a chiller before summer came.
Chiller (Fail... WIN!!!)
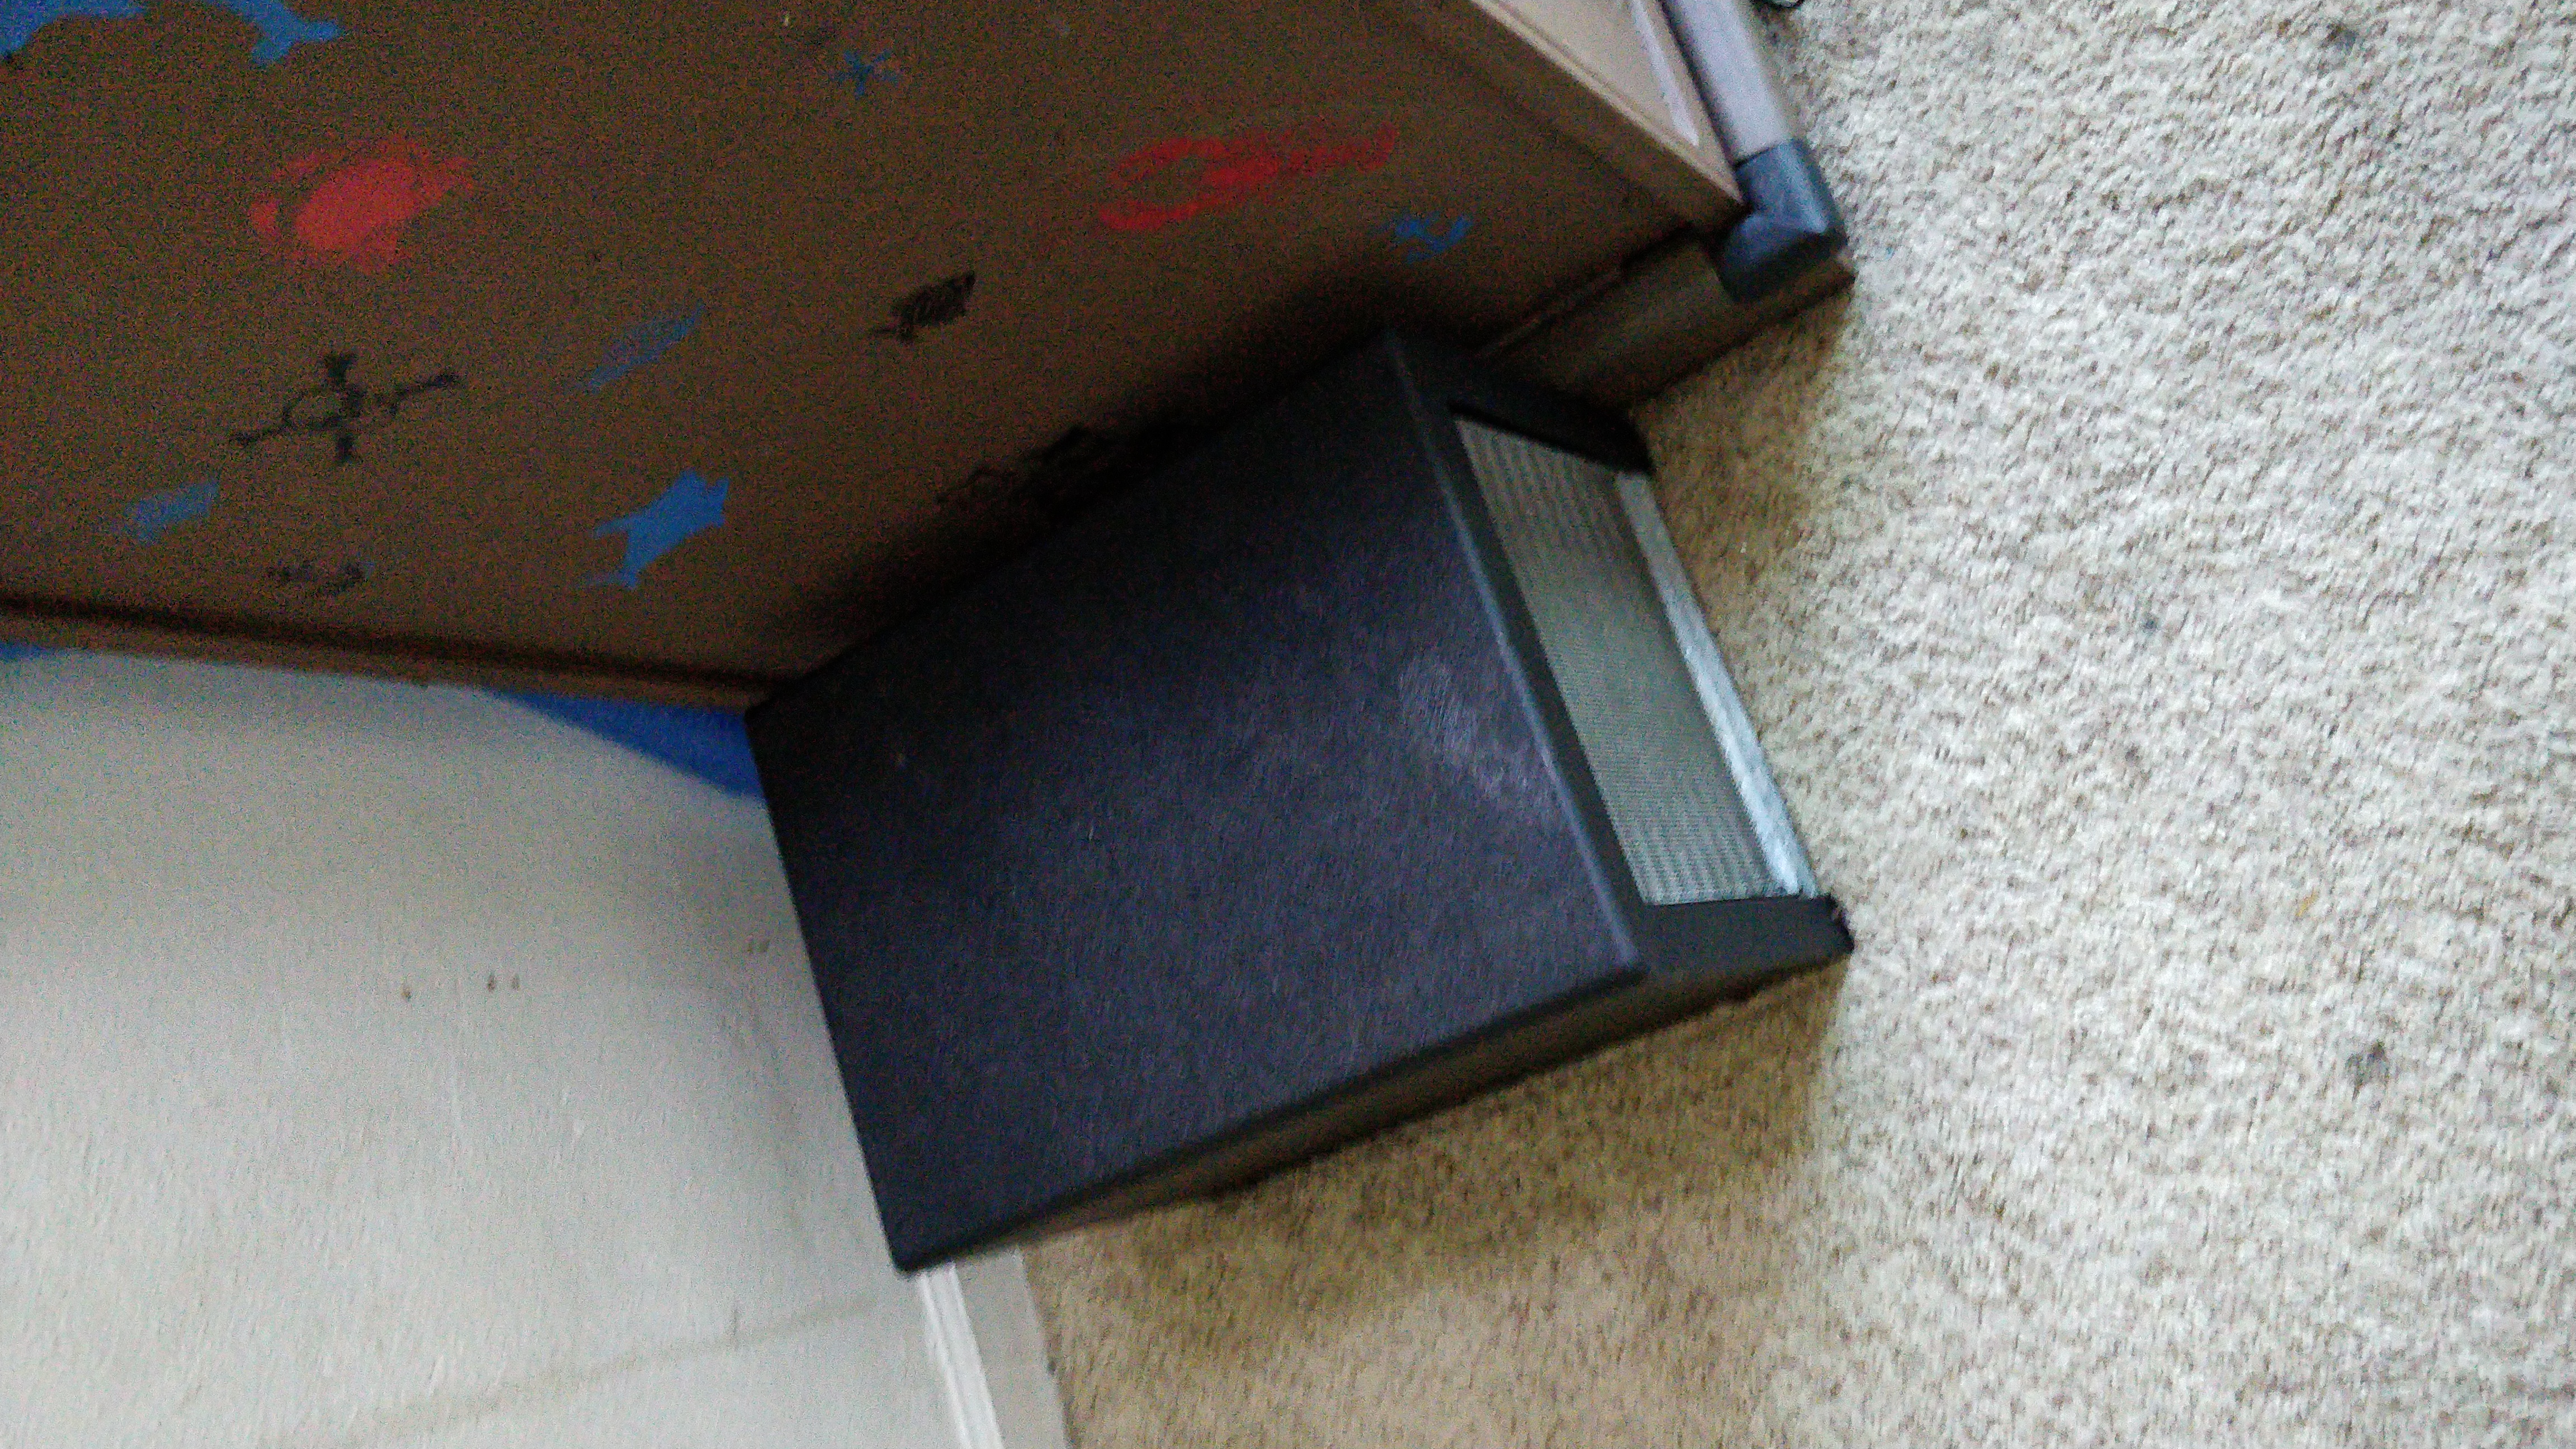
So I bought a used Chiller on the good old fleabay. I drove 2 hours to go get it. I got it back home and got it in place next to my tank. I powered it up and (HISSSSSSSS and a cloud) a freon cloud formed in my family room.
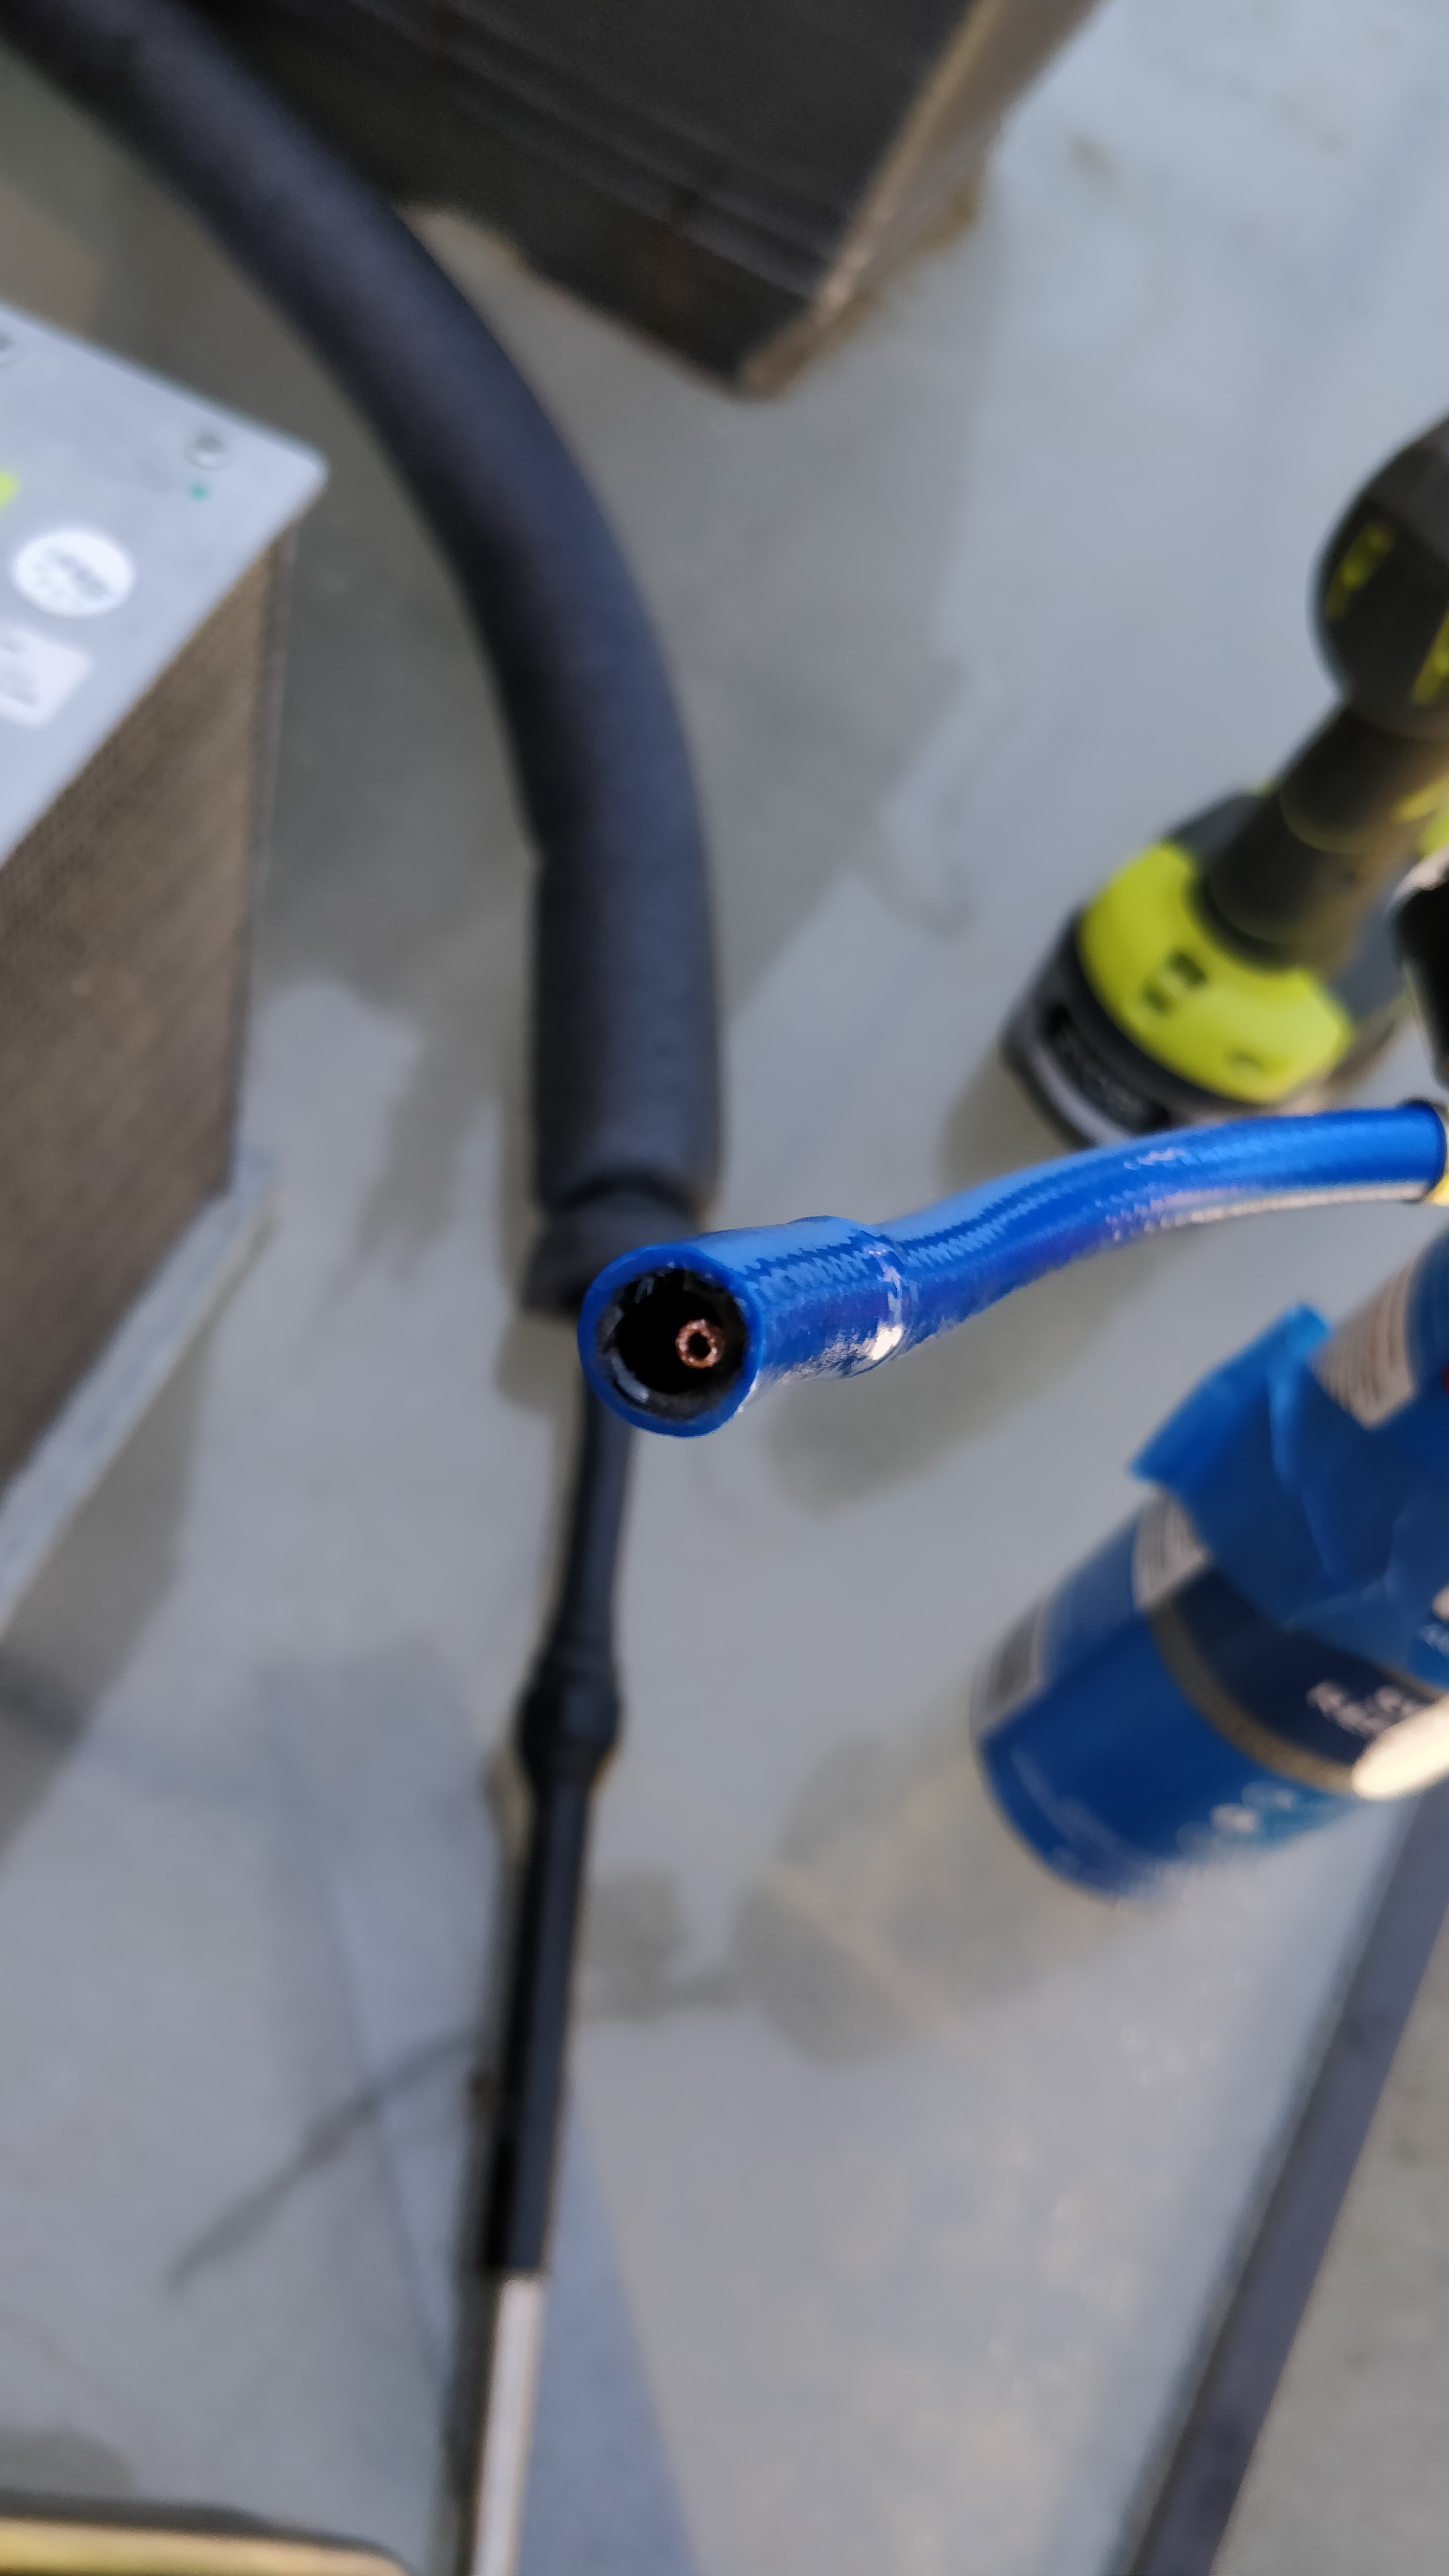
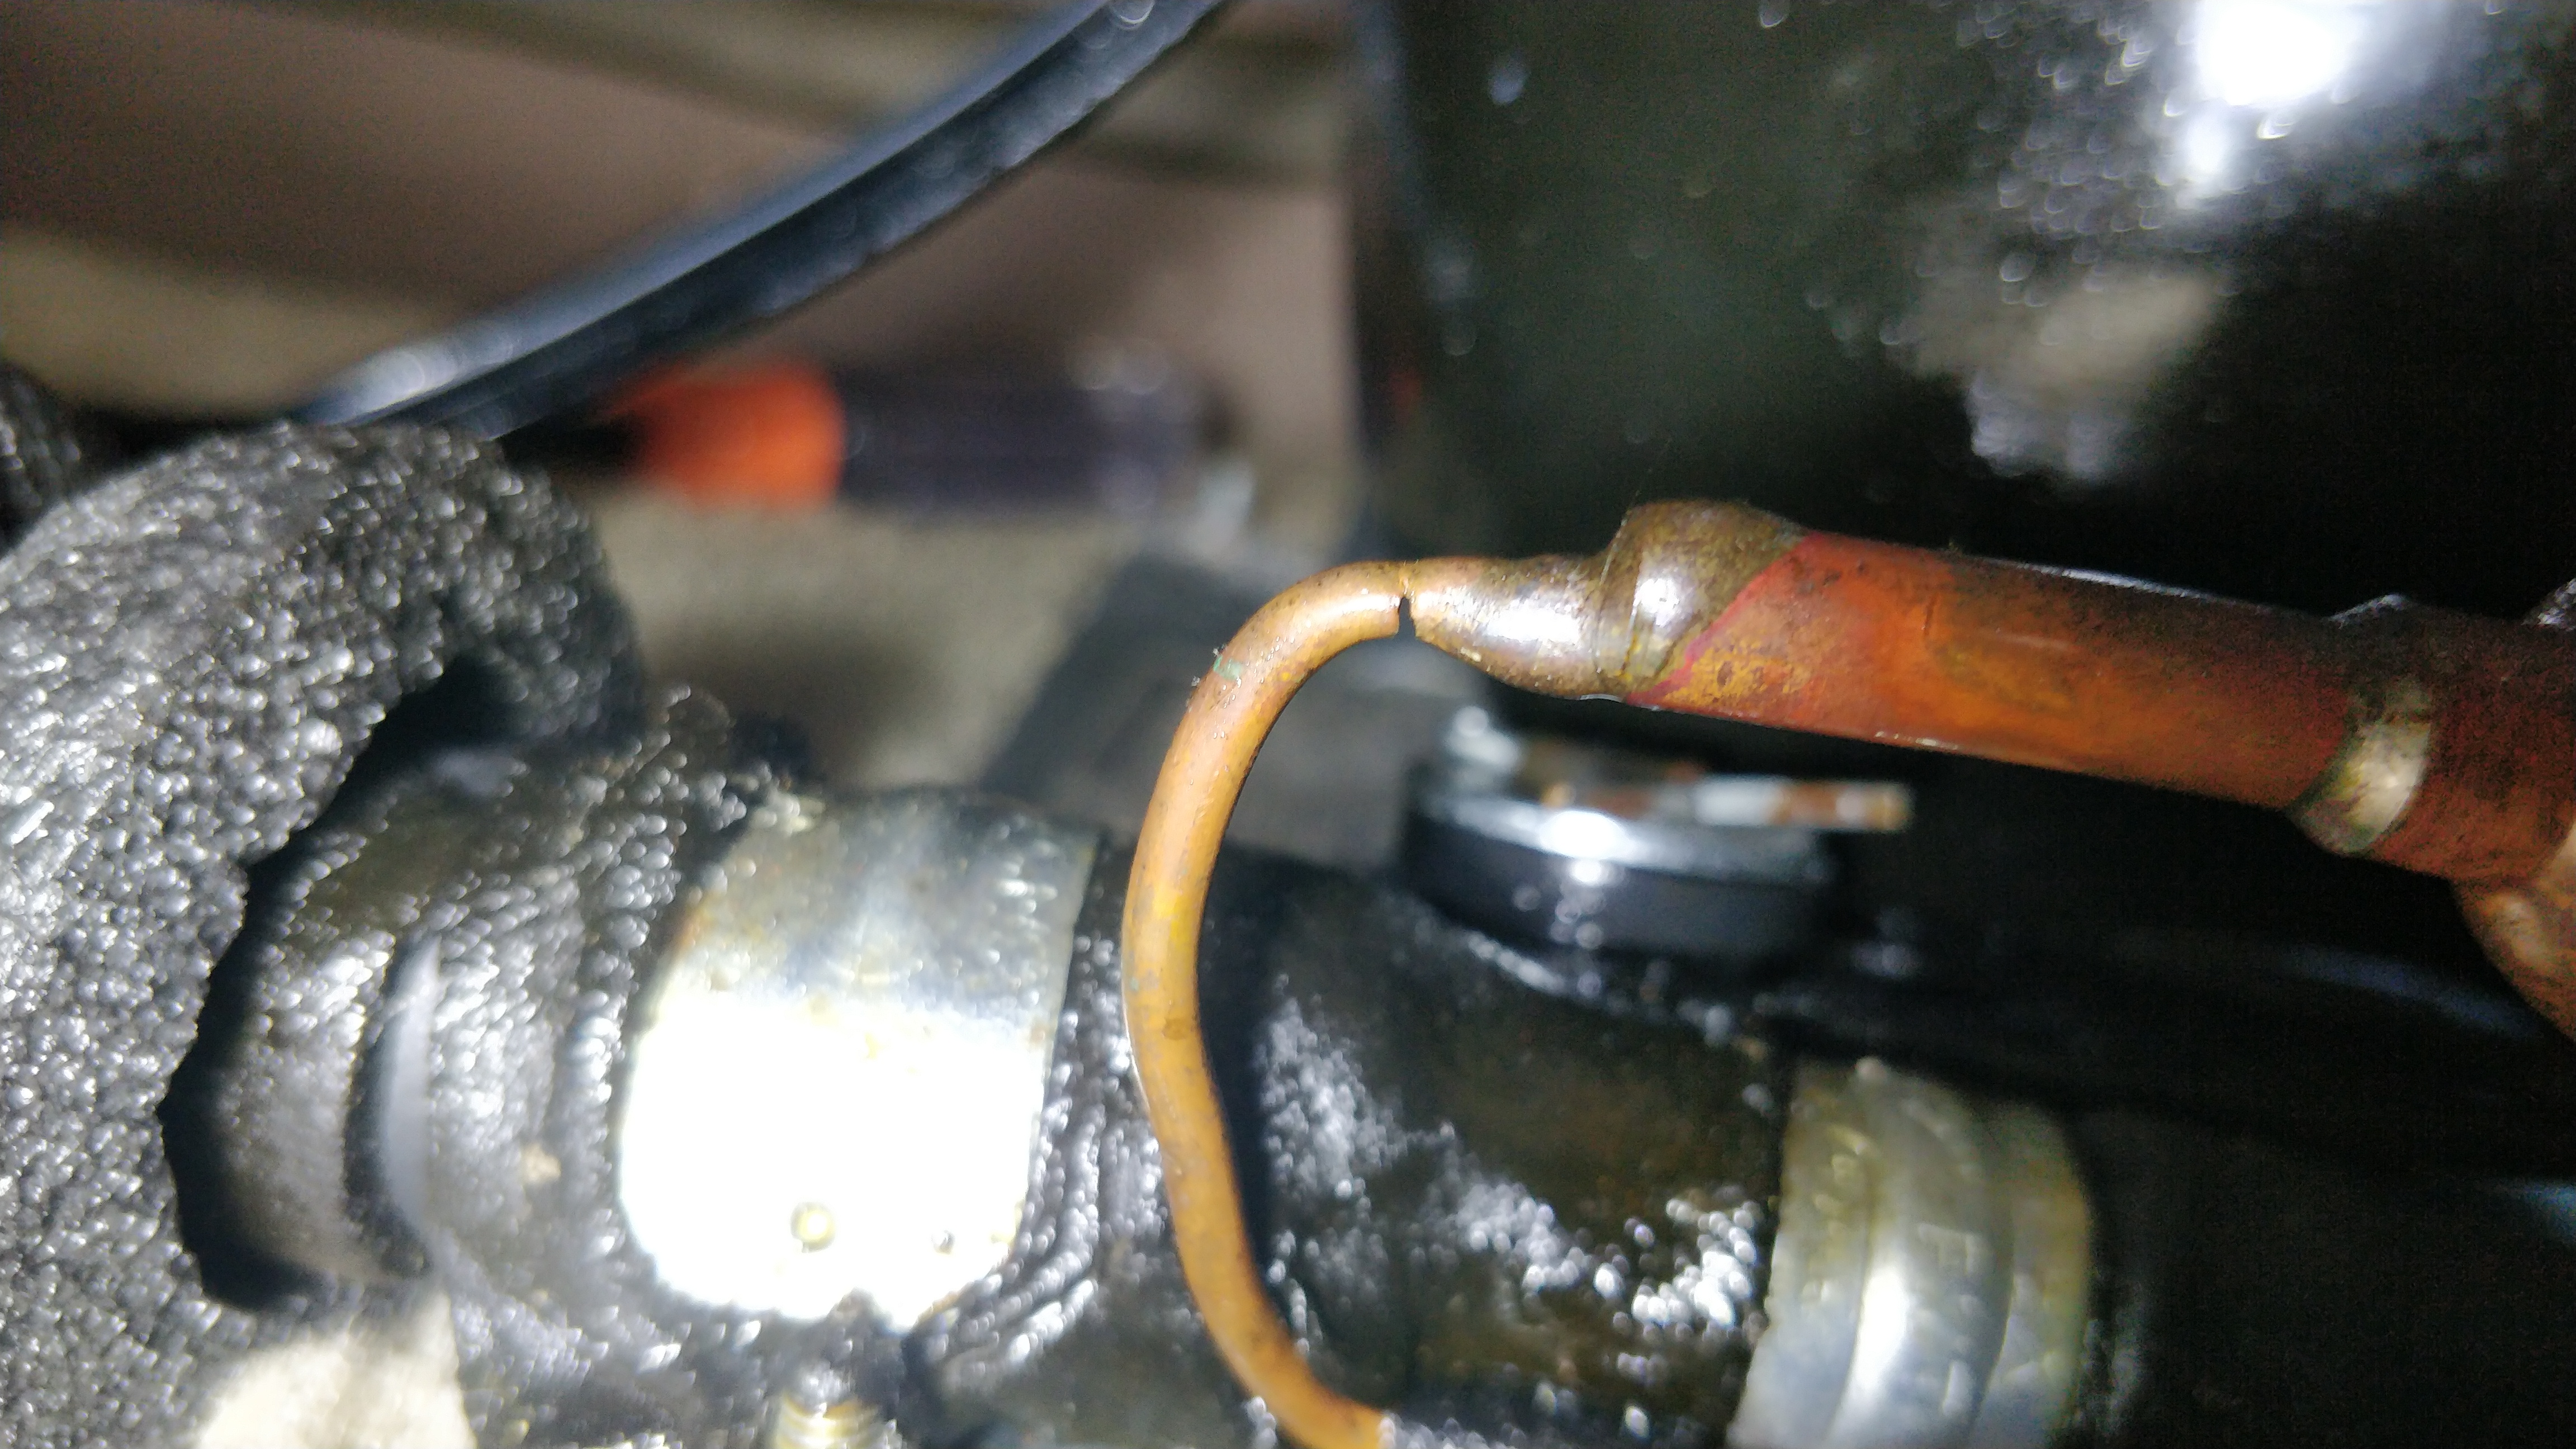
I opened up the unit to inspect where the smoke or cloud or whatever was coming from. I found a crack in a freon pipe.

I decided that i would try to repair it.
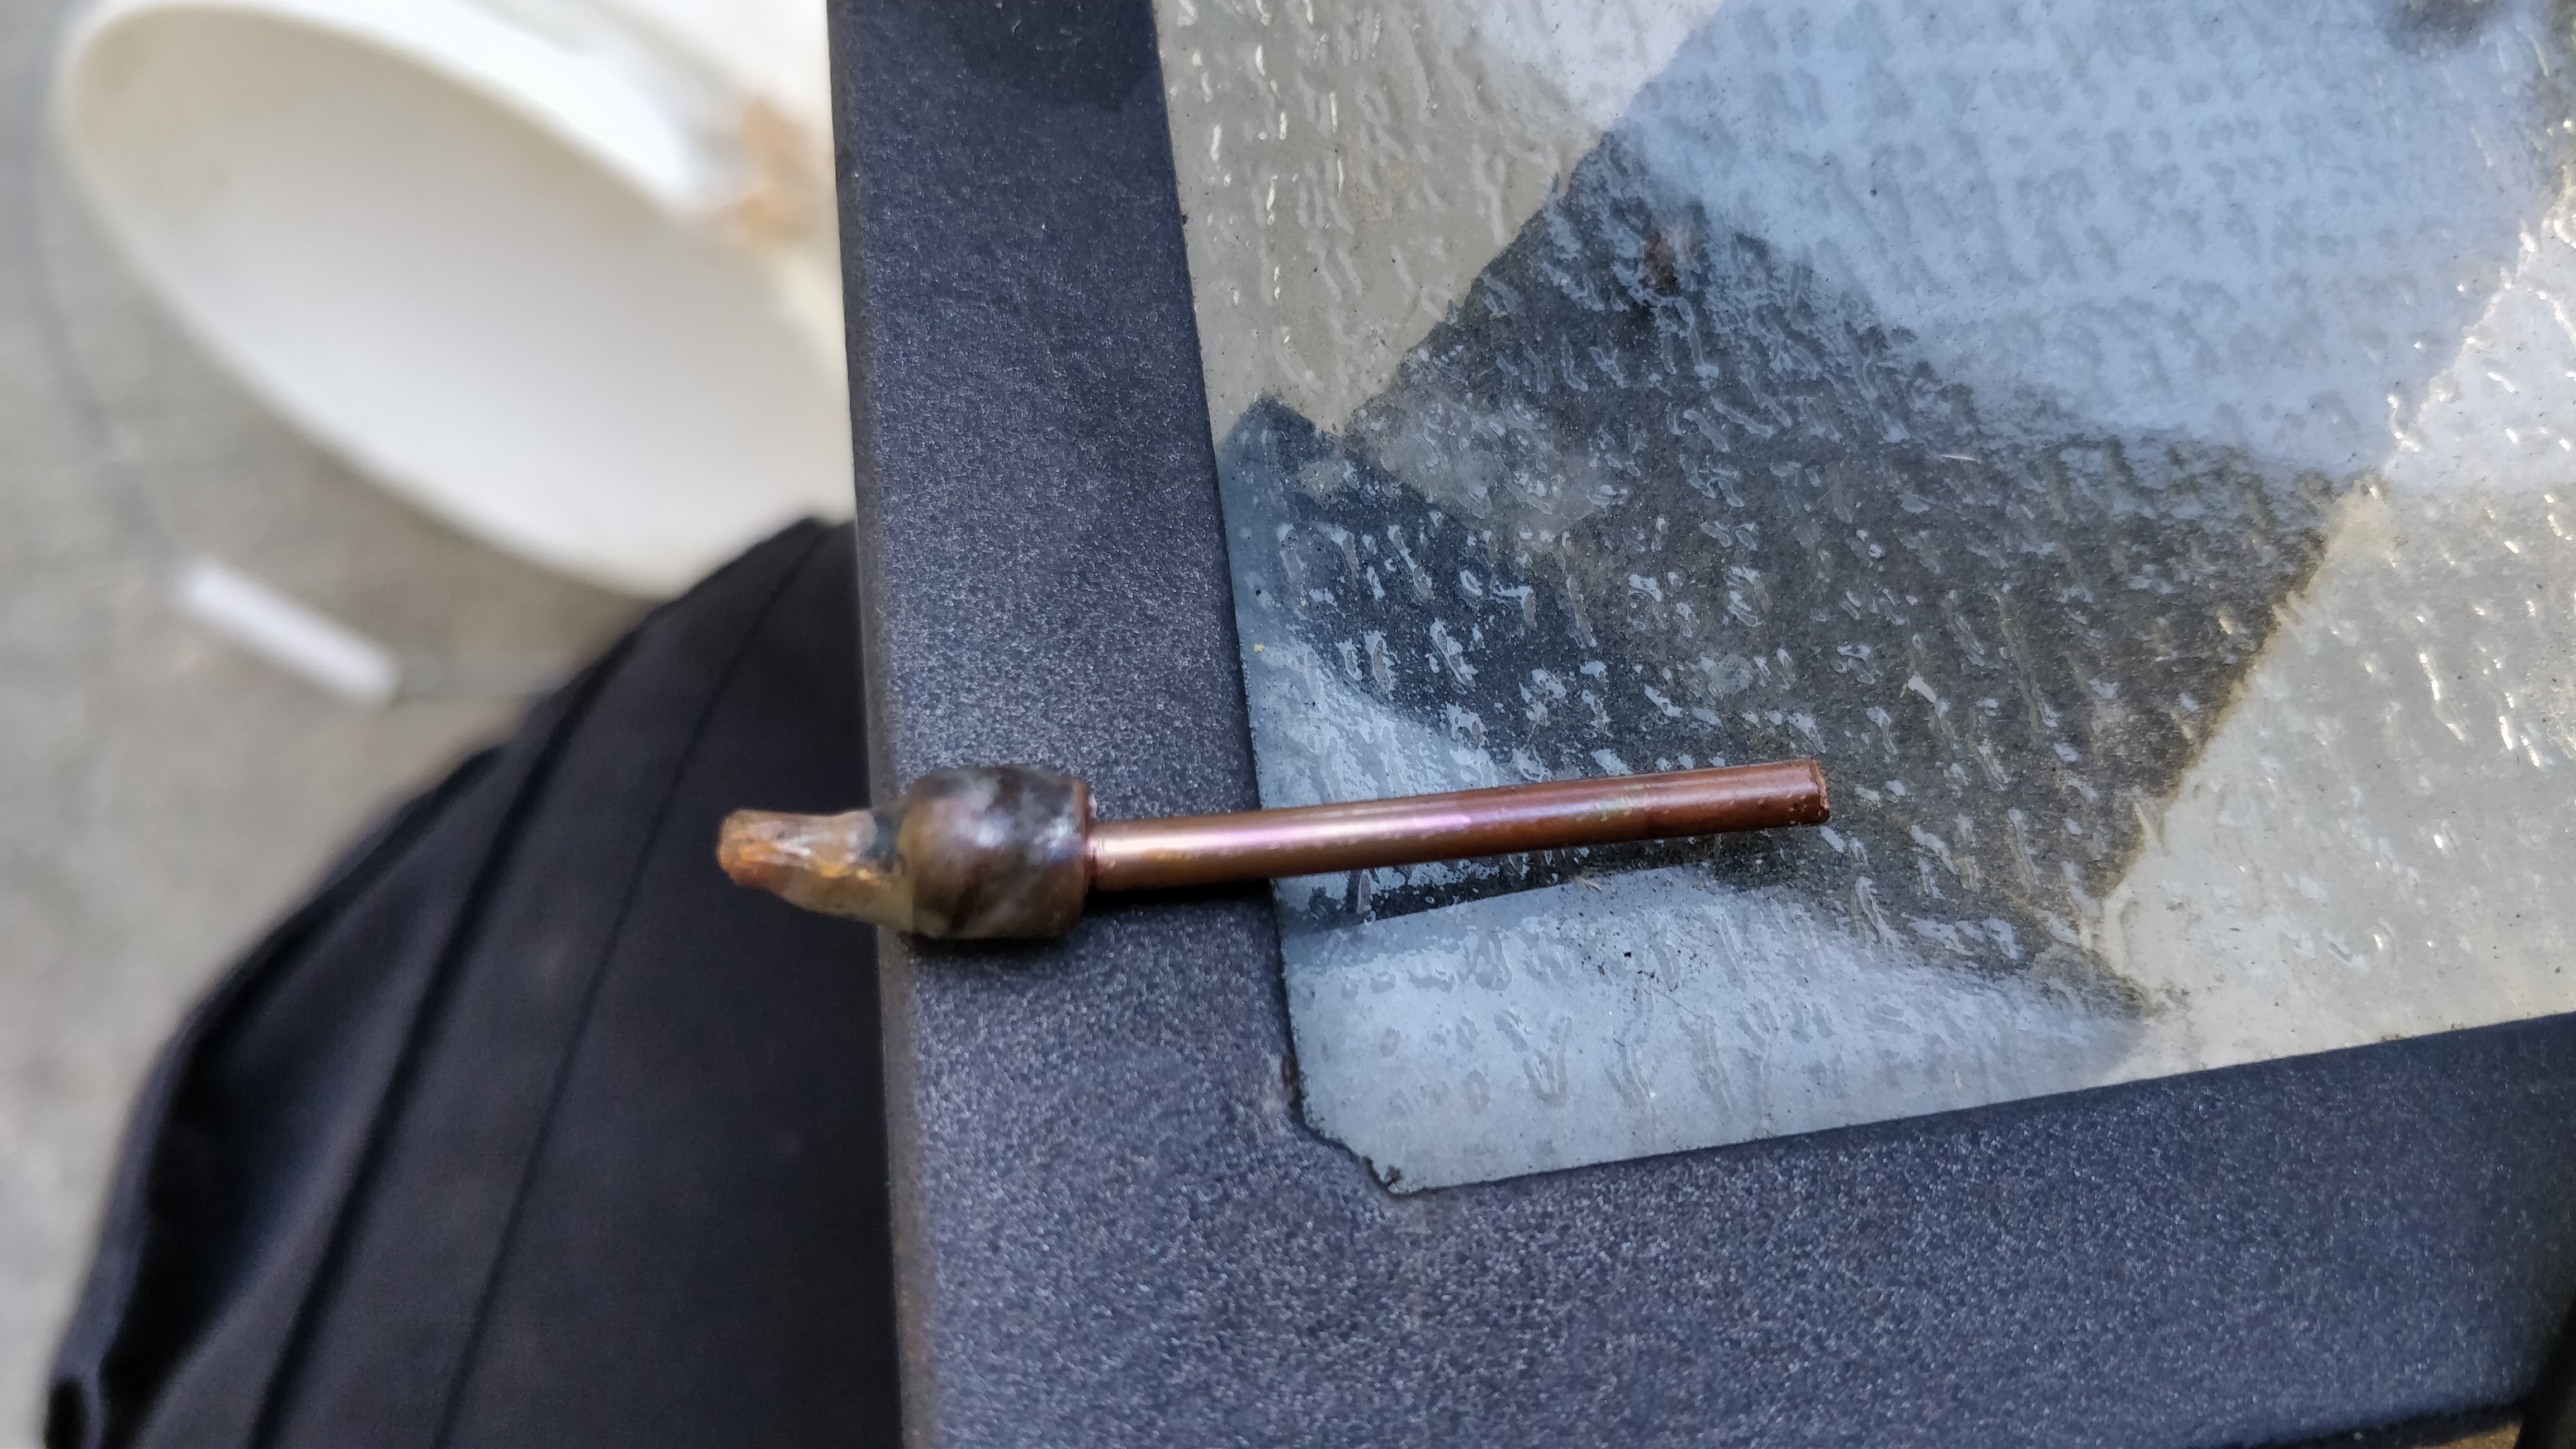
I cut out the section at the crack and just behind the crack.

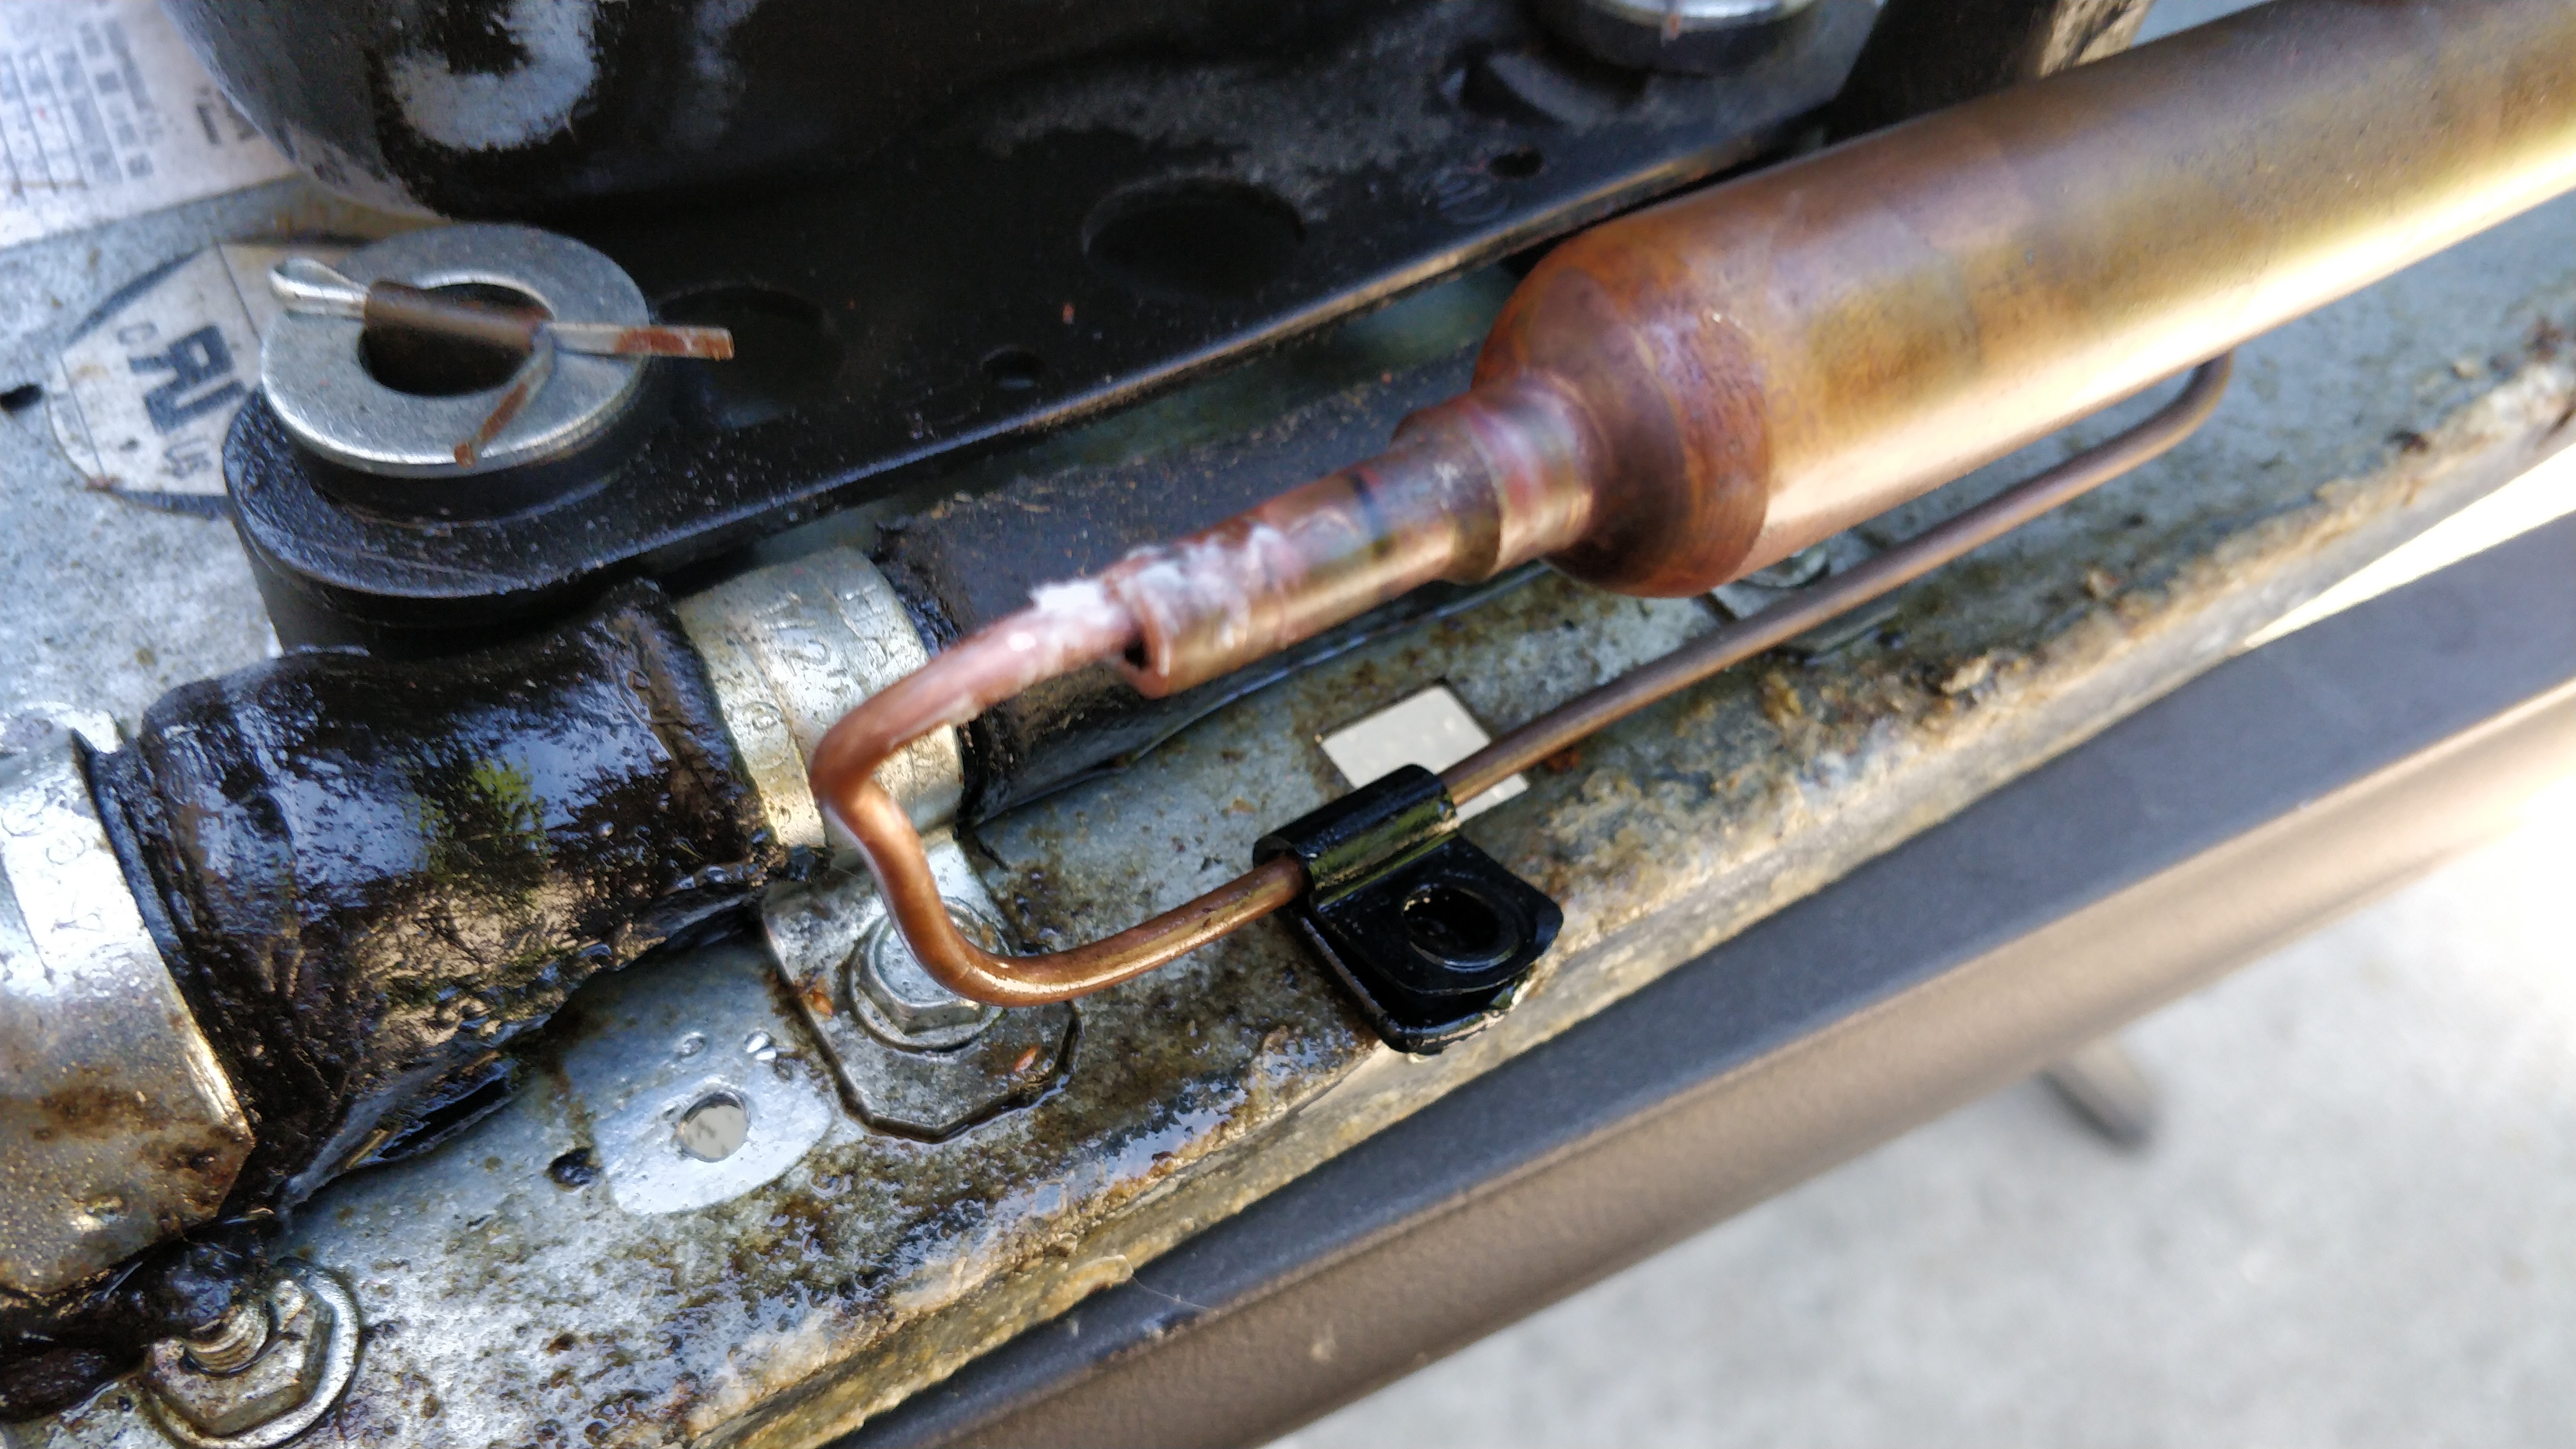
I took some of the service loop and stuck the pipe back in about the same amount it was before being careful with my flux so that i did not accidentally seal the pipe in the wrong spot.

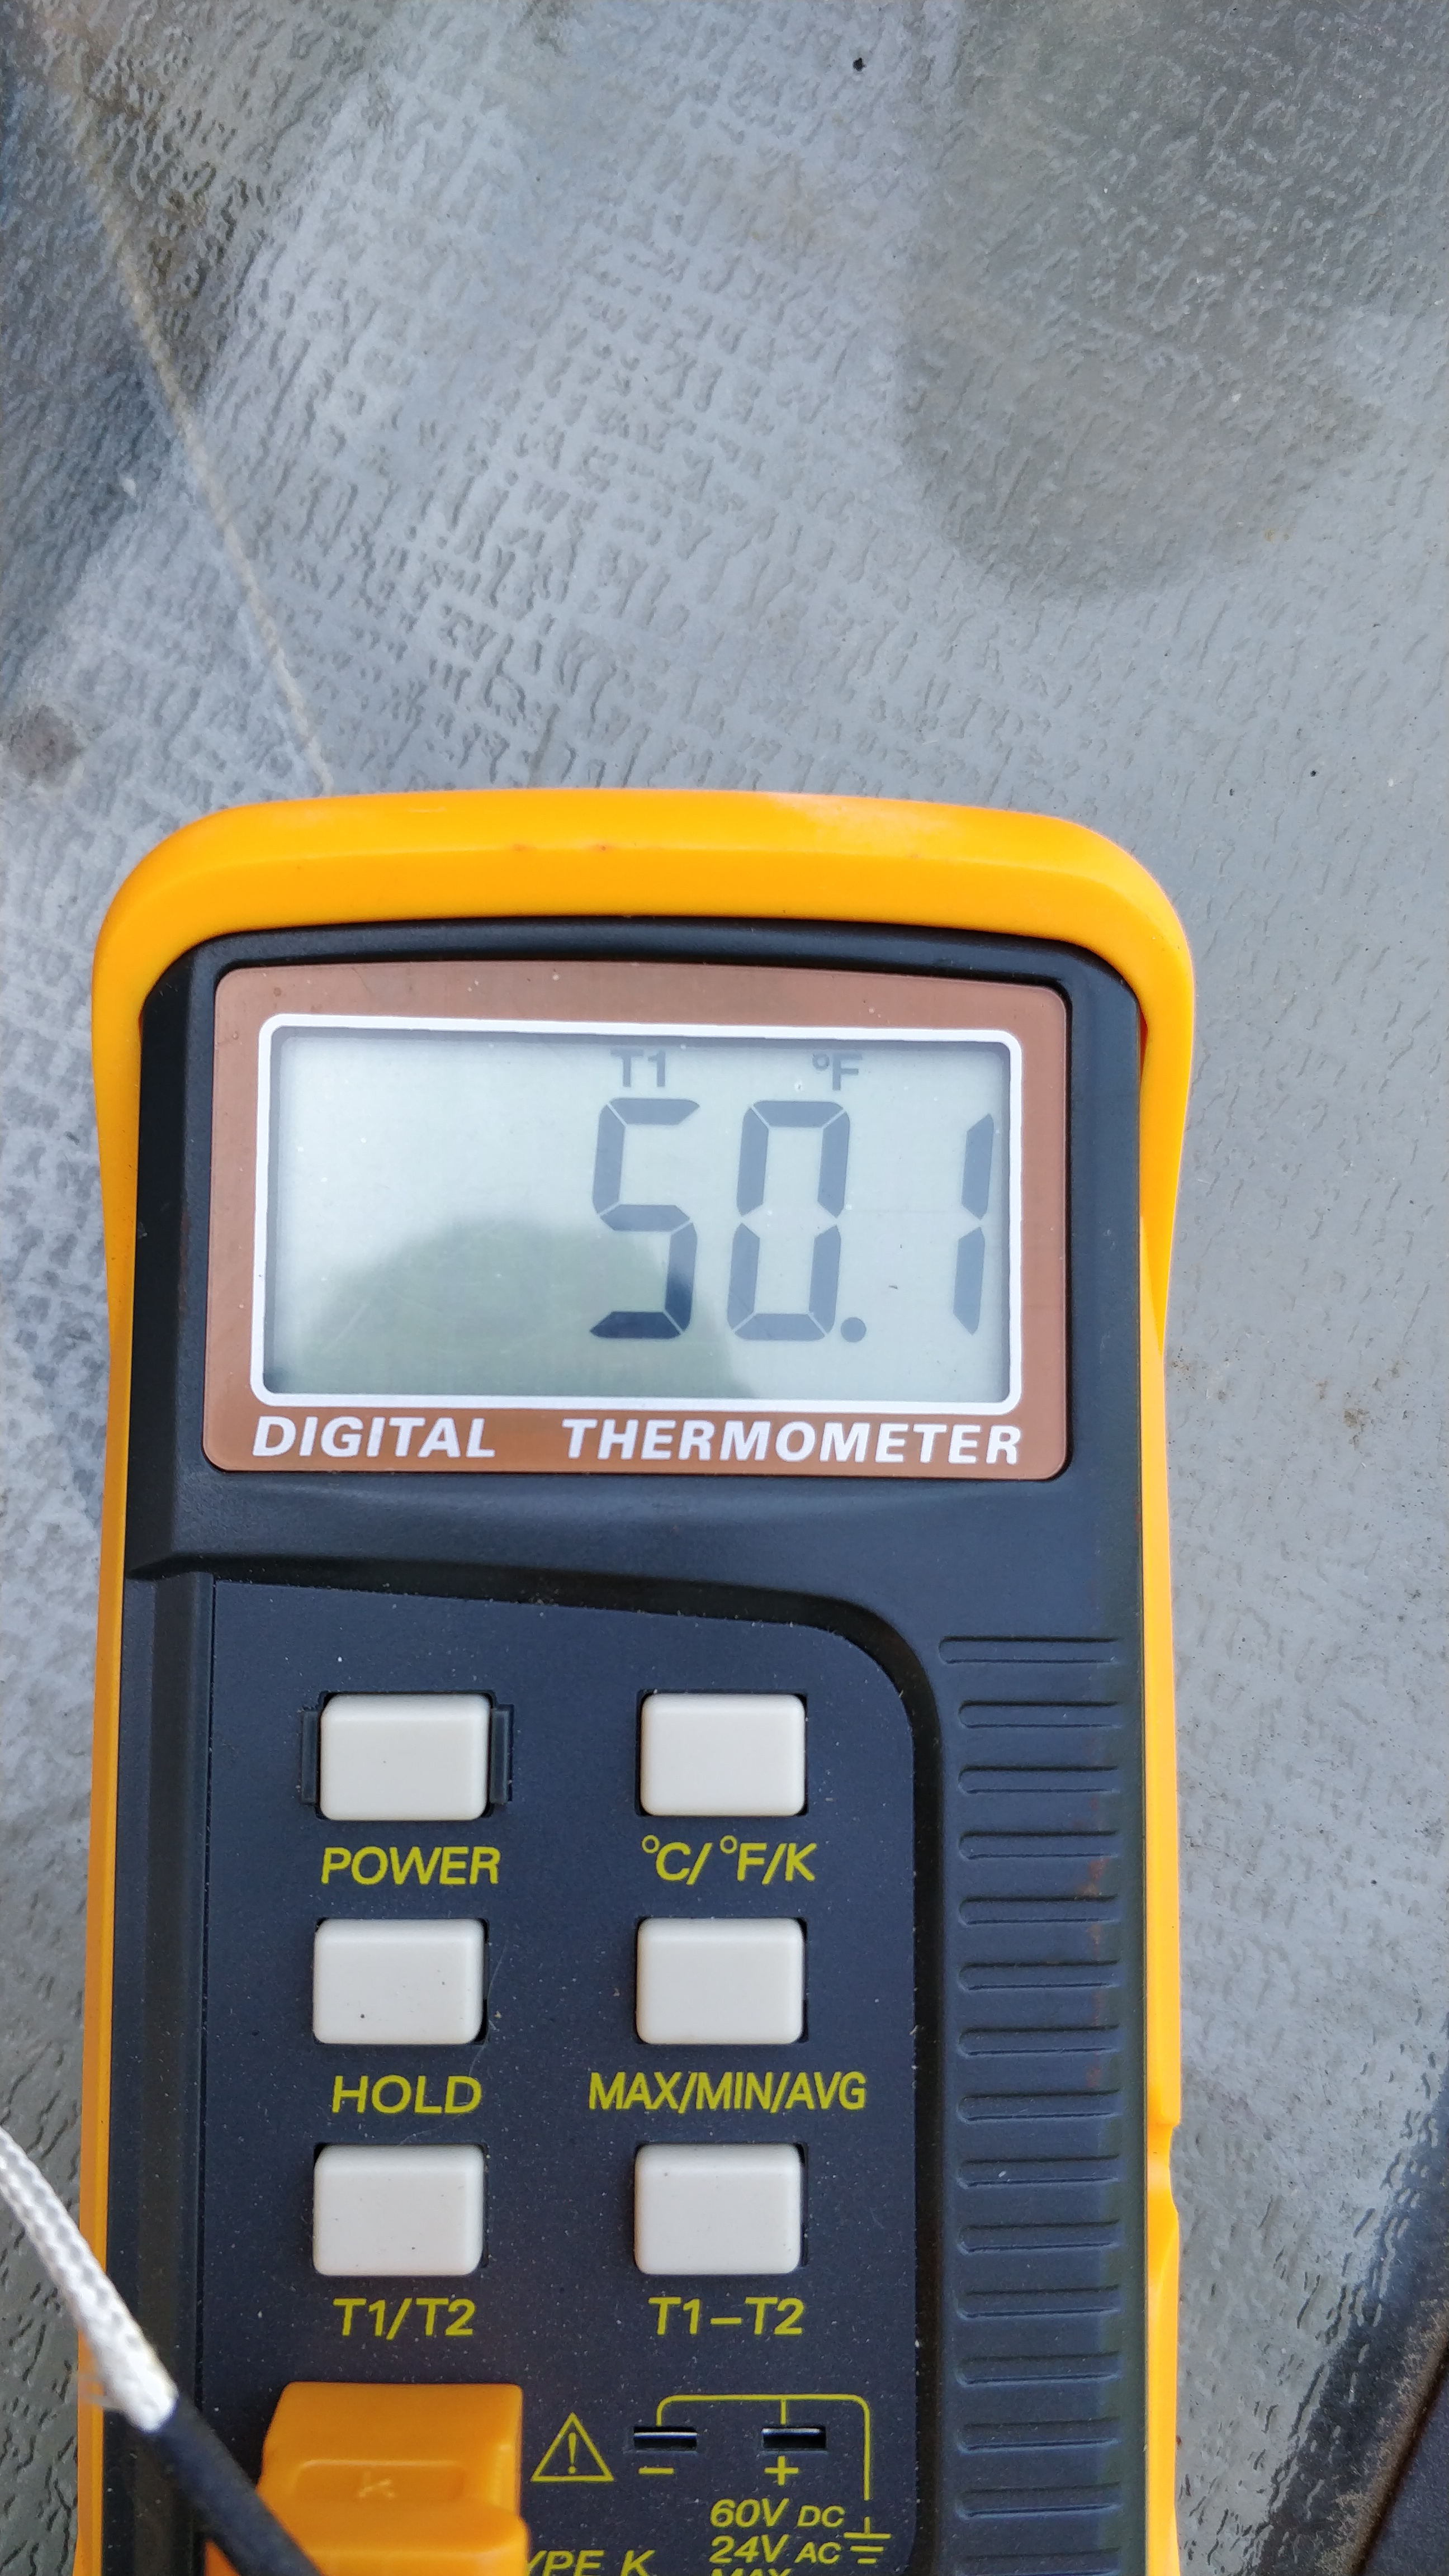
I soldered up the system and recharged it with R134-a (it happen to use the same refrigerant most cars use and that i happen to have on my shelf in the garage.)

boom back in working order.

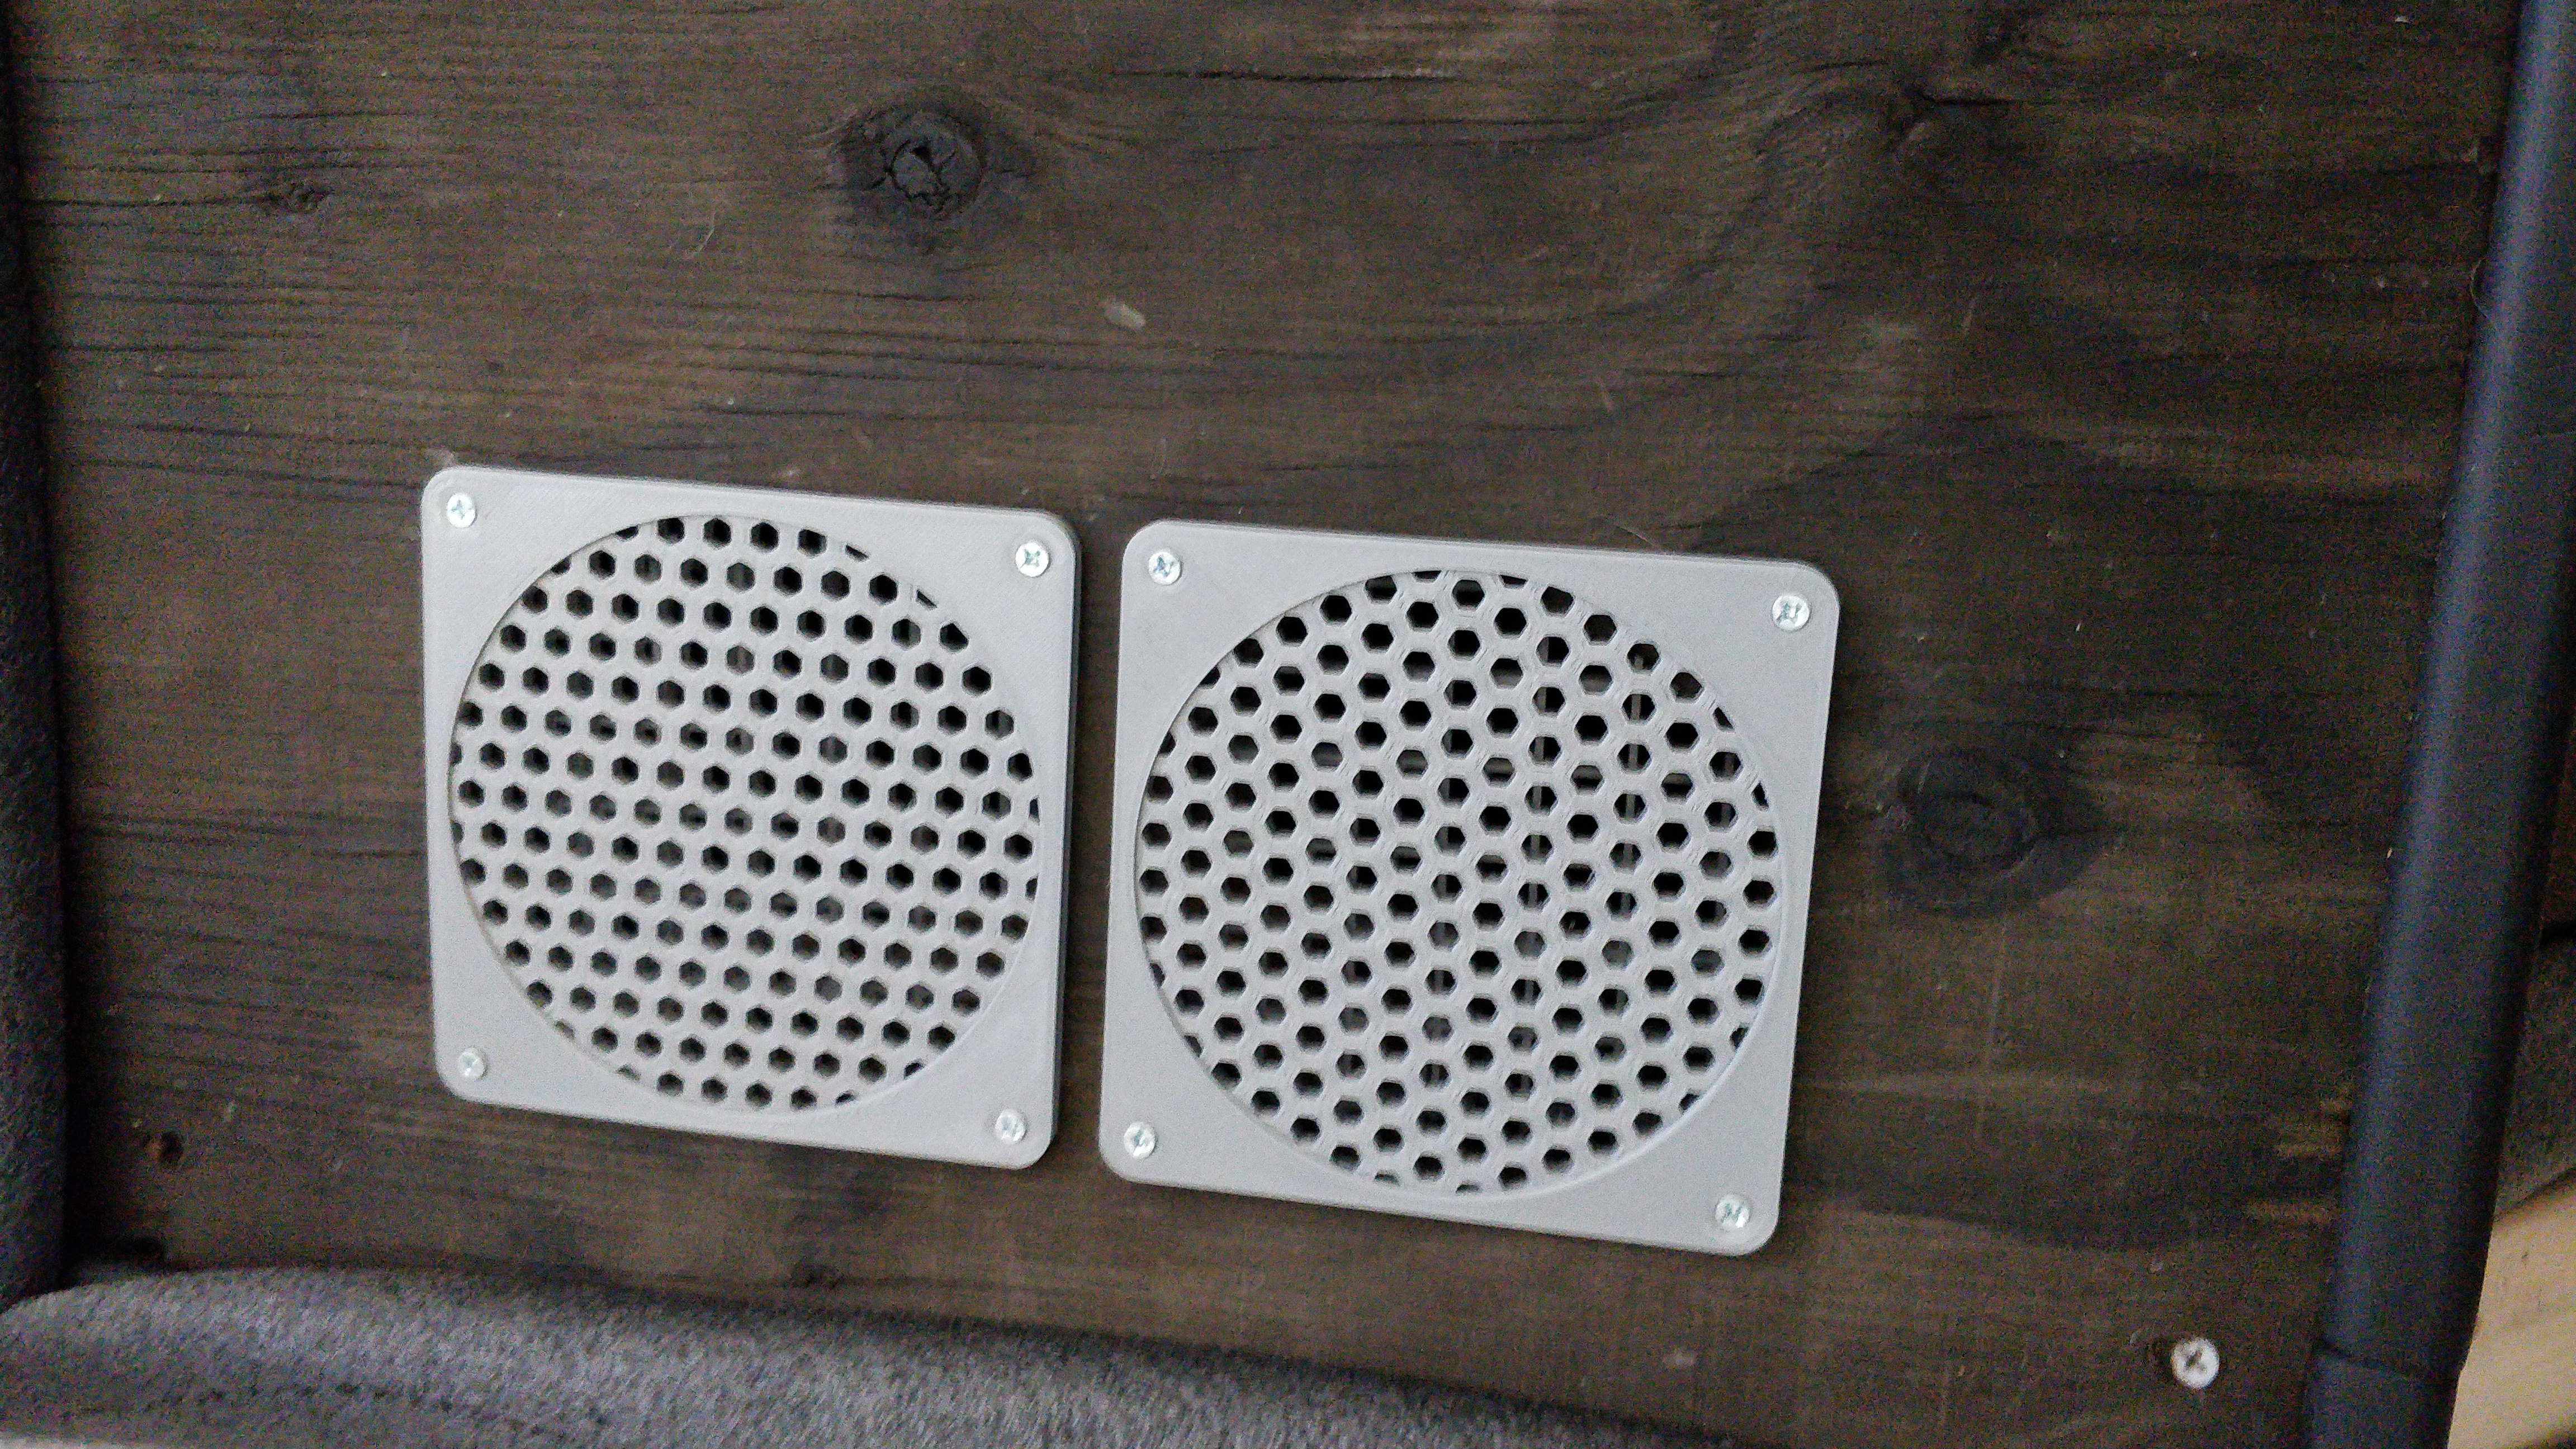
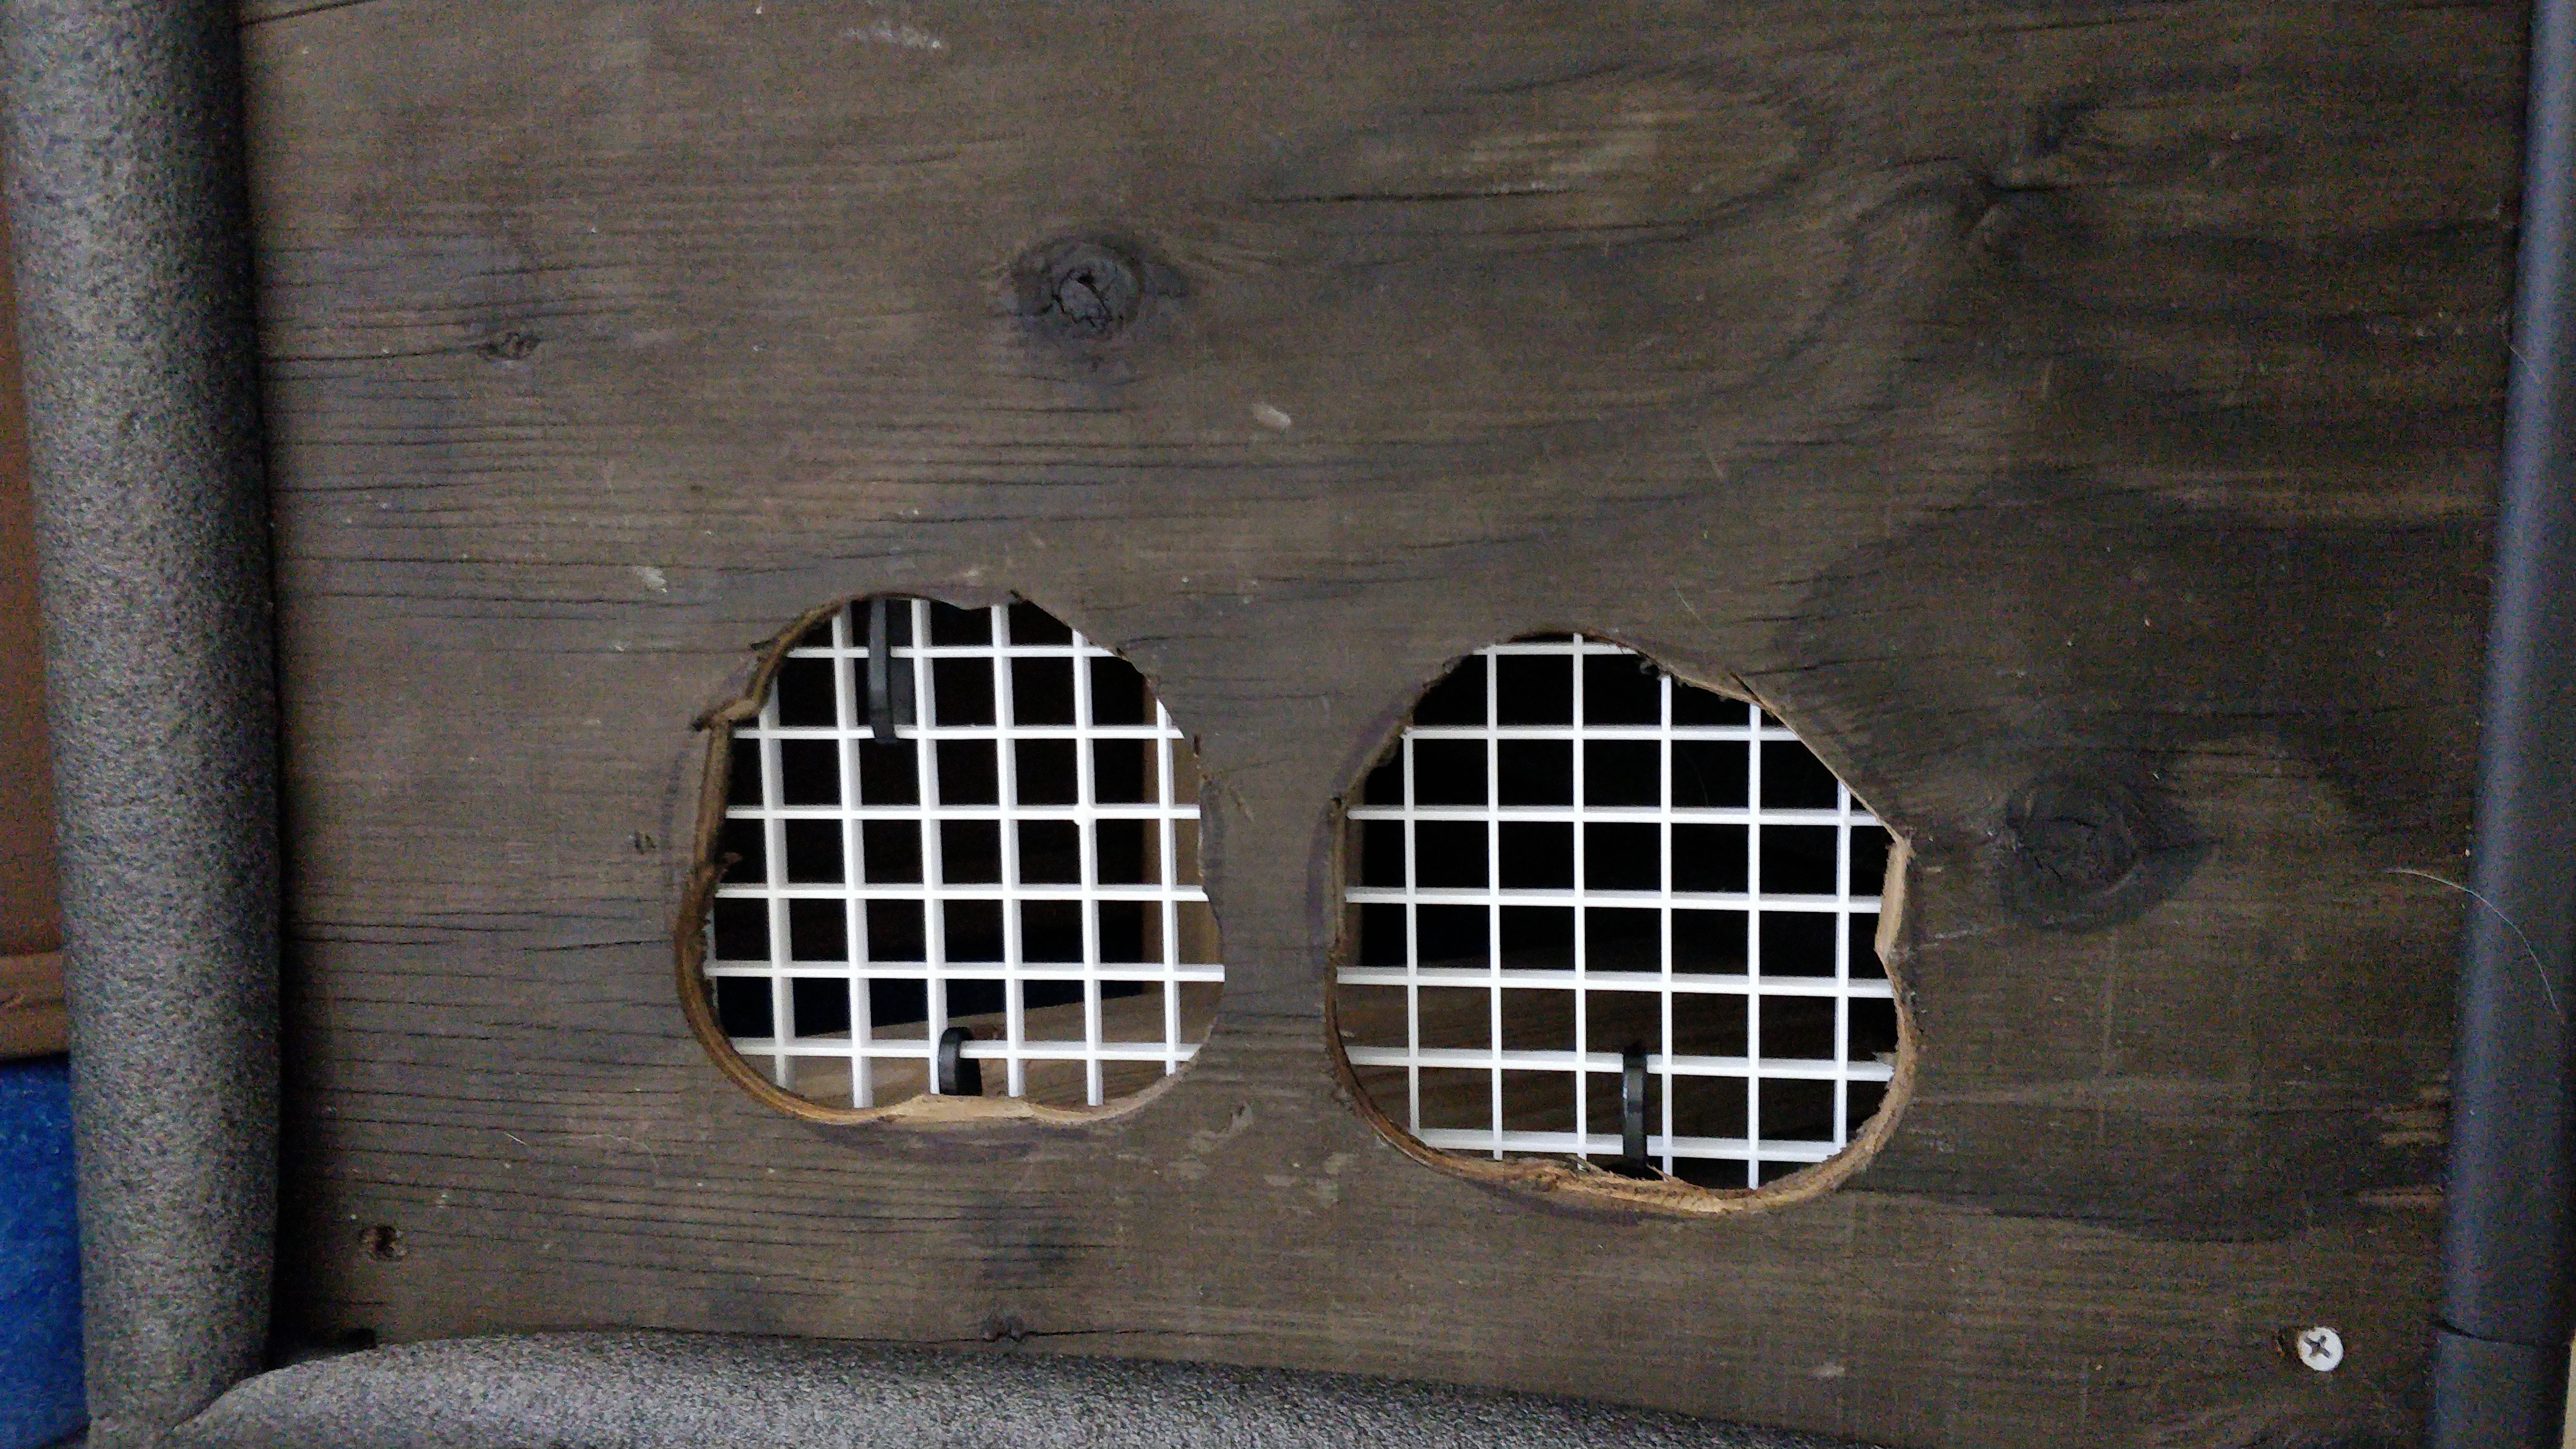
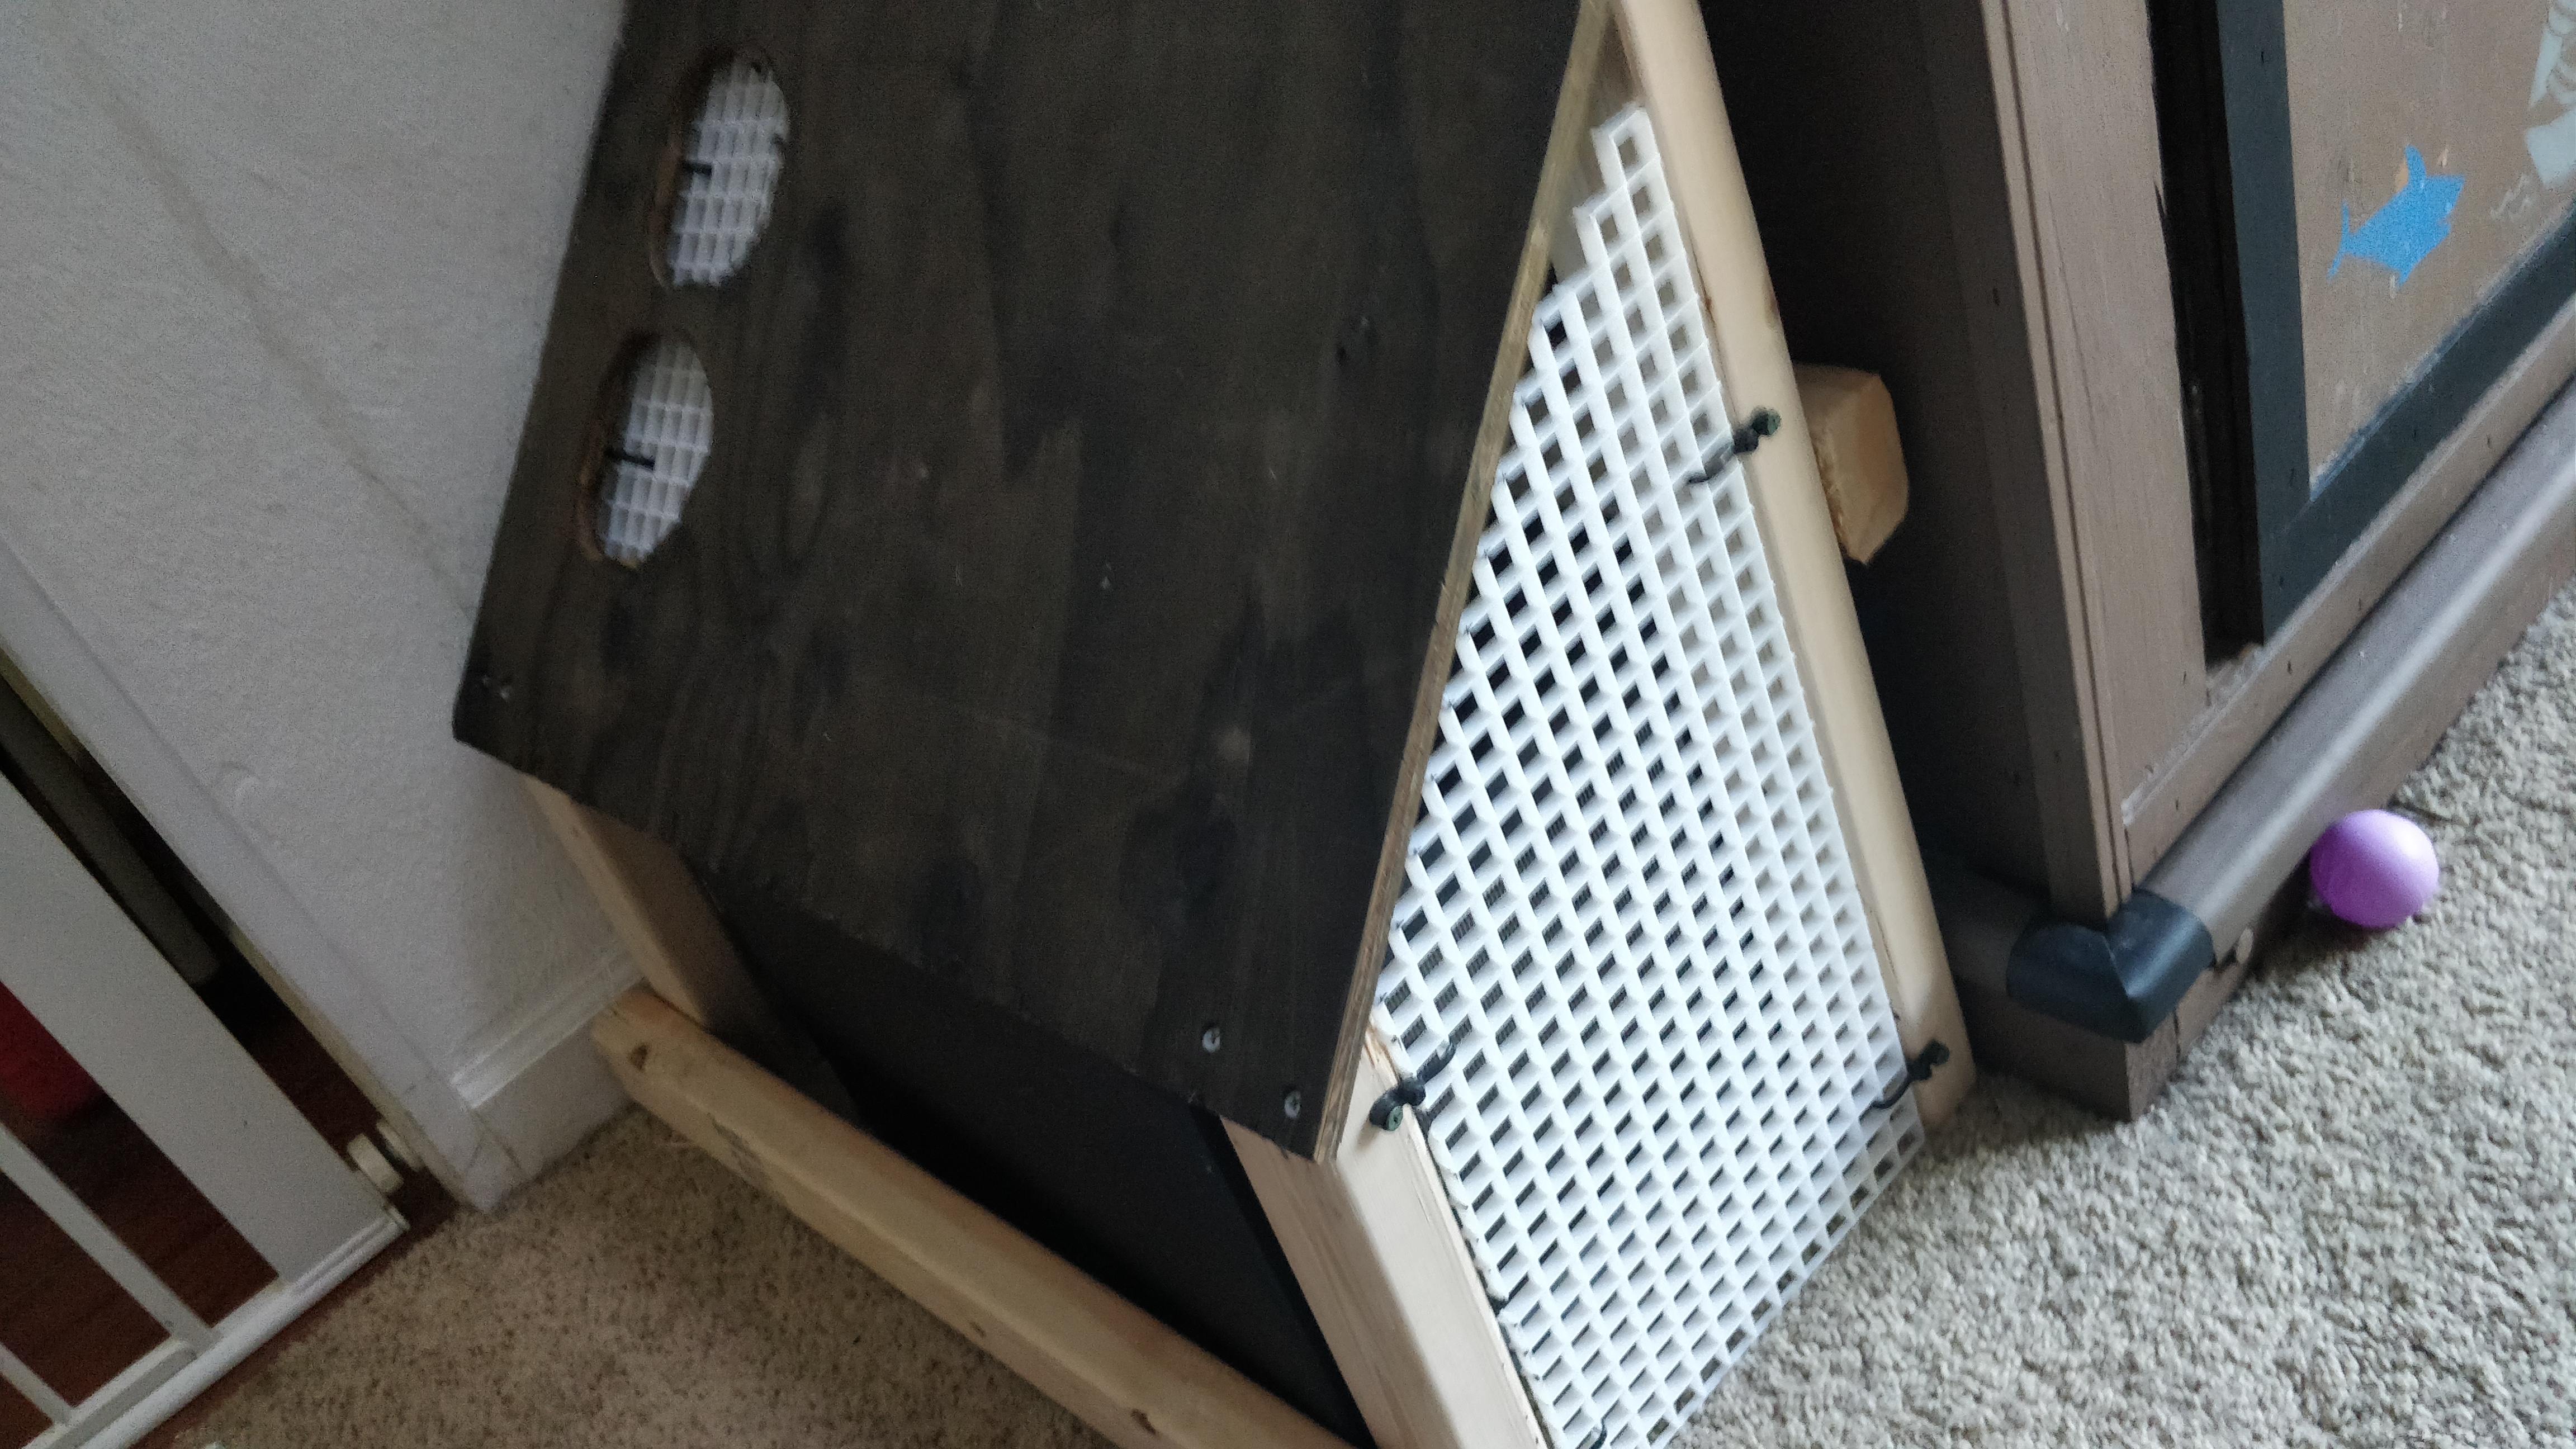
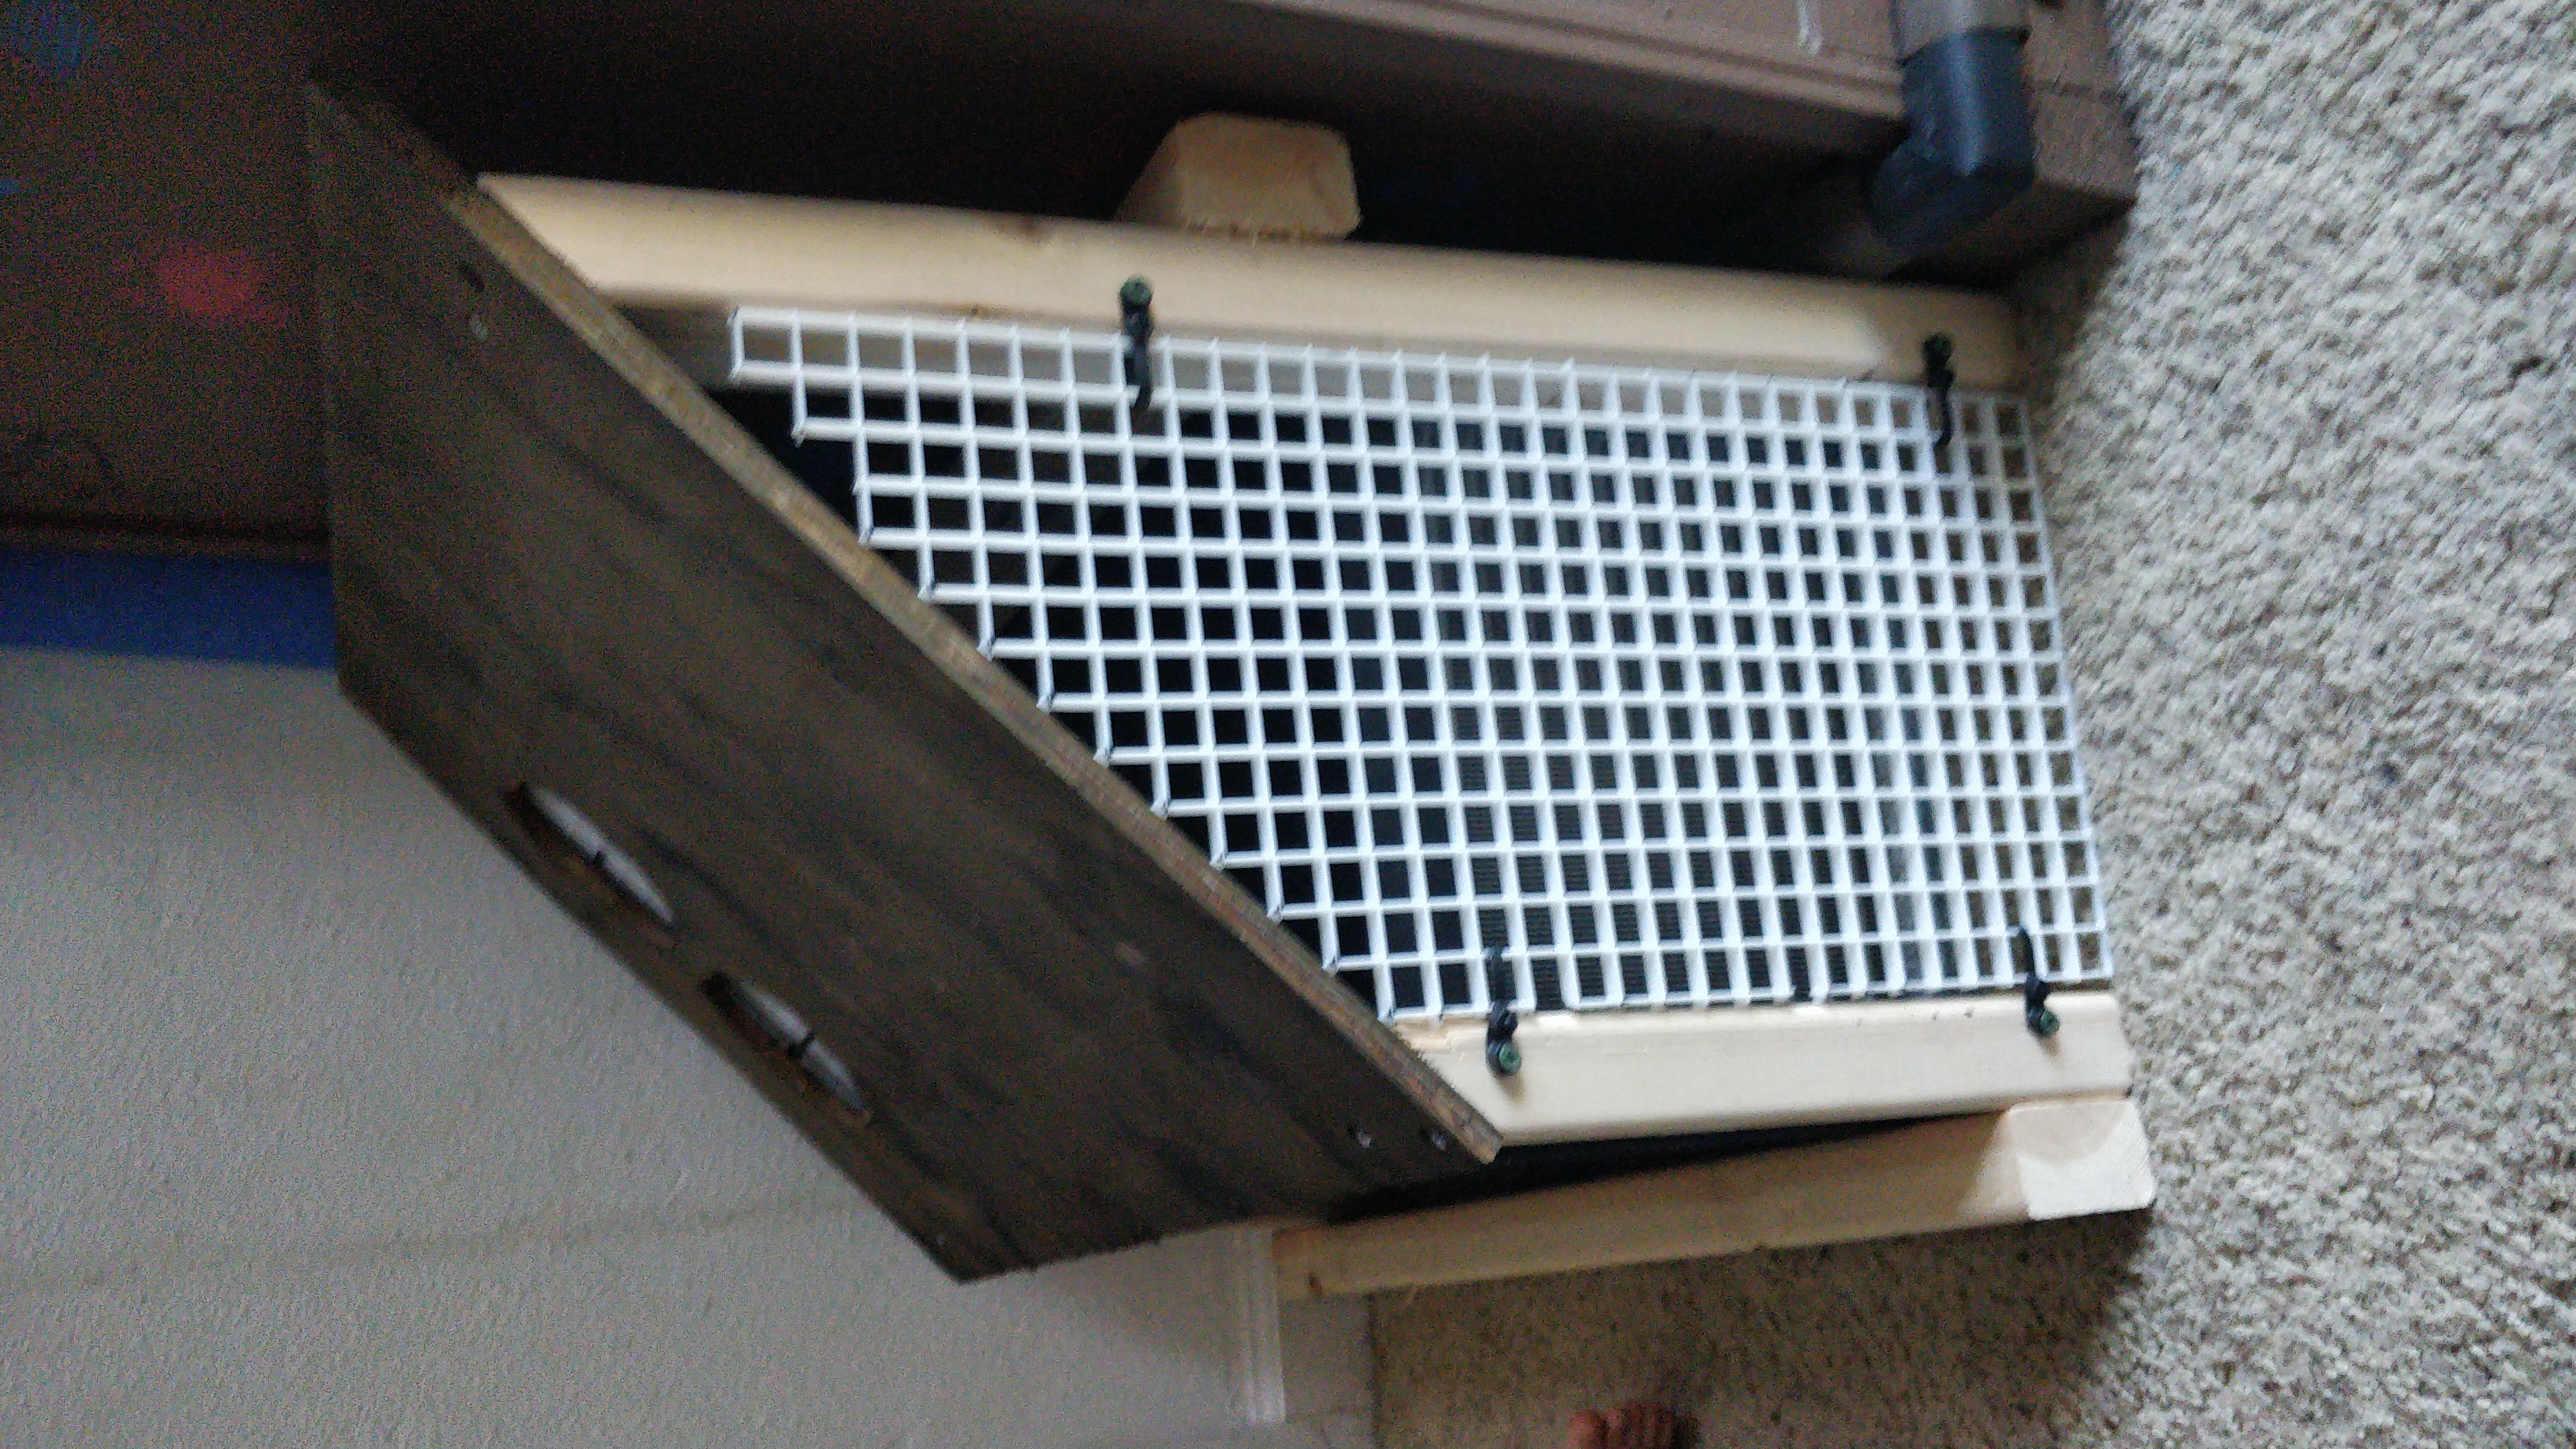
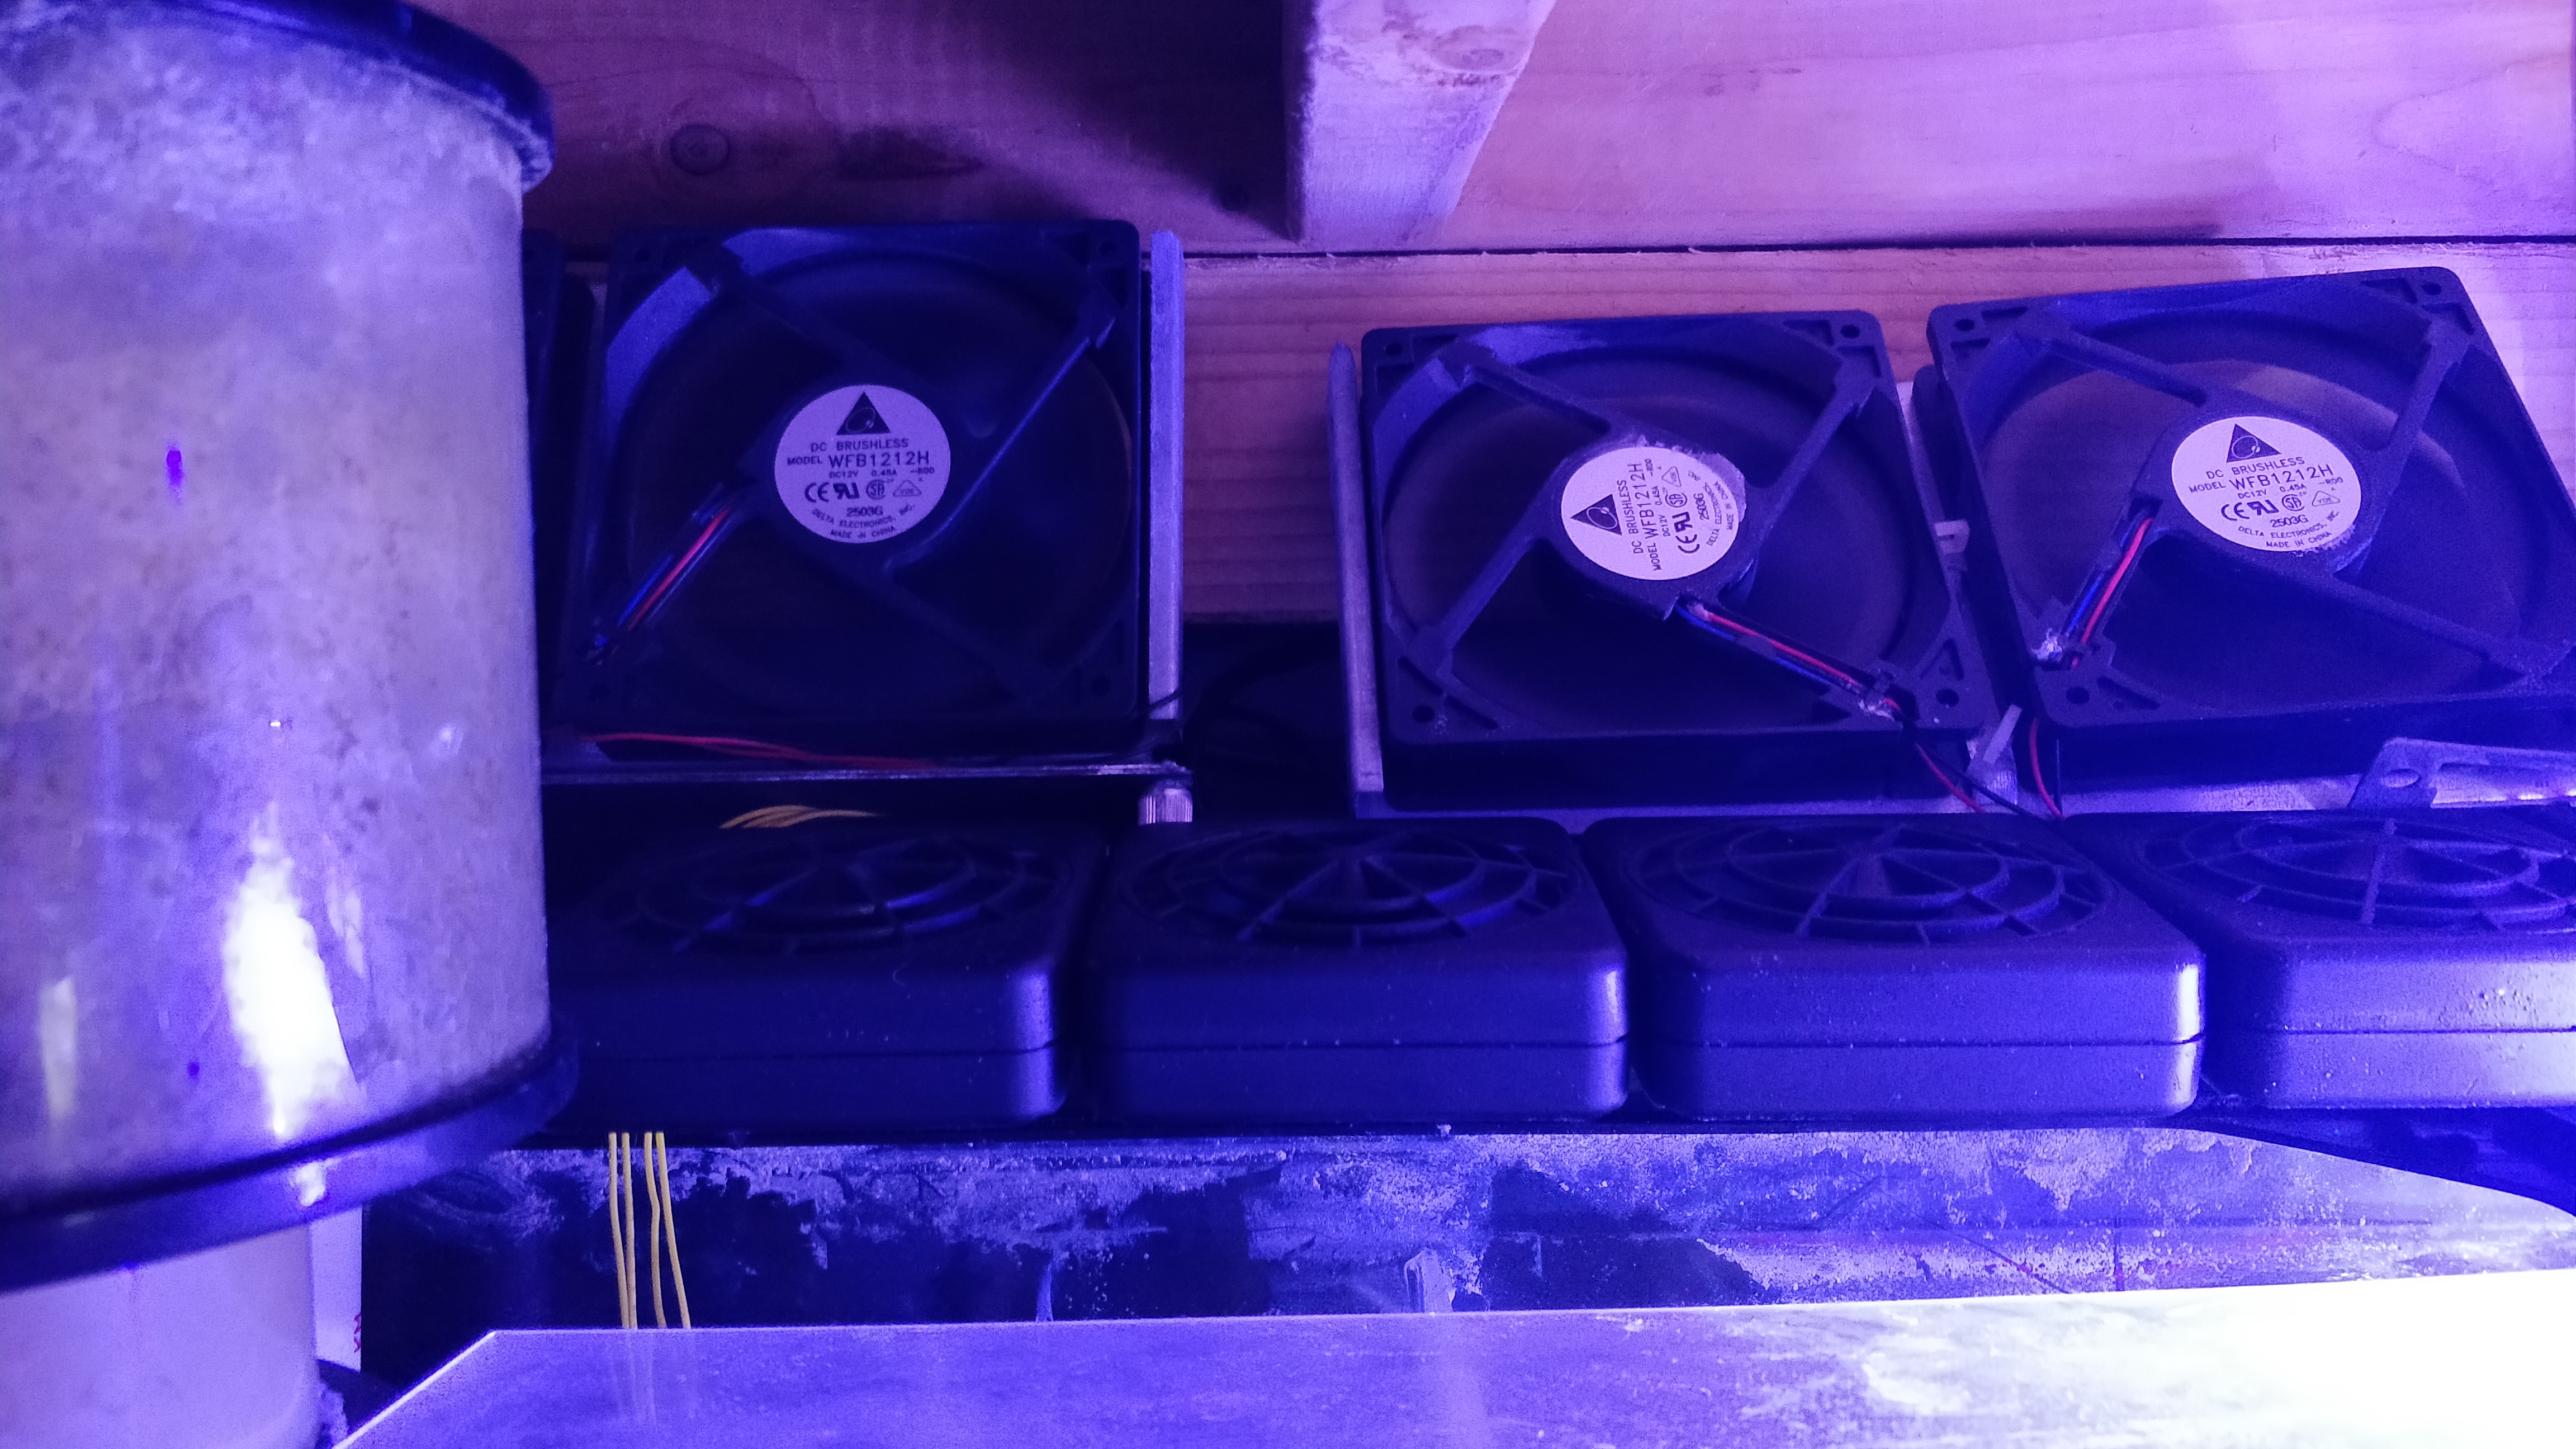
I then built a cover as it became apparent that this thing got HOT. and would become a step stool. 
I had cut holes because the heat build up was significant. I used 2 120mm fans from my failed cooling setup and mounted them .. I then realized i needed better covers.

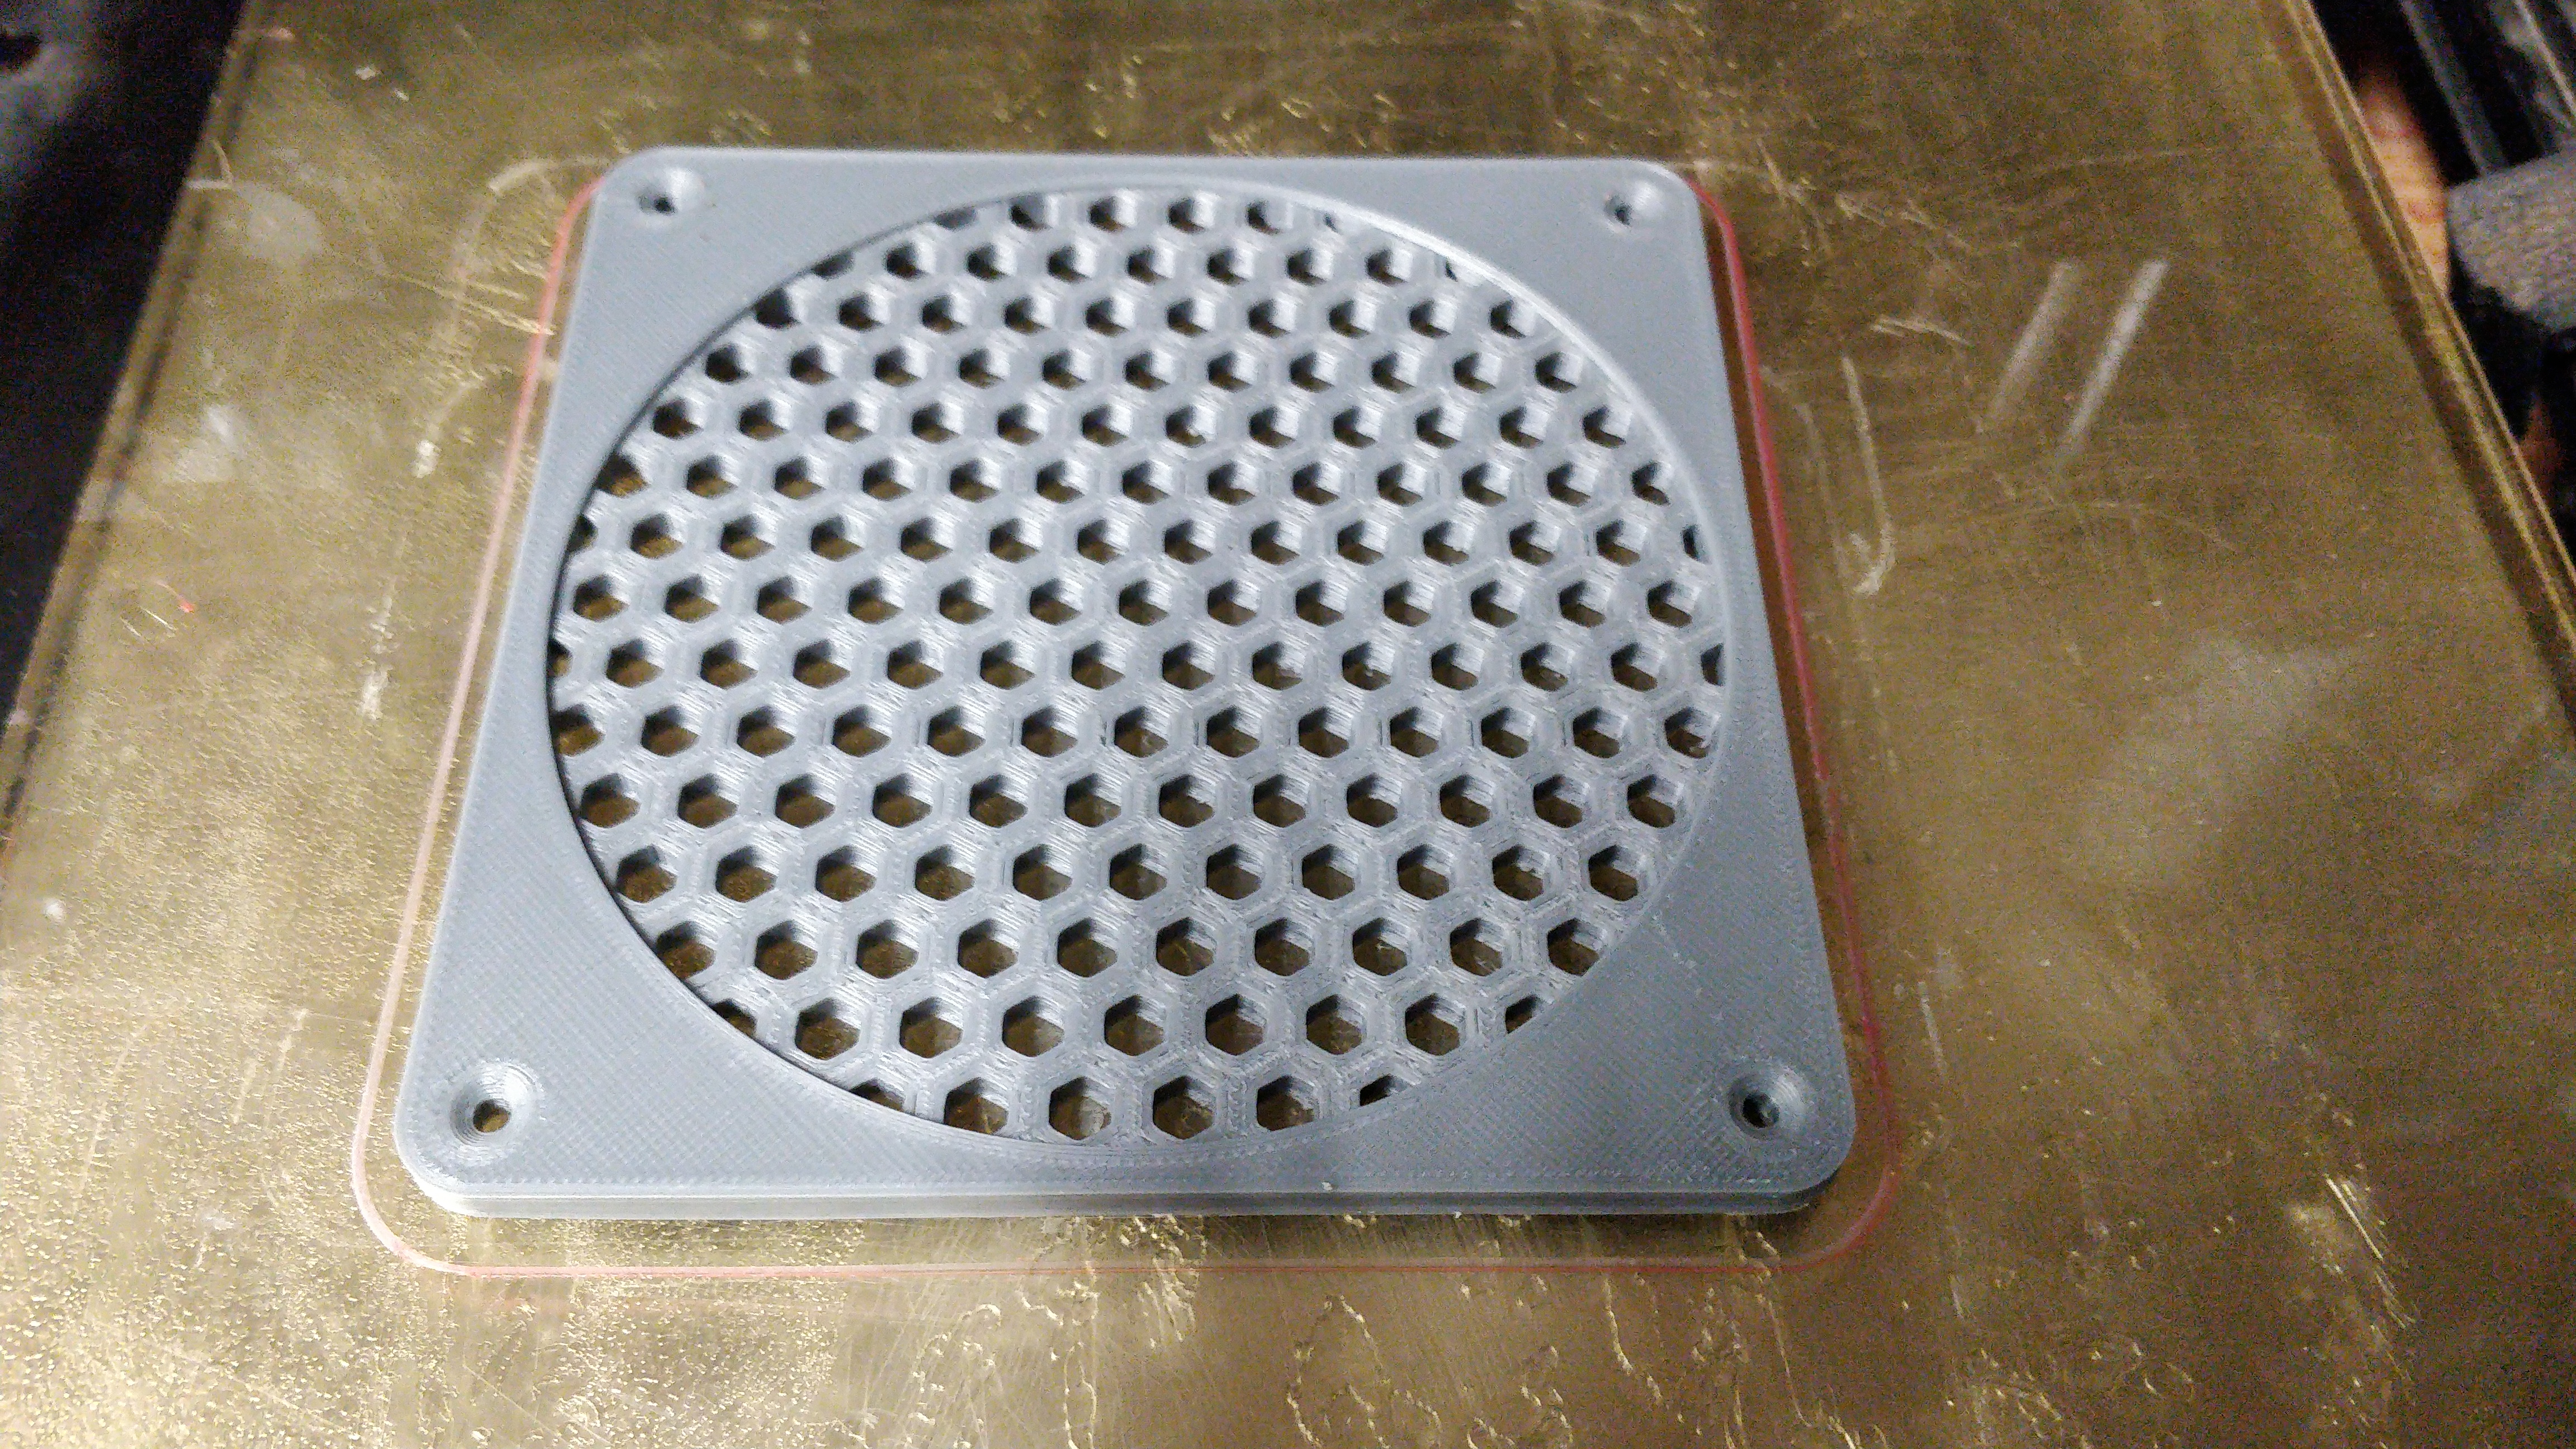
Enter the 3d printer. I 3d printed up a couple covers.

